I can’t have anything nice
It is getting harder to find a meal that I can have without sharing it with everyone. I know I shouldn’t complain that the kids are getting into new kinds of food, and we can have a more extensive range of dishes for our family menu, but I’m not happy about sharing some things.
Let me explain
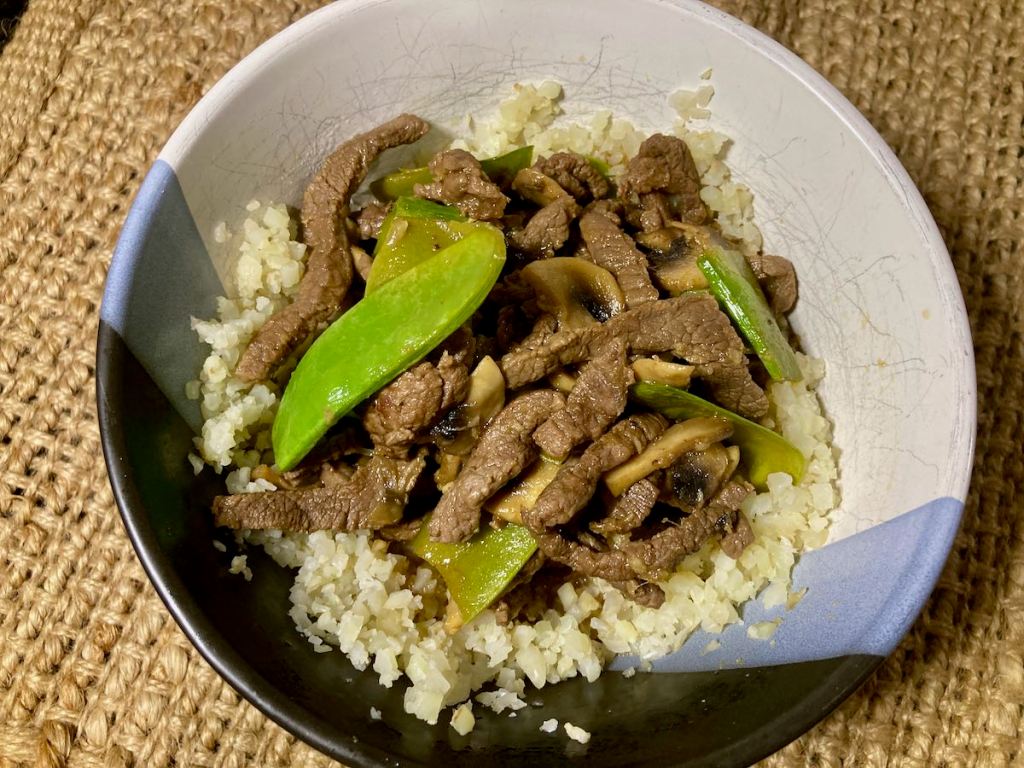
Recently I’ve been trying to eat a higher fat diet and manage the amount of carbs I’m eating, I haven’t gone full keto, but I’m trying to do more keto meals. I made a big batch of white chilli to have as meals in the freezer, 12 portions packaged up in the freezer. I also made cauliflower chowder and beef stroganoff. In all, I had 24 portions of food that would fit my way of eating; not a bad effort for 2 hours of work. Before I even had one meal, I lost three portions; Liam snarfed a chowder with bacon crumbles, and Jay snarfed a chilli and claimed another for his lunch. This wasn’t a one-off; my stash of meals is being raided almost daily; my tasty macro balanced meals disappear constantly. Unfortunately, this happens with everything. My solution to this food-stealing problem, add as much spice to my food as possible.

If you can’t stand the heat
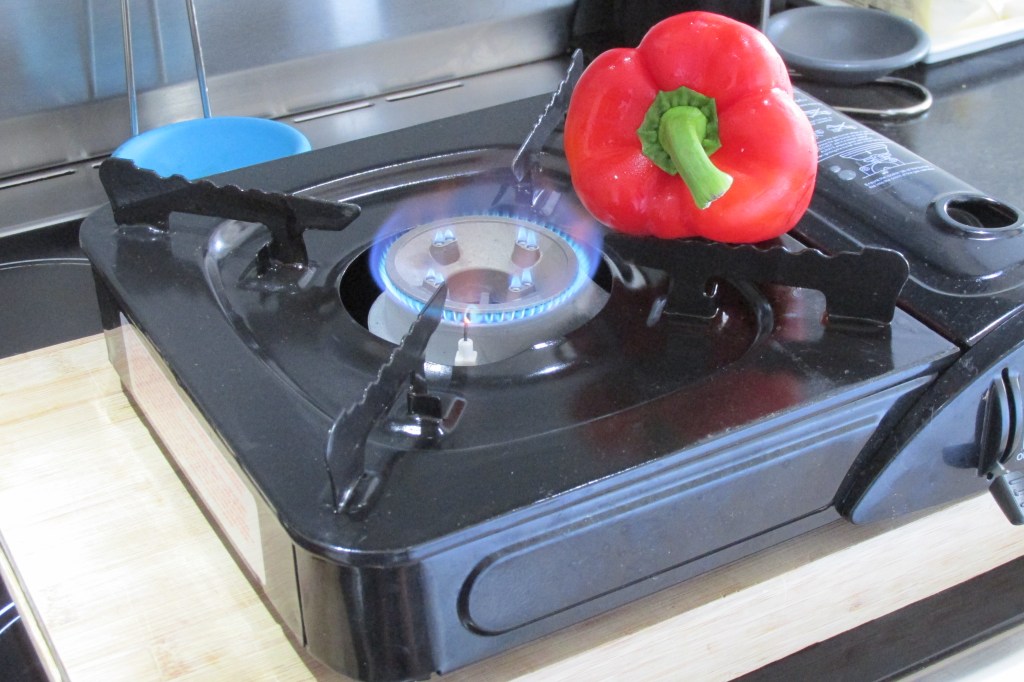
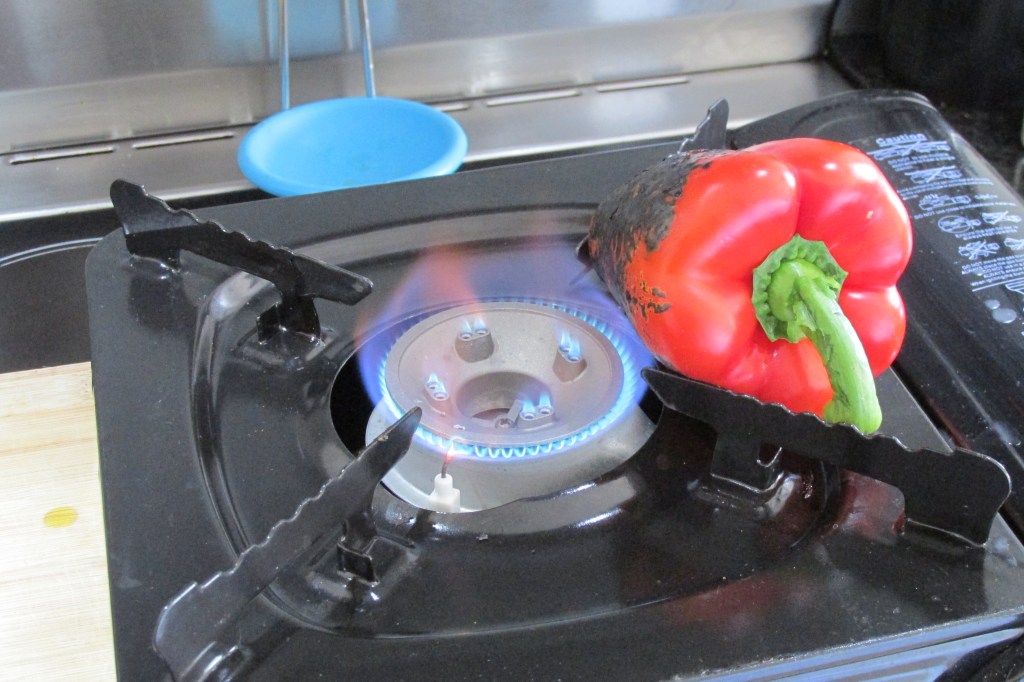
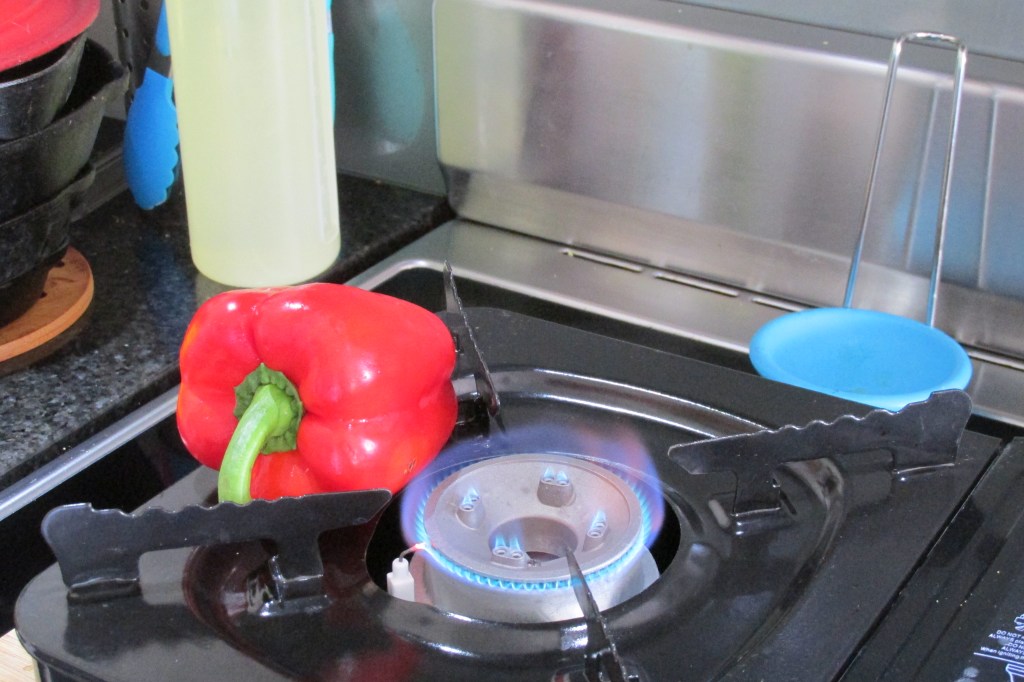
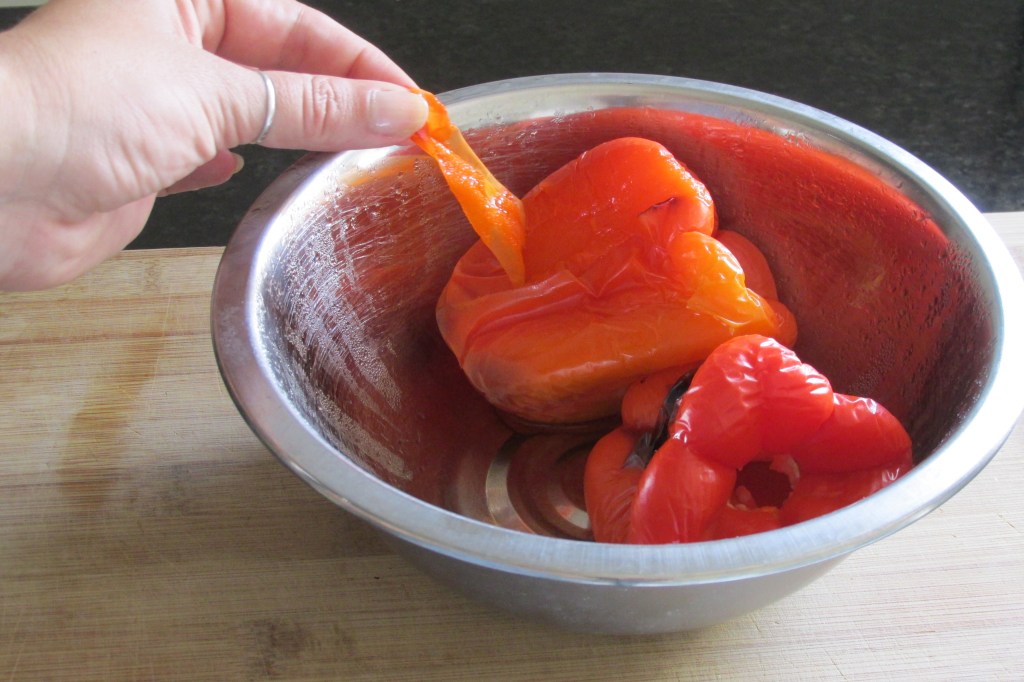
My jalapeno plant has been producing like crazy, so I’m going to put them to good use. I figure putting a big batch of jalapenos in my soup means I can have it all to myself. This soup is (for now) the perfect meal that I don’t have to share. The simple soup with bacon crumbles is easy to make and keeps in the fridge and freezer well.
Jalapeno pepper soup recipe

Ingredients
- 4 slices bacon
- 250g cream cheese
- 125 ml heavy cream
- 2 cup chicken broth
- 1/2 tsp garlic powder
- 1/4 cup Cheddar cheese, grated
- 1/4 cup Havarti cheese, grated
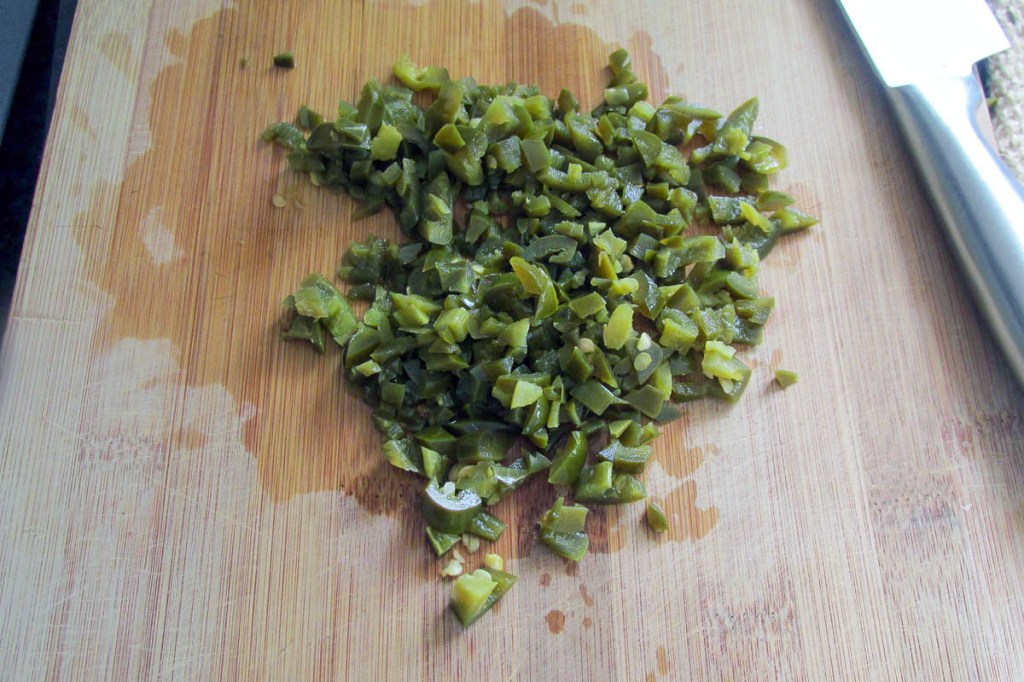
- 4 jalapeno peppers, finely chopped


Jalapeno pepper soup
Keto friendly soup that tastes great and has a great spicy kick
Credit: Cath @ easycleaneats
Ingredients
- 4 slices bacon
- 250g cream cheese
- 125 ml heavy cream
- 2 cup chicken broth
- 1/2 tsp garlic powder
- 1/4 cup Cheddar cheese, grated
- 1/4 cup Havarti cheese, grated
- 4 jalapeno peppers, finely chopped
Directions
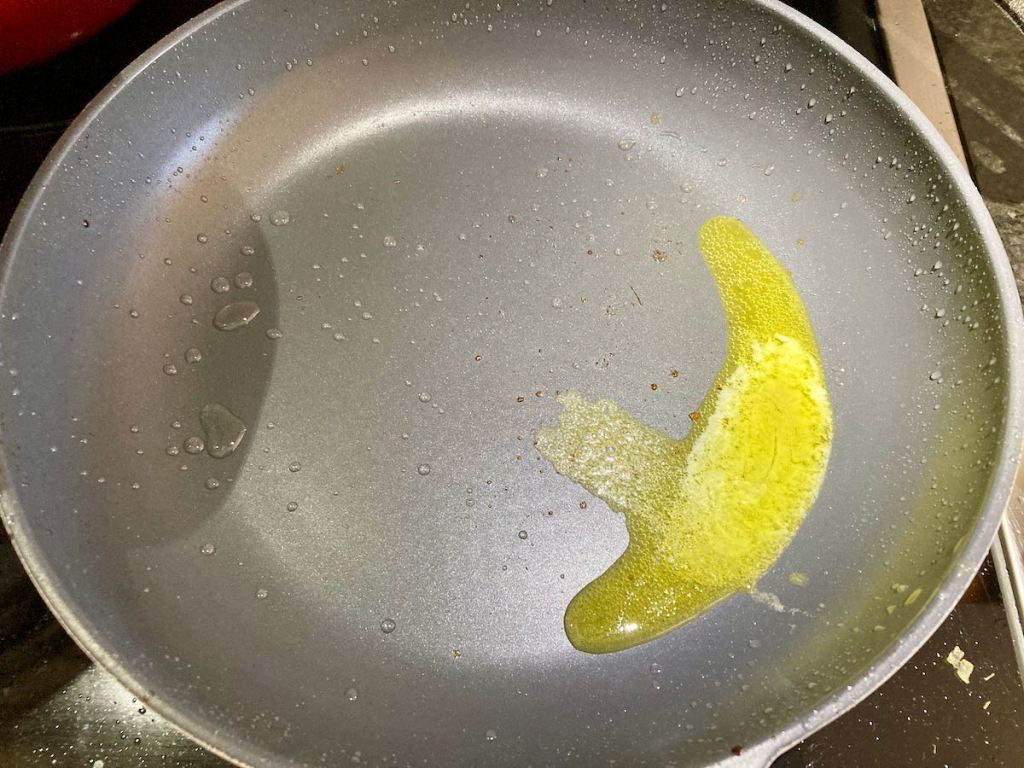
- Take a saucepan over a medium heat.
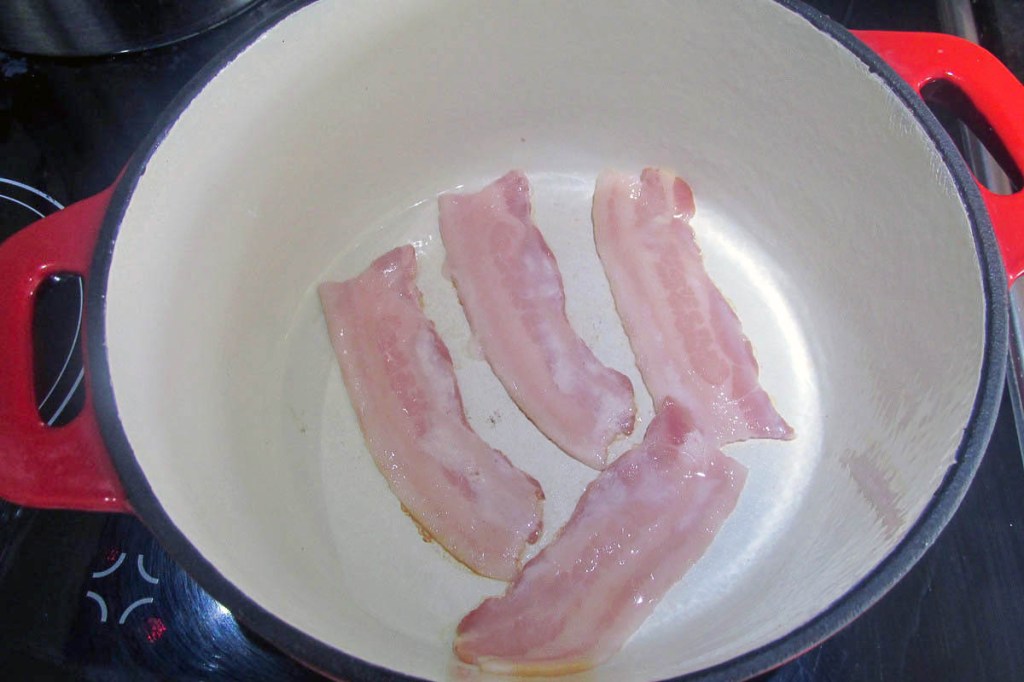
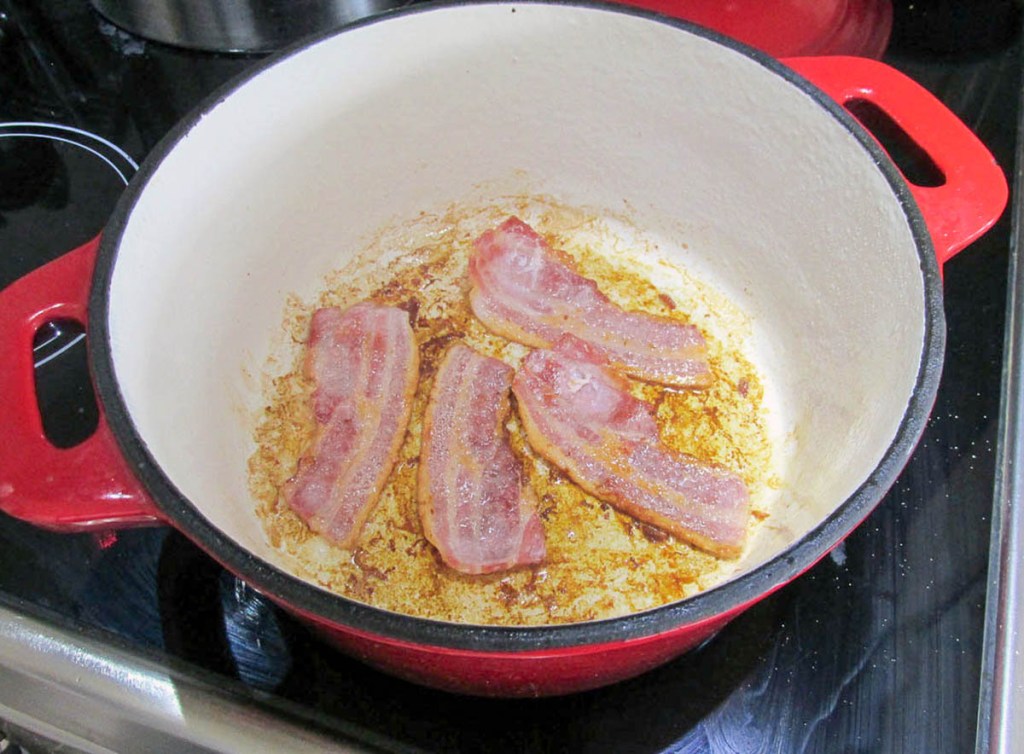
- Cook the bacon in the saucepan in full slices.
- When the bacon is cooked, remove it from the pan and chop it up to use as a garnish later.
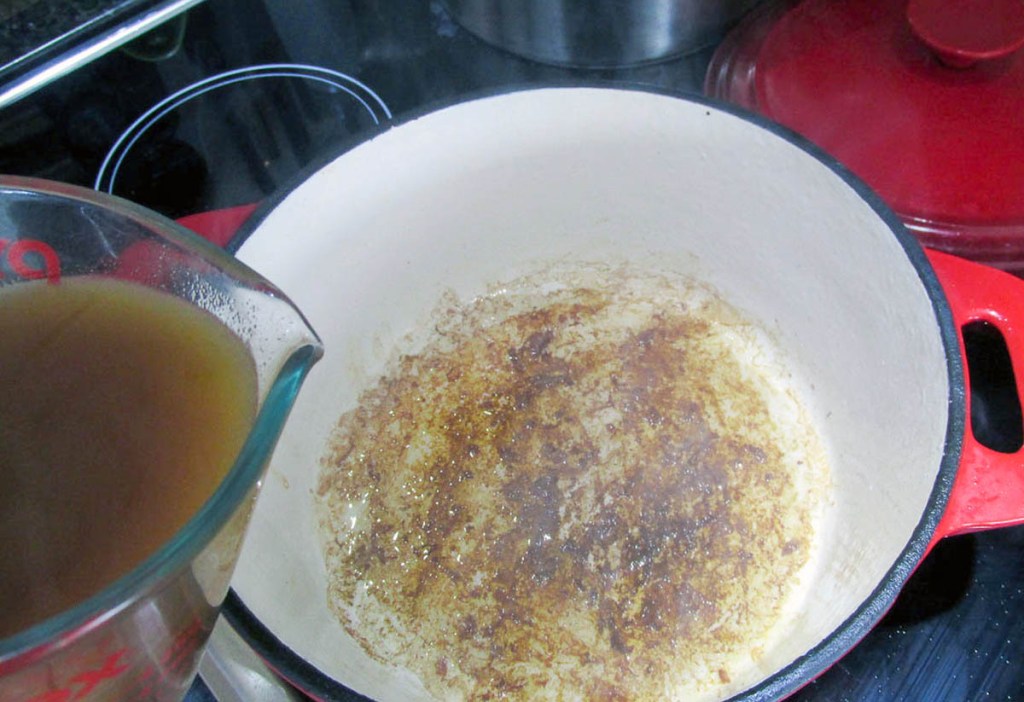
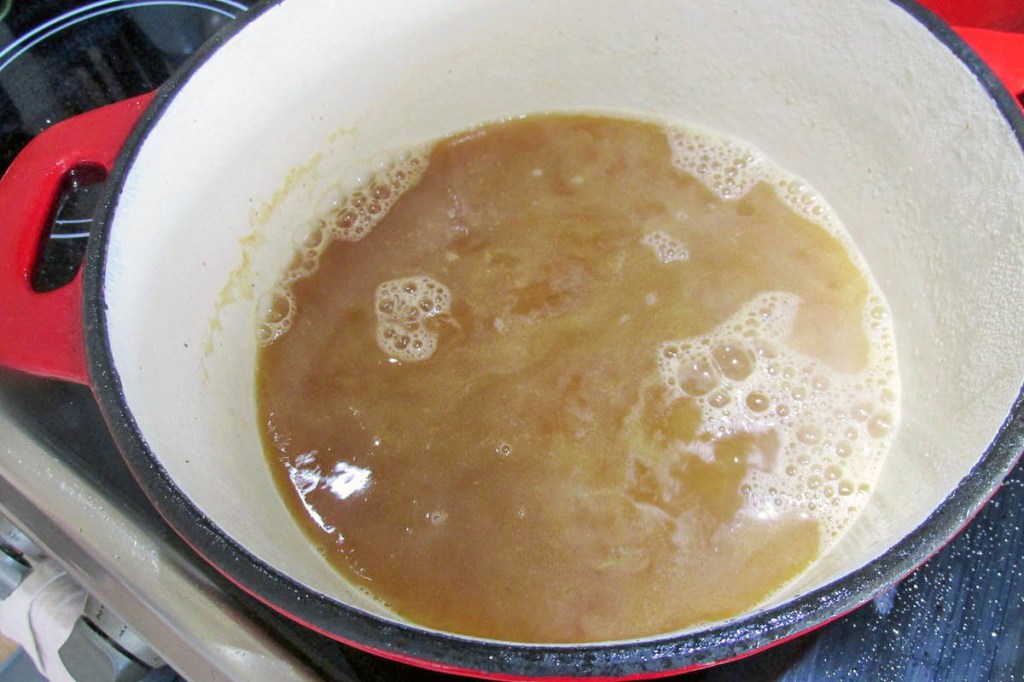
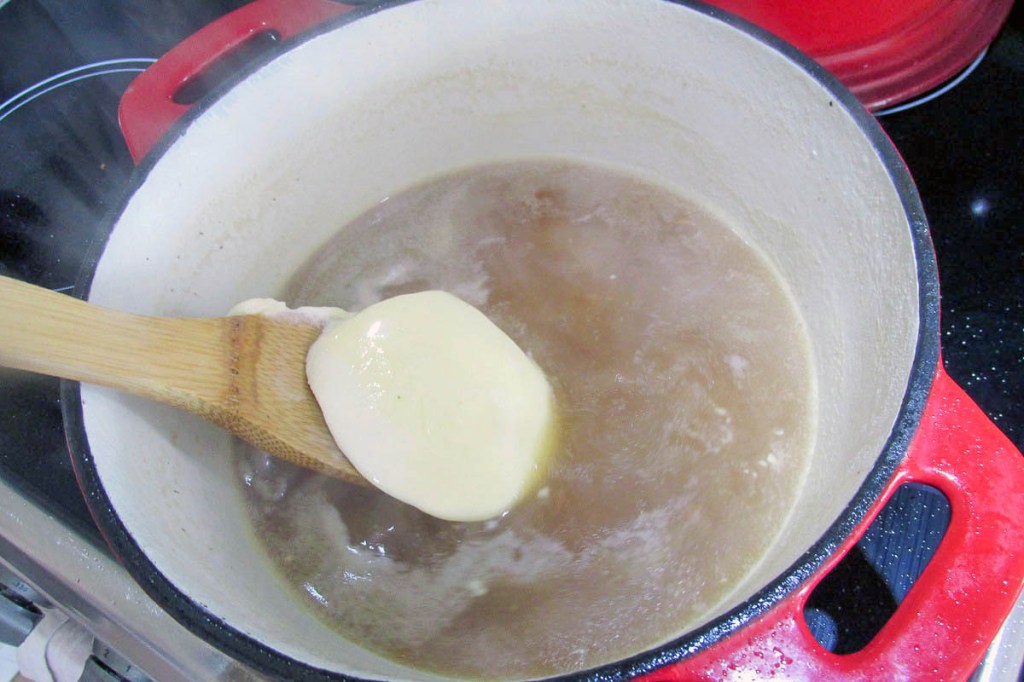
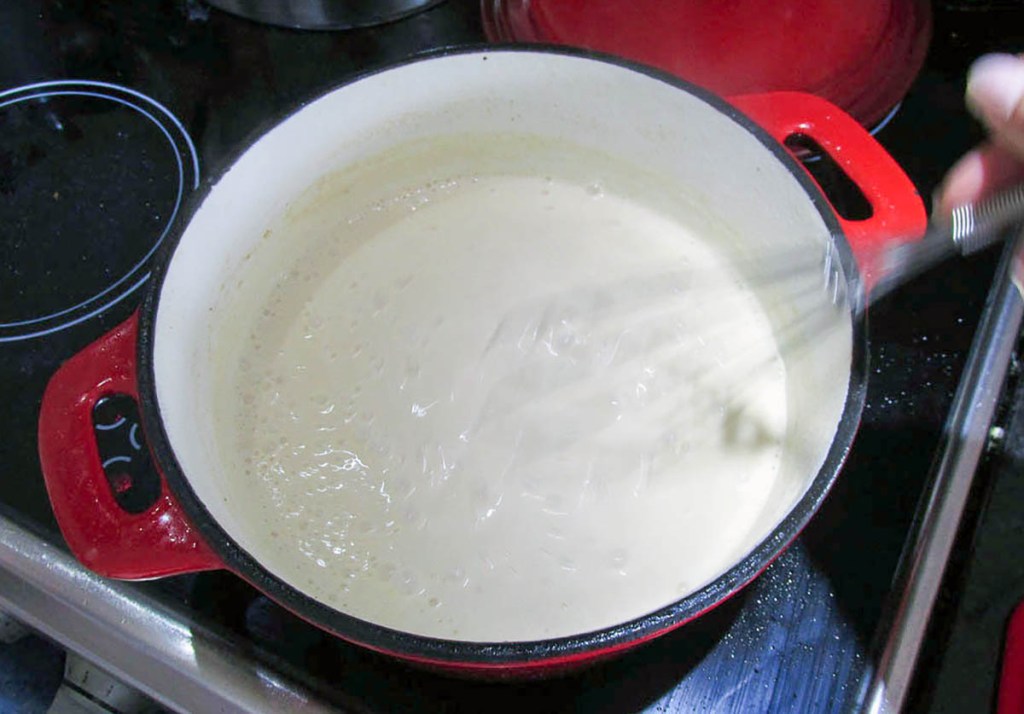
- Add the cream, cream cheese and broth to the saucepan, simmer gently.
- Keep the mixture moving so that it becomes a smooth mixture.
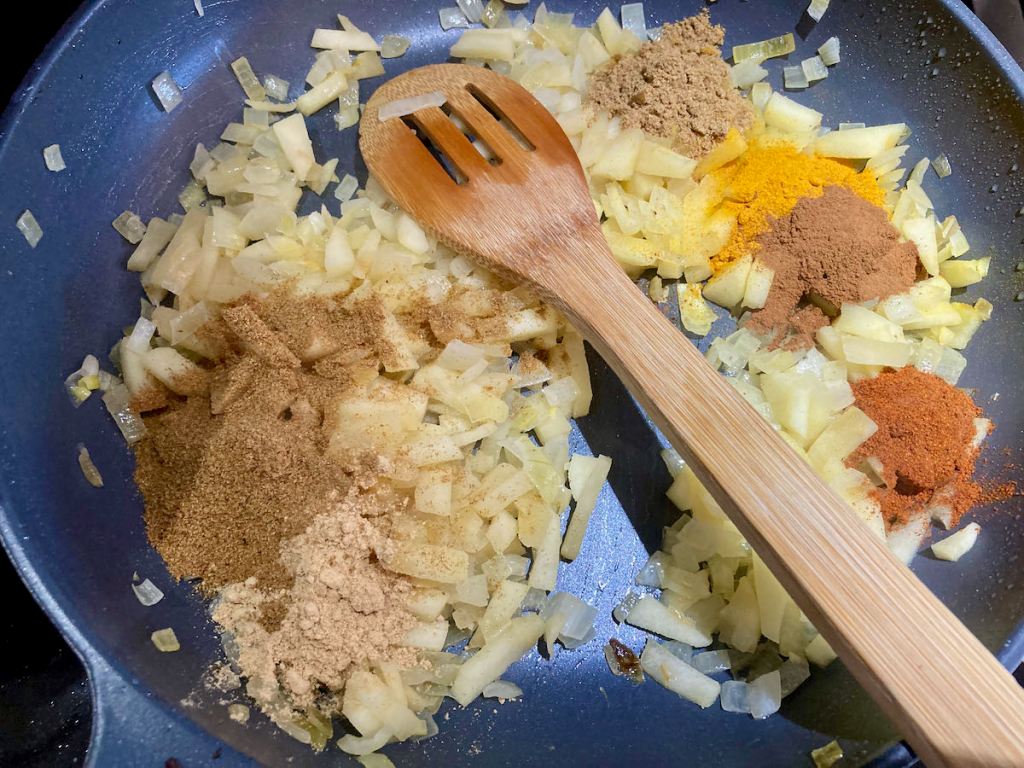
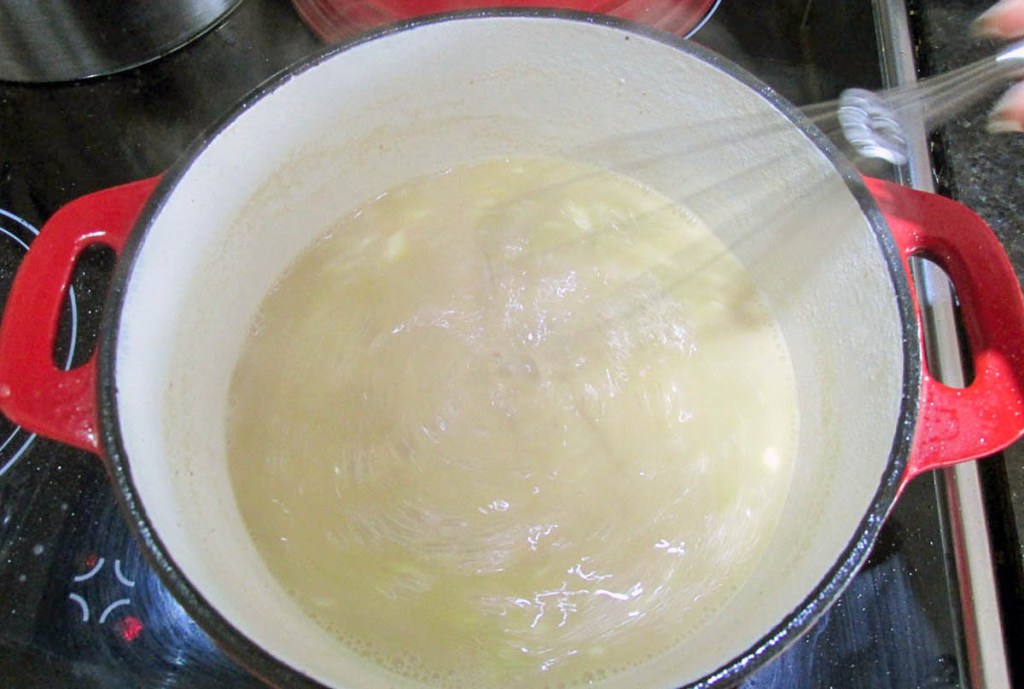
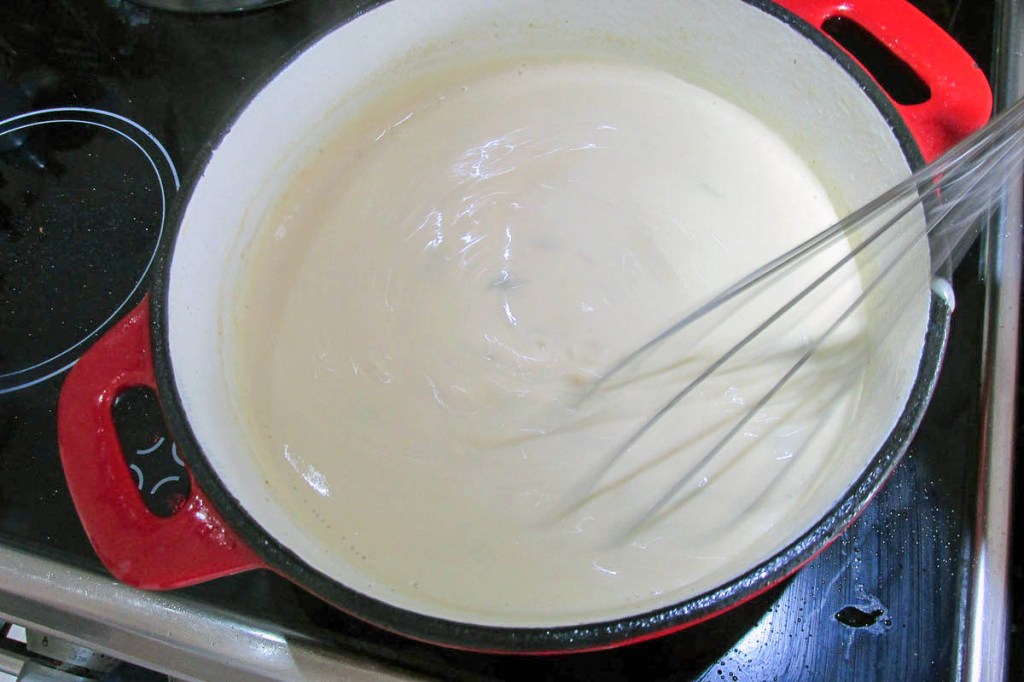
- Whisk in the garlic and the grated cheese.
- Add the jalapeno to the saucepan.
- Simmer until the soup thickens and the cheese is melted.
- When the soup is thickened, remove it from the heat.
- Serve with bacon bits sprinkled on top.
Nutrition
Per Serving: 305 calories; 29 g fat; 3 g carbohydrates; 8 g proteinEquipment
- Saucepan
- Whisk
- Spatula
- Knife
- Chopping board
- Measuring cups
- Measuring jug
Nutritional disclaimer
Nutrition information is provided as an estimate based on the ingredients used and available in my area (New Zealand). The nutritional information is here to help you understand the recipe; I use MyFitnessPal to generate my estimates. For more accurate nutritional information, please use a nutritional calculator with the ingredients in your area.