What are Meringues?
The meringue started as little cookies that were crispy on the outside and chewy inside. There are a few different types of meringues from across Europe that have slightly different ingredients and techniques. Meringue has been used for cookies, pavlova, Eton mess, and lemon meringue pies.
Big on sugar
There is one thing that all meringues have in common is a considerable amount of sugar, which isn’t my bag. Some recipes take a long time to get right from a technical cooking perspective and others from a flavour perspective, it is usually one thing or another, but in this instance, it took a long time to get the flavour and the technique right. I will save you the tale of woe and the many failed experiments to get a recipe that gave me silky meringues that once baked were crisp on the outside and chewy on the inside. All you need to know is the best combination of cream of tartar, apple cider vinegar and monkfruit sweetener.
No sugar meringue recipe
Ingredients
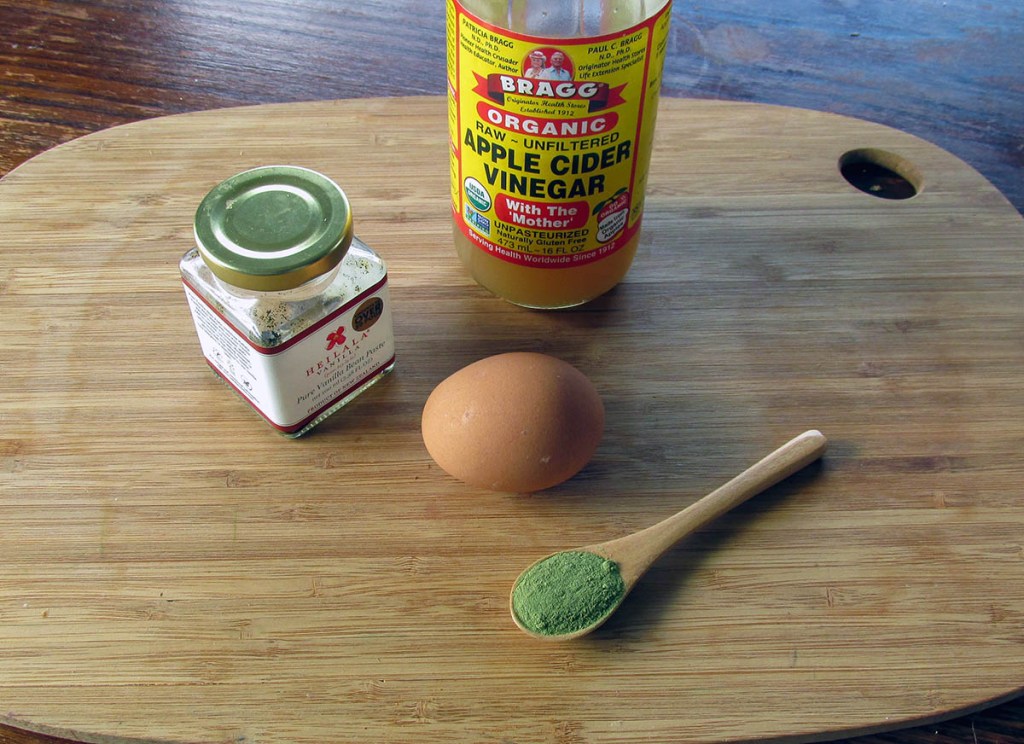
- 3 egg whites
- 1/2 tsp. apple cider vinegar
- 1/4 tsp. Cream of tartar
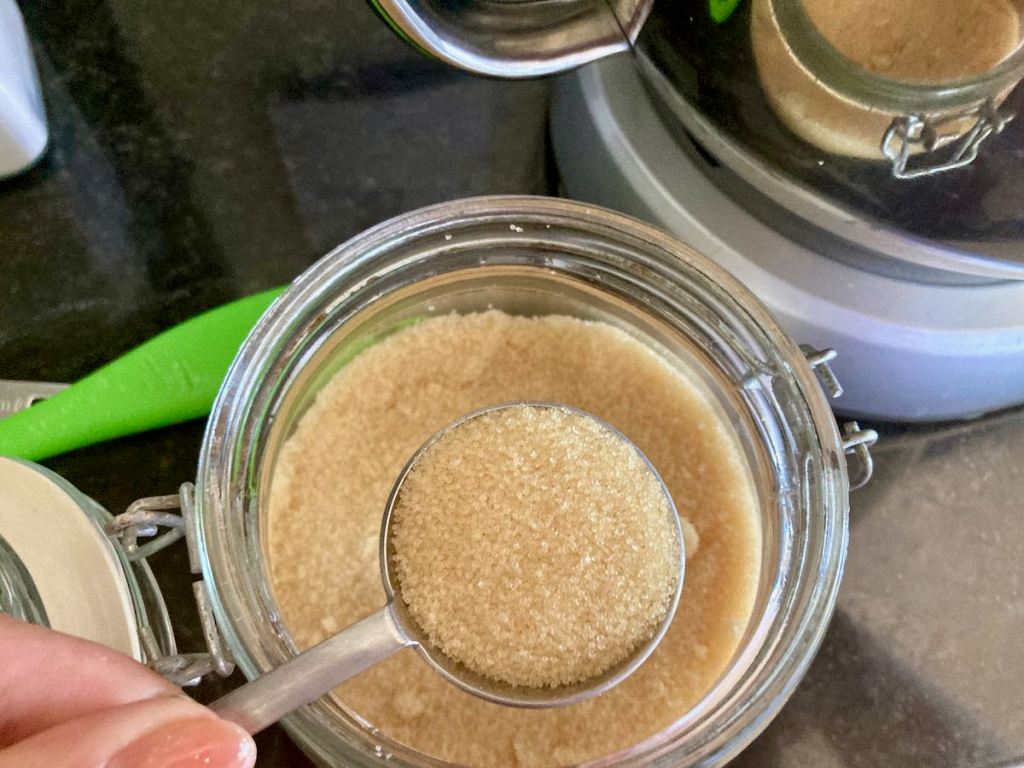
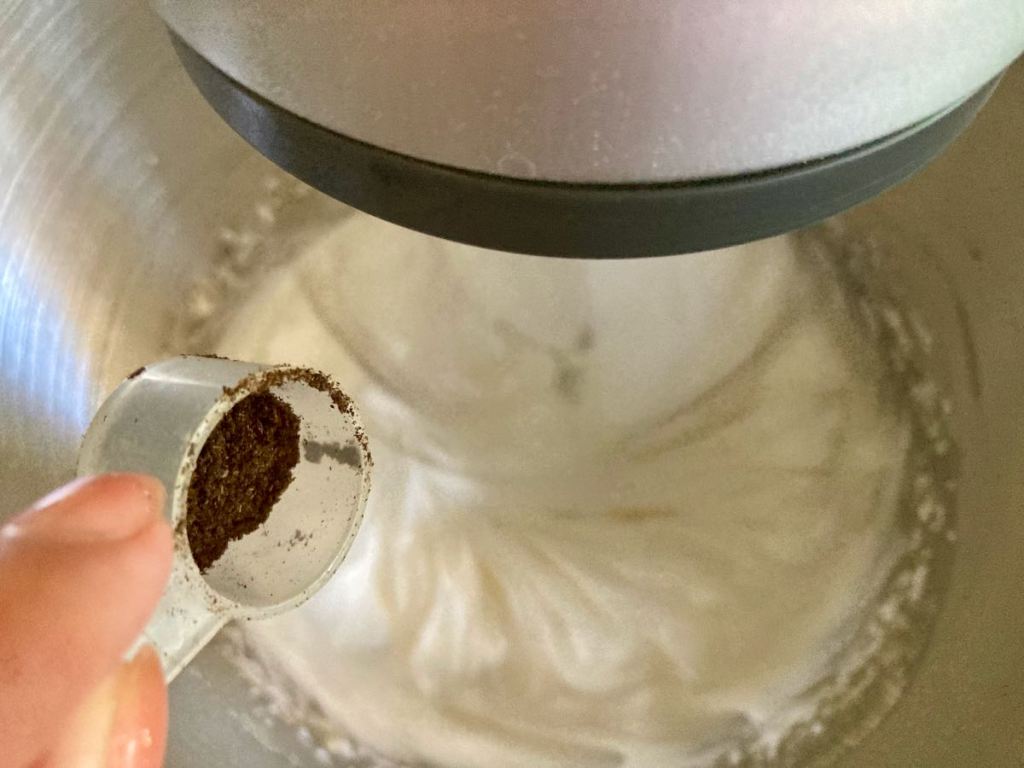
- 3 tbsp. Monkfruit sweetener
- 1/4 tsp. vanilla bean powder
Preheat to 135 degrees C / 275 degrees F.
Crack the eggs and separate the egg whites from the yolks*.
Place the egg whites into a large, clean bowl or a mixer.
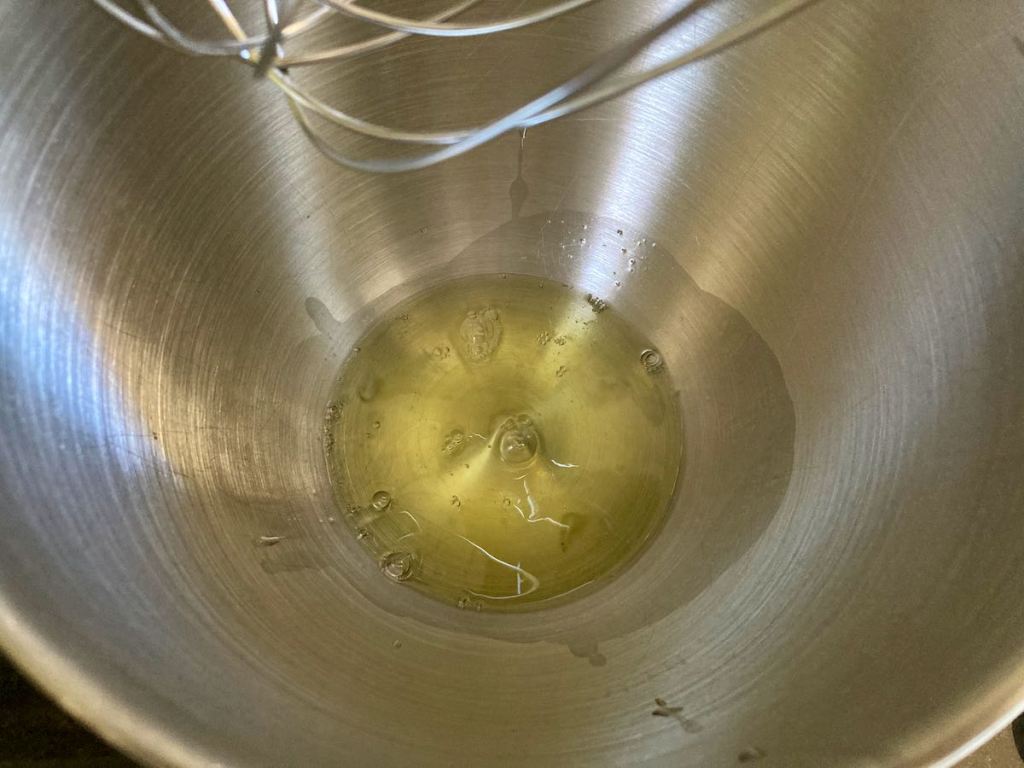
Using an electric whisk, start to beat the egg whites, use a medium speed setting on the whisk.
Beat the whites until they become foamy.


Whisk in the apple cider vinegar.
Add the monkfruit sweetener one tablespoon at a time, then whisk in the vanilla bean powder.


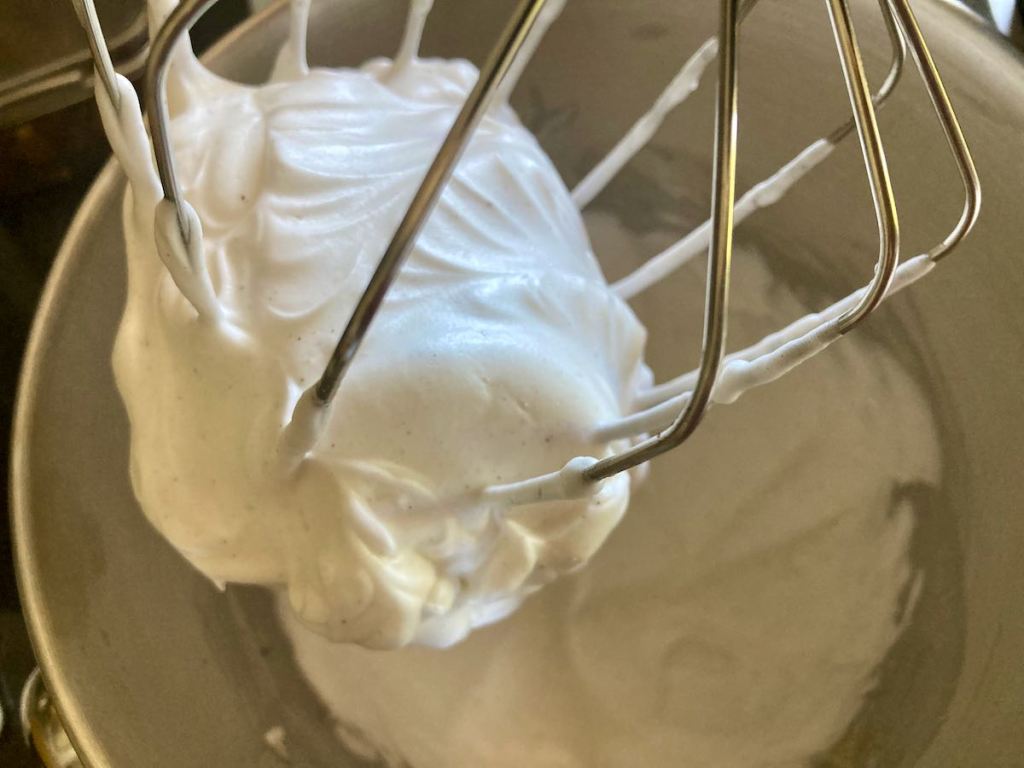
Keep beating the egg whites until they are stiff peaks and look glossy.
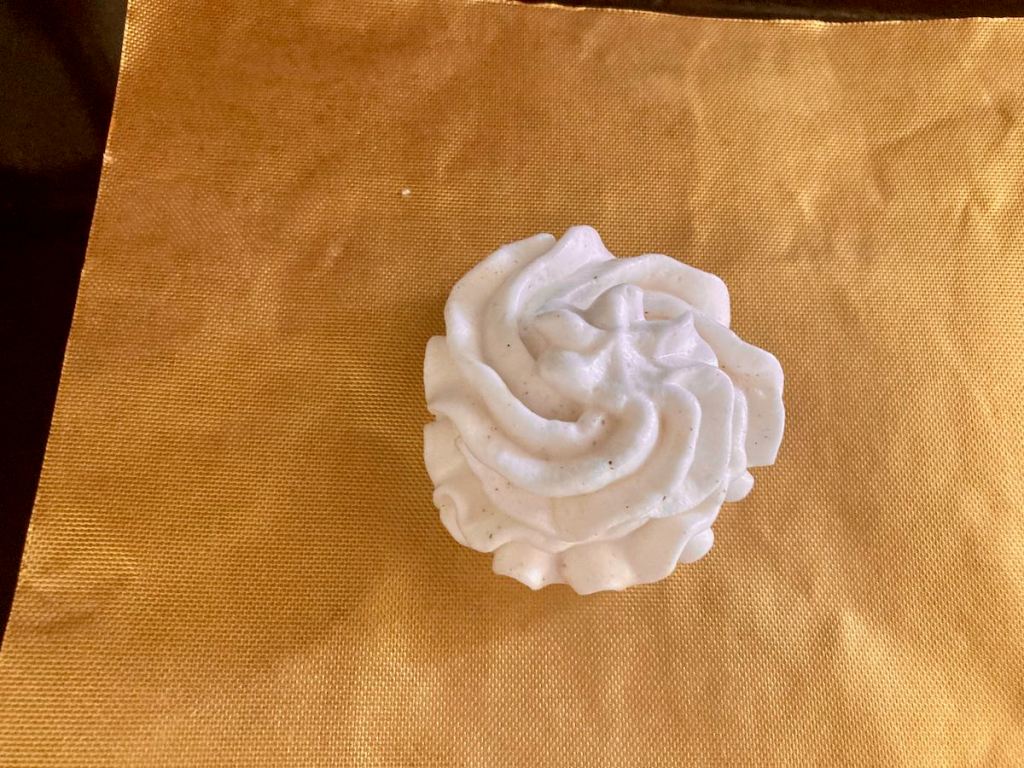
Line a baking tray with baking paper or a silicone liner.
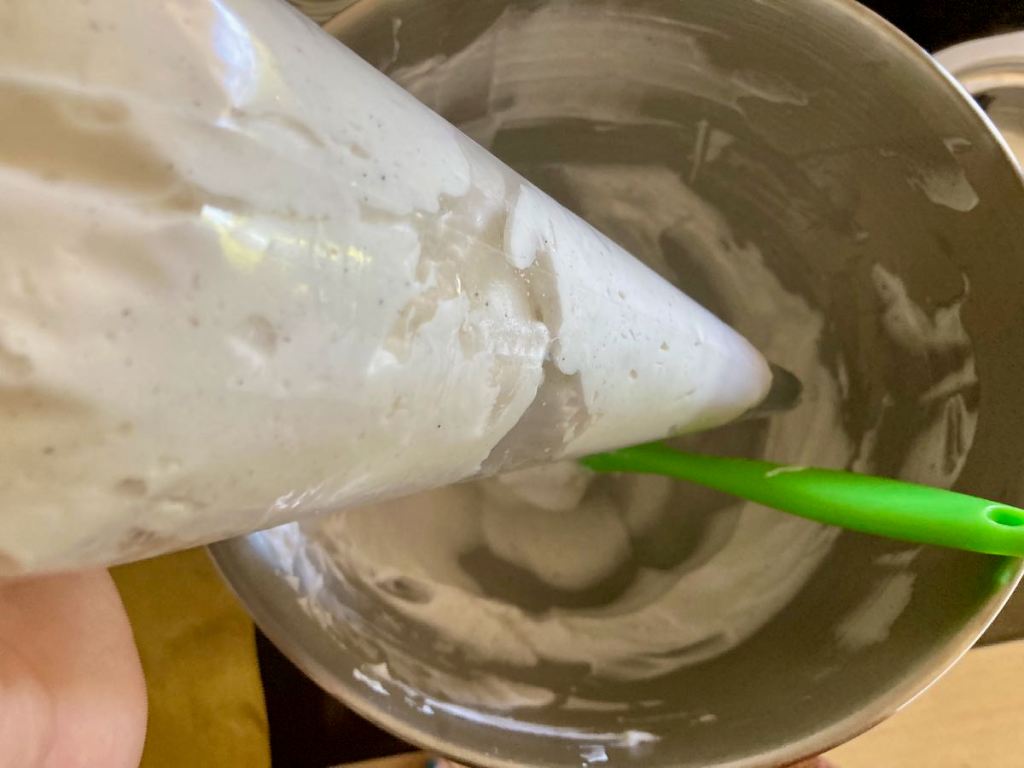
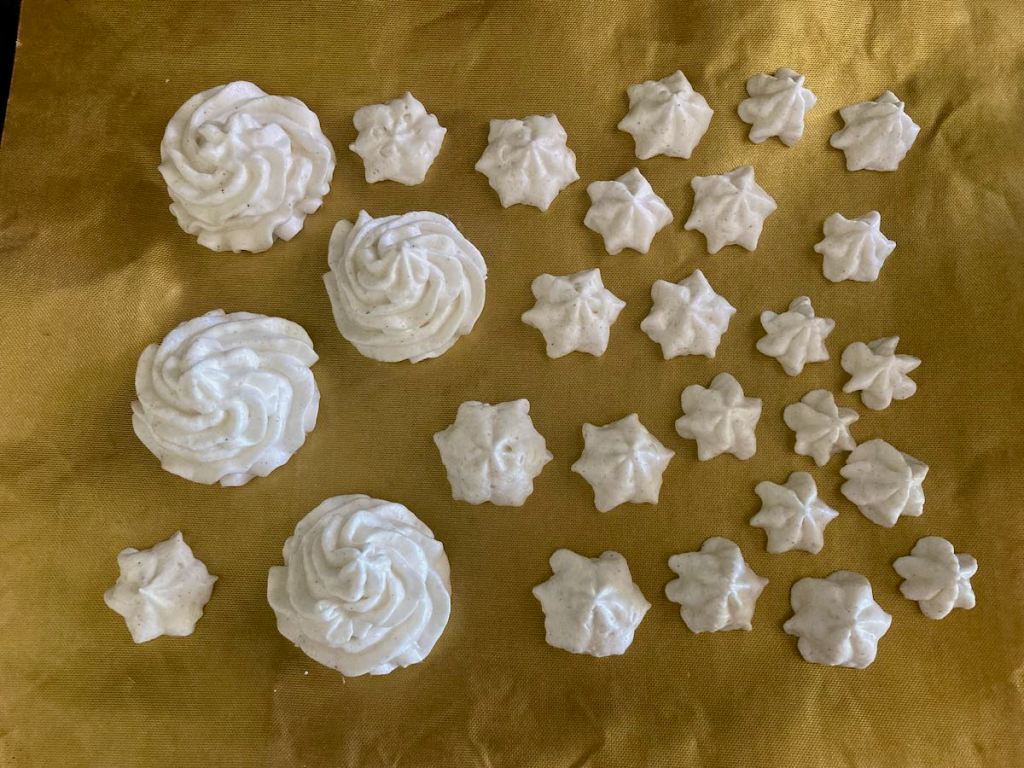
You can use a spoon to put the whites onto the baking tray; alternatively, you can use a piping bag to create shaped meringues.
Bake at 135 degrees C 275 degrees F for 15 minutes.
After 15 minutes, turn down the oven’s temperature to 100 degrees C 210 degrees F and cook for another hour.
After an hour, turn the oven off and keep the meringues in for another 2 hours.
When the oven has cooled completely, remove the meringues and put them into an airtight container.
You can store the meringues at room temperature until you need them.

*keep the yolks. You can add them to your homemade mayo to make it more creamy
No sugar meringue
“These
Credit: Cath @ easycleaneats
Ingredients
– 3 egg whites – 1/2 tsp. apple cider vinegar – 1/4 tsp. Cream of tartar – 3 tbsp. Monkfruit sweetener – 1/4 tsp. vanilla bean powderDirections
- Preheat to 135 degrees C / 275 degrees F.
- Crack the eggs and separate the egg whites from the yolks*.
- Place the egg whites into a large, clean bowl or a mixer.
- Using an electric whisk, start to beat the egg whites, use a medium speed setting on the whisk. Beat the whites until they become foamy.
- Whisk in the apple cider vinegar.
- Add the monkfruit sweetener one tablespoon at a time, then whisk in the vanilla bean powder.
- Keep beating the egg whites until they are stiff peaks and look glossy.
- Line a baking tray with baking paper or a silicone liner.
- You can use a spoon to put the whites onto the baking tray; alternatively, you can use a piping bag to create shaped meringues.
- Bake at 135 degrees C 275 degrees F for 15 minutes.
- After 15 minutes, turn down the oven’s temperature to 100 degrees C 210 degrees F and cook for another hour.
- After an hour, turn the oven off and keep the meringues in for another 2 hours.
- When the oven has cooled completely, remove the meringues and put them into an airtight container.
- You can store the meringues at room temperature until you need them.
Nutrition
Per Serving:14 calories; 0.1g fat; 0.3g carbohydrates; 3.3g proteinEquipment
- Mixing bowl
- Electric whisk
- Baking tray
- Baking paper or silicone liner
- Piping bag
- Star piping tip
Nutritional disclaimer
Nutrition information is provided as an estimate based on the ingredients used and available in my area (New Zealand). The nutritional information is here to help you understand the recipe; I use MyFitnessPal to generate my estimates. For more accurate nutritional information, please use a nutritional calculator with the ingredients in your area.