If you are like me and you try to avoid mass-produced processed foods, the best option is to make your own. When you make your own, you get to control which ingredients you use and how much or how sweet you want it to be. Once you have a go at making your own and realise how easy it is, you will never go back to store-bought again.
Reinvention
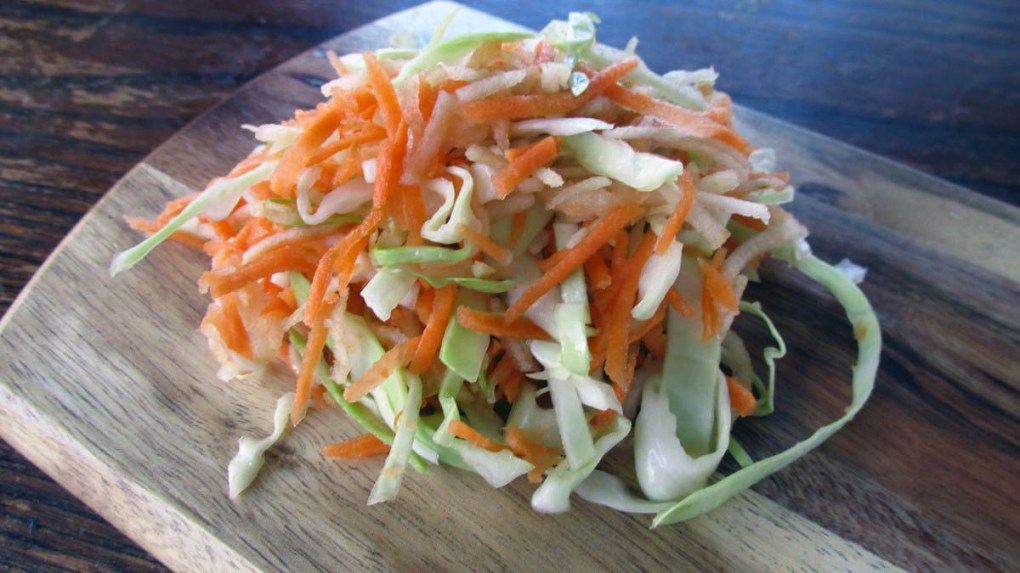
Years ago, I was looking for something to go with my garlic pulled pork. I had a great recipe from my former mother-in-law for a classic slaw that I decided to tinker with. This recipe is what I ended up with. The crisp apple goes so well with the crunchy cabbage and tangy honeygar. Like the normal slaw, it is quick and easy to make but packs a lot more punch in the flavour stakes.
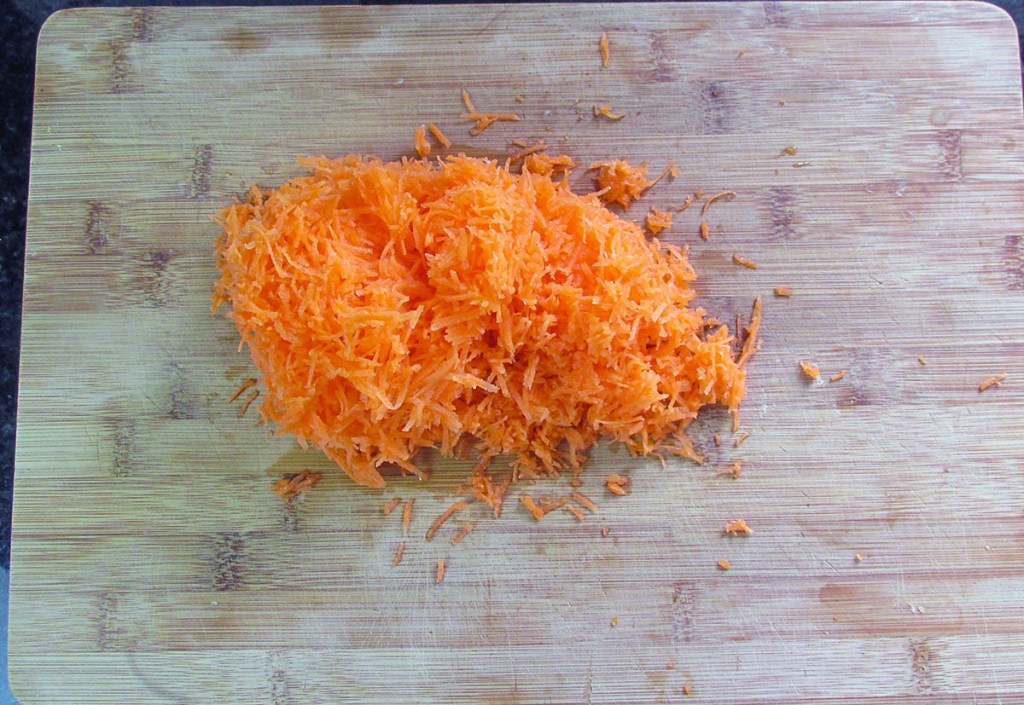
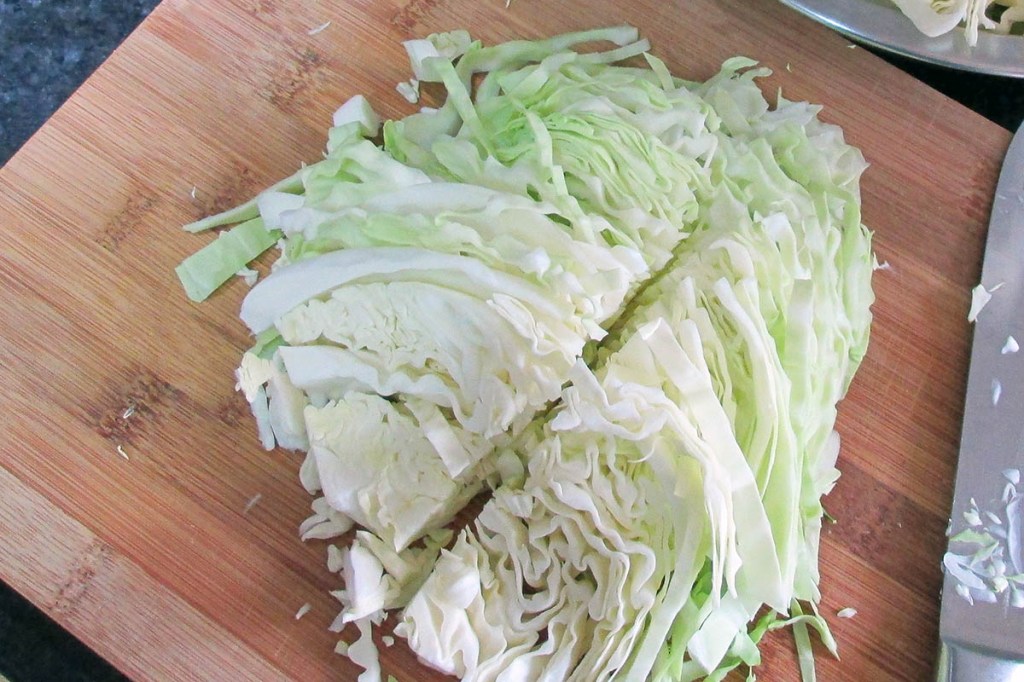
If you have the attachments on a food processor, I recommend using the shredding and grating features to make it even faster to make your slaw.
Add in the honeygar and lemon juice, mix and serve. This makes enough slaw to go with a 2kg pork shoulder and will easily fill six grown and hungry men.
Mix vegetables together in a bowl.
Add in the honeygar and lemon juice, mix and serve.
Nutrition
Per Serving: 71 calories; 0.2g fat; 17.5g carbohydrates; 1.8g protein
Equipment
Chopping board
Knife
Grater
Vegetable peeler
Mixing bowl
Fork
Nutritional disclaimer
Nutrition information is provided as an estimate based on the ingredients used and available in my area (New Zealand). The nutritional information is here to help you understand the recipe; I use MyFitnessPal to generate my estimates. For more accurate nutritional information, please use a nutritional calculator with the ingredients in your area.
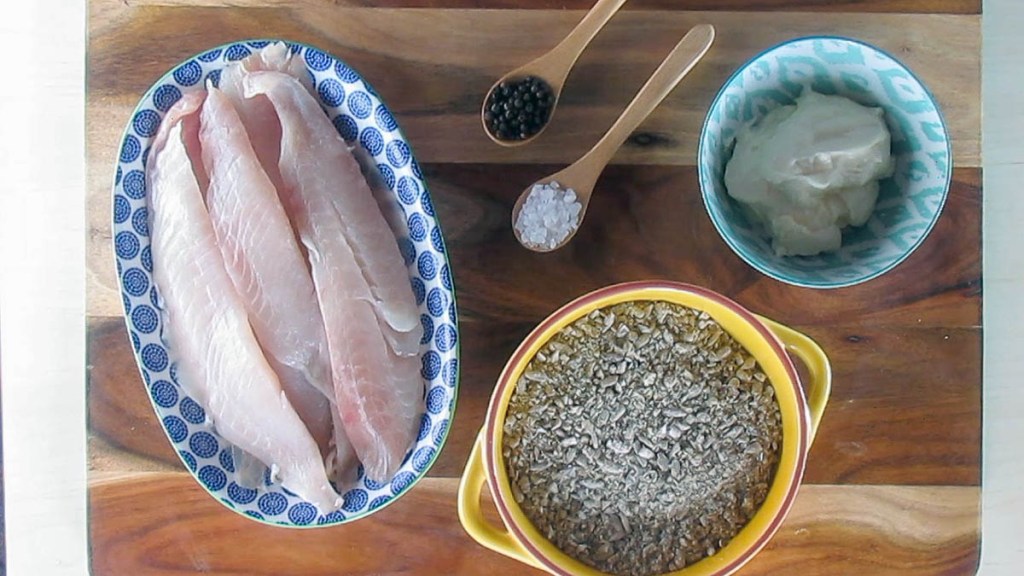
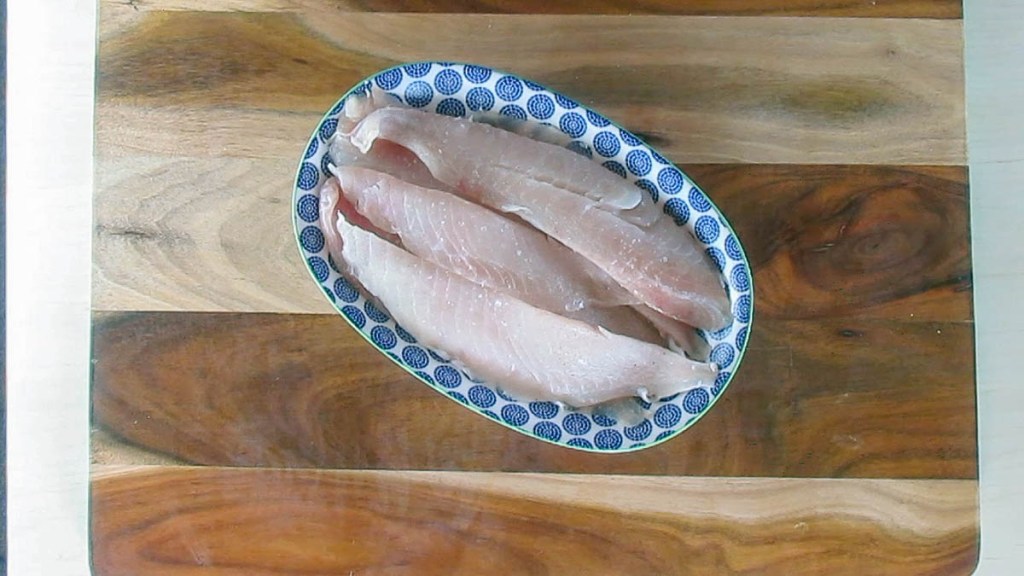
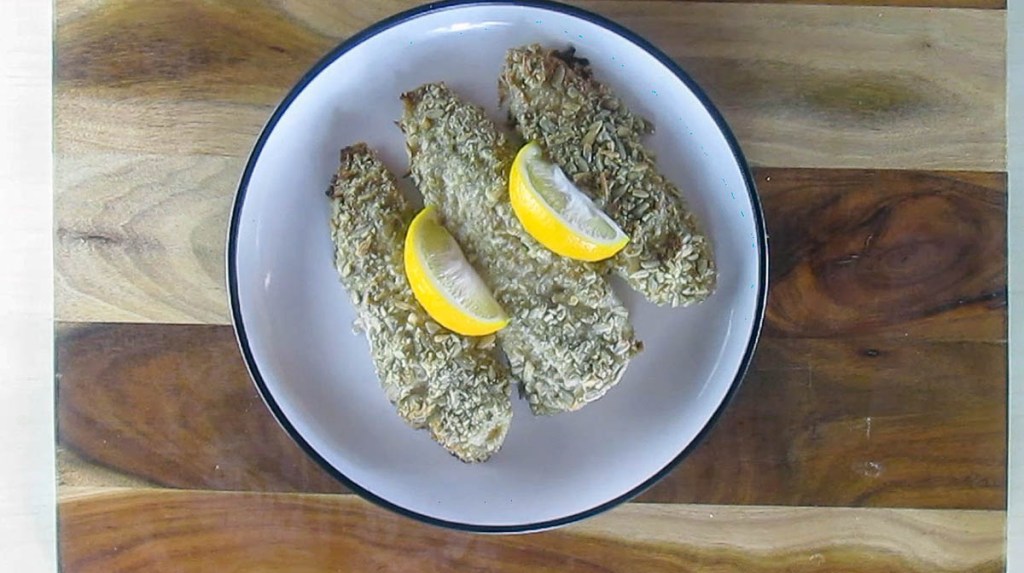
Are you looking for a way to make that white fish fillet more interesting? What if you could have a creamy fillet with a crunchy crust that takes 15 minutes to cook? Would you be game? This take on a crusted fish fillet is easy to make, tasty and a great weeknight option.
More nut challenges
I am one of those unfortunate people that are allergic to not only peanuts but also tree nuts. When it comes to food options, not having nuts on the menu can be challenging at times and frustrating at others. There are so many foods I would love to try or eat regularly but will never get the chance, thanks to nuts. Not eating nuts doesn’t have to be the end of the world; there are always replacements and alternatives that mean you can have a nut-free option. This recipe is my attempt to create a nut-free version of a usually nut-packed recipe.
No almond crust, thanks
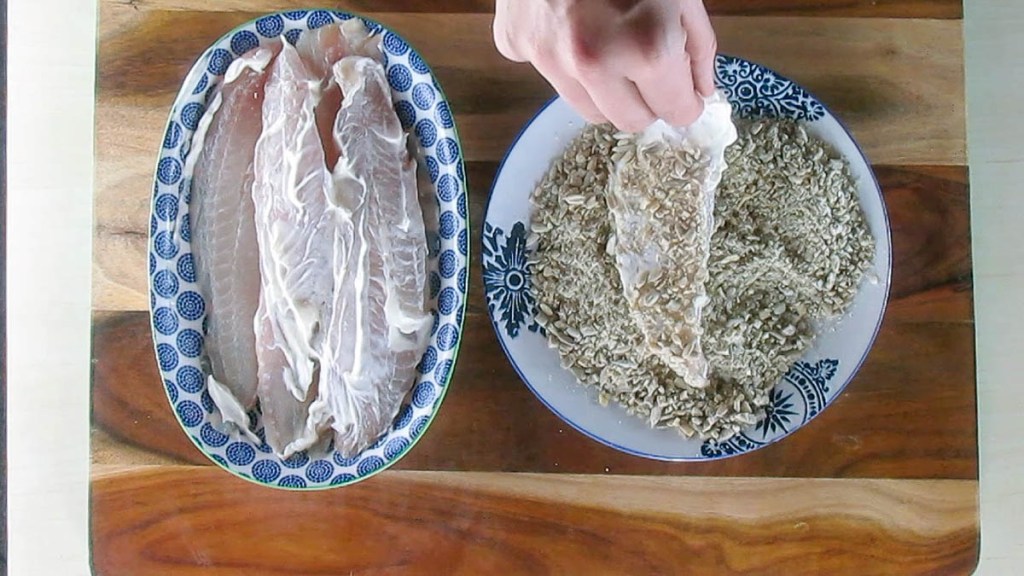
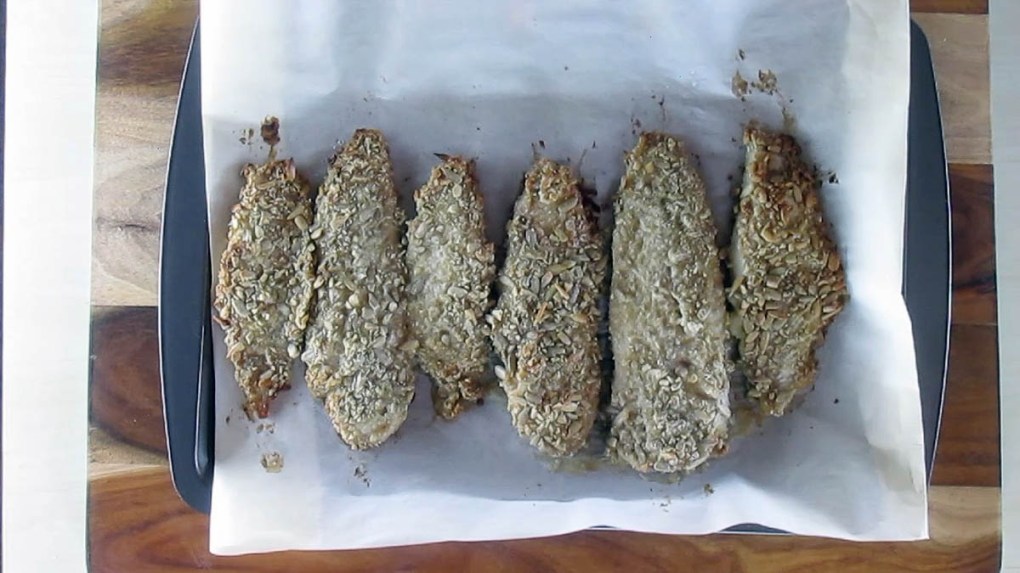
At a restaurant a few years ago I saw almond-crusted fish that looked and sounded delicious, but there was no way I would get to find out how delicious it was. Thankfully I love the challenge of making something I’ve seen but never tasted. I set about trying to make a crust full of flavour that had a great crunch and would make everyone in the family happy. This is what I came up with. The sunflower seeds give the fish a great crunch; toasting them adds an extra level to their flavour and makes them a great alternative to nuts.
Line a baking tray with baking paper or a silicone liner.
Lightly grease the liner or paper with the avocado oil.
Take a large frying pan and place it over medium heat.
Add half the sunflower seeds to the pan when the pan is warm.
Move the seeds around, so they don’t burn, but so they can get some colour.
When the seeds are golden, transfer them to a plate to cool slightly.
Repeat with the remaining seeds.
Place the seeds in a food pressor and blitz to break up the seeds.
Take care not to over-process them; you don’t want sunflower seed meal.
Place the seeds on a plate and put them to one side.
Place the fish fillets on a flat surface and season them.
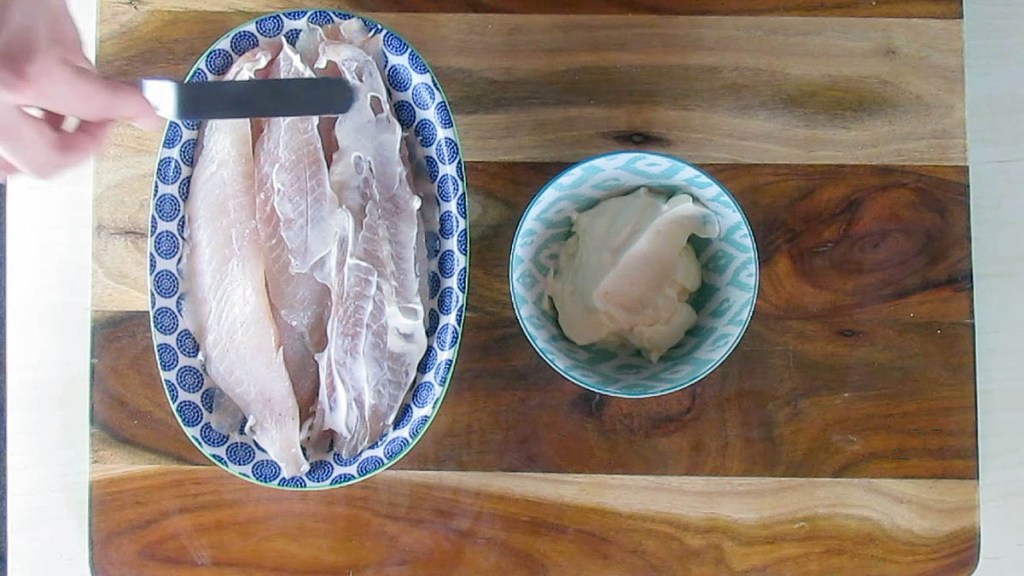
Once seasoned, brush the fish with a coating of mayo; you can do this with a knife or a brush.
Roll each of the fish fillets in the seeds, and be sure to coat them all over.
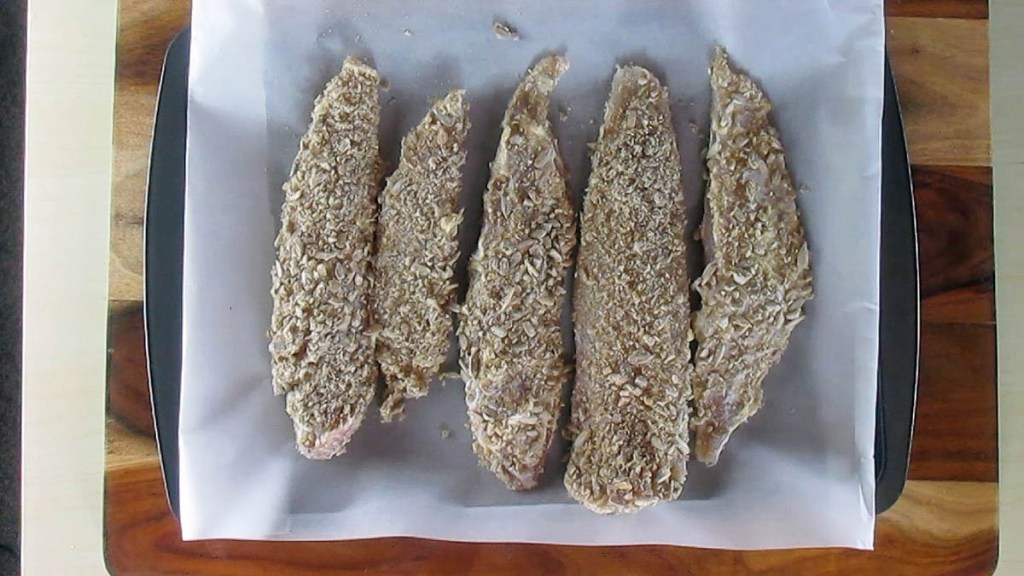
Place the coated fillets on the baking tray.
Bake the fish for 15 minutes or until the fish flakes easily with a fork.
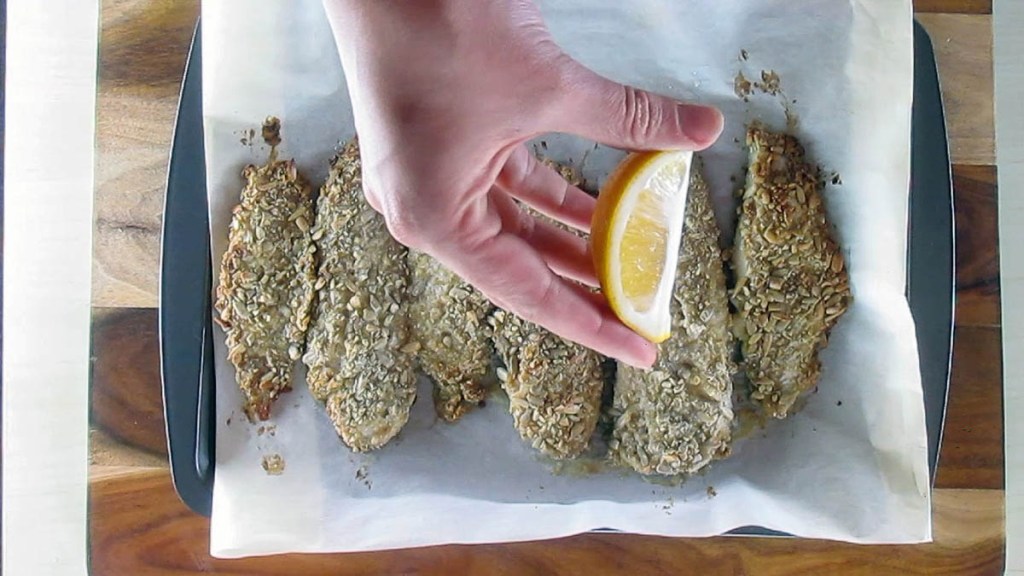
When the fish is cooked, remove it from the oven and squeeze the lemon over the fish.
Serve with a salad or roasted vegetables.
Nutrition
Per Serving: 471 calories; 37.7g fat; 14g carbohydrates; 25.2g protein
Equipment
Measuring cup
Measuring spoons
Knife
Chopping board
Baking tray
Baking paper or a silicone liner
Fork
Frying pan
Spatula
Food processor
Nutritional disclaimer
Nutrition information is provided as an estimate based on the ingredients used and available in my area (New Zealand). The nutritional information is here to help you understand the recipe; I use MyFitnessPal to generate my estimates. For more accurate nutritional information, please use a nutritional calculator with the ingredients in your area.
Here is another quick, easy and practical post to add to your kitchen skill toolbox.
Avocado
I love Avocado; everyone should love them.
They are fantastic and green!
They are perfect for dips, smoothies and salads.
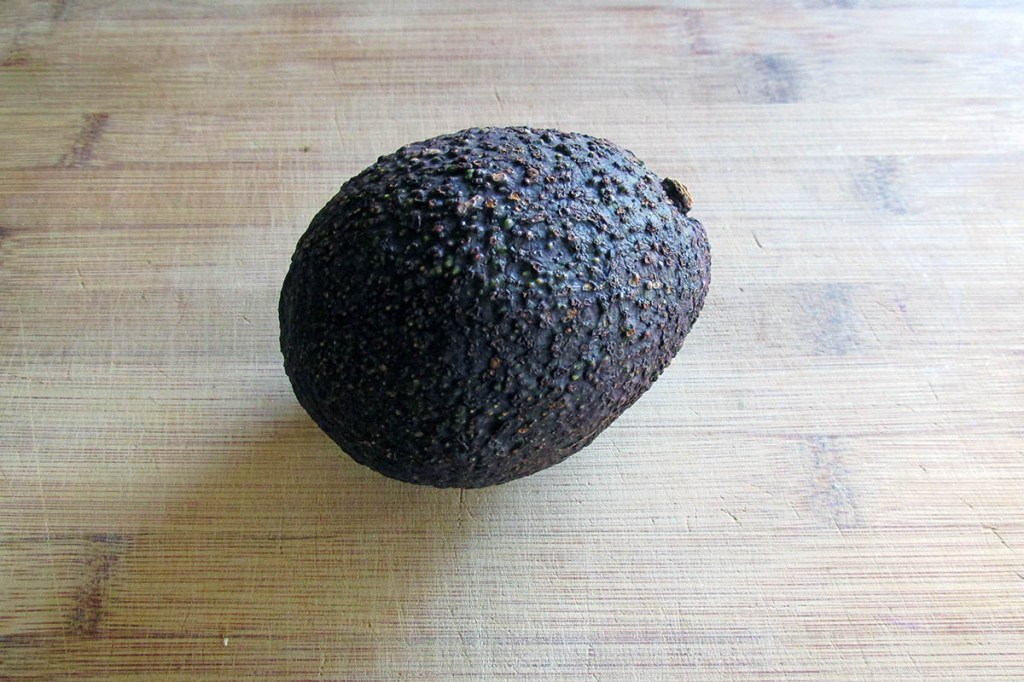
Everyone knows it
Probably the most recognisable fruit and by far the most versatile. You can find it in guacamole, salsas, brownies, cookies, smoothies and salads. The perfect avocado is a little food gift that I find great joy is opening. Knowing how to liberate the beautiful flesh from the stone and skin is now always an easy job. That is why I have put together a quick guide on how to work with avocado and how to make something pretty out of it too.
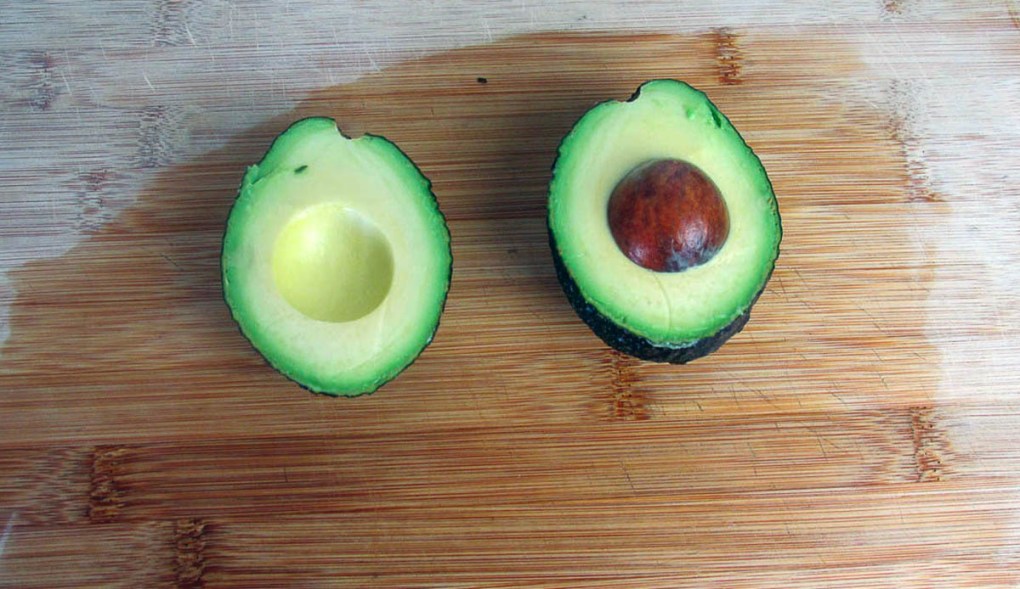
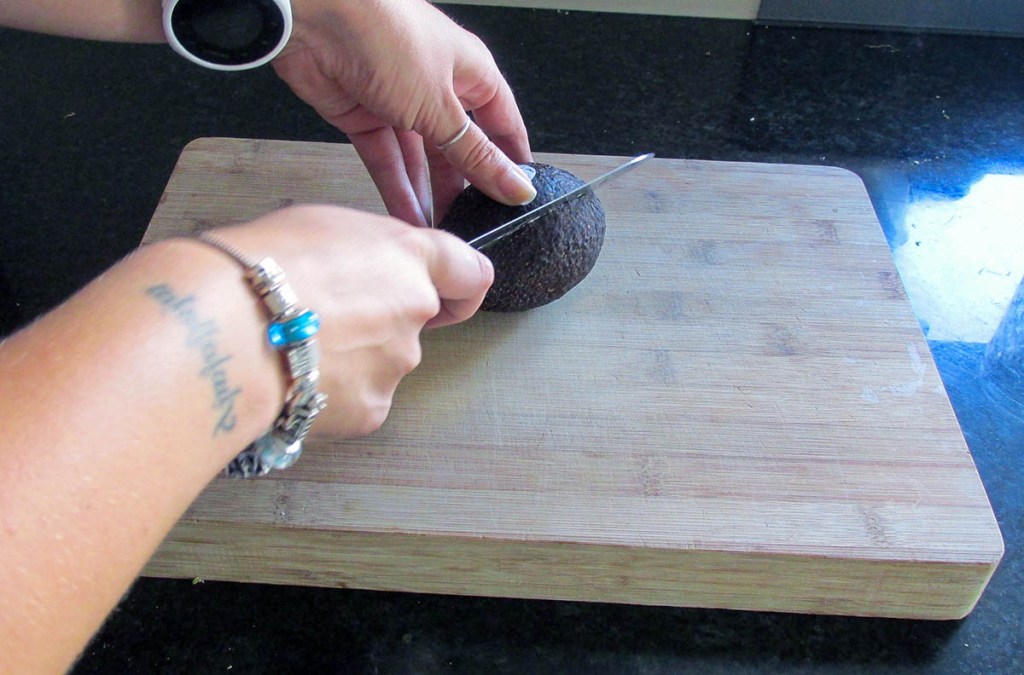
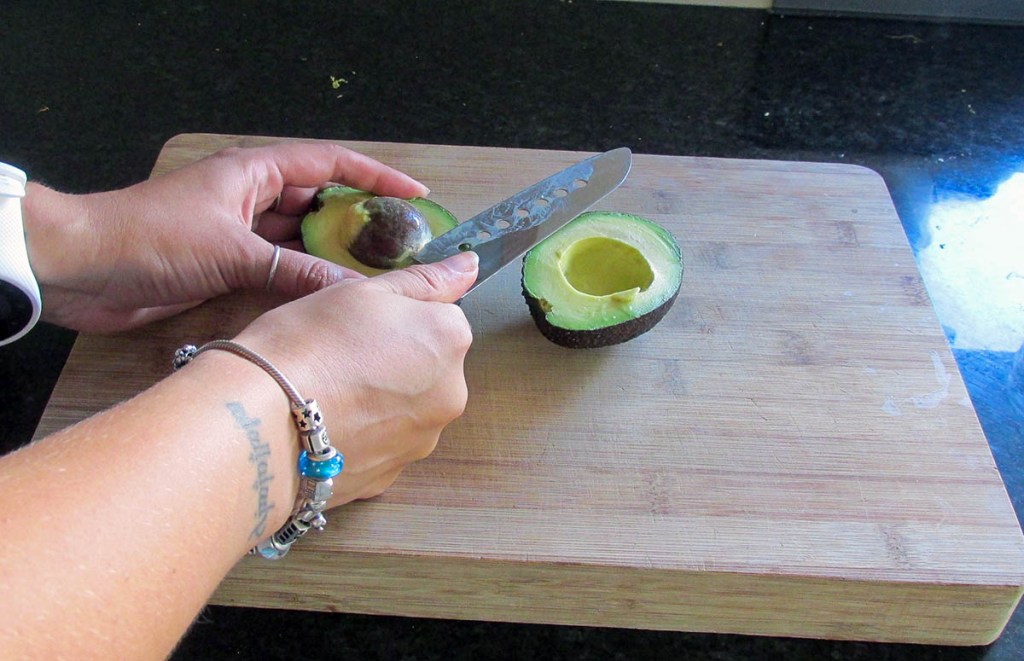
Preparing avocados is easy once you know how.
Take a medium-large knife and cut the avocado in half. The easiest way is to roll the avocado around the blade to get a clean cut in half
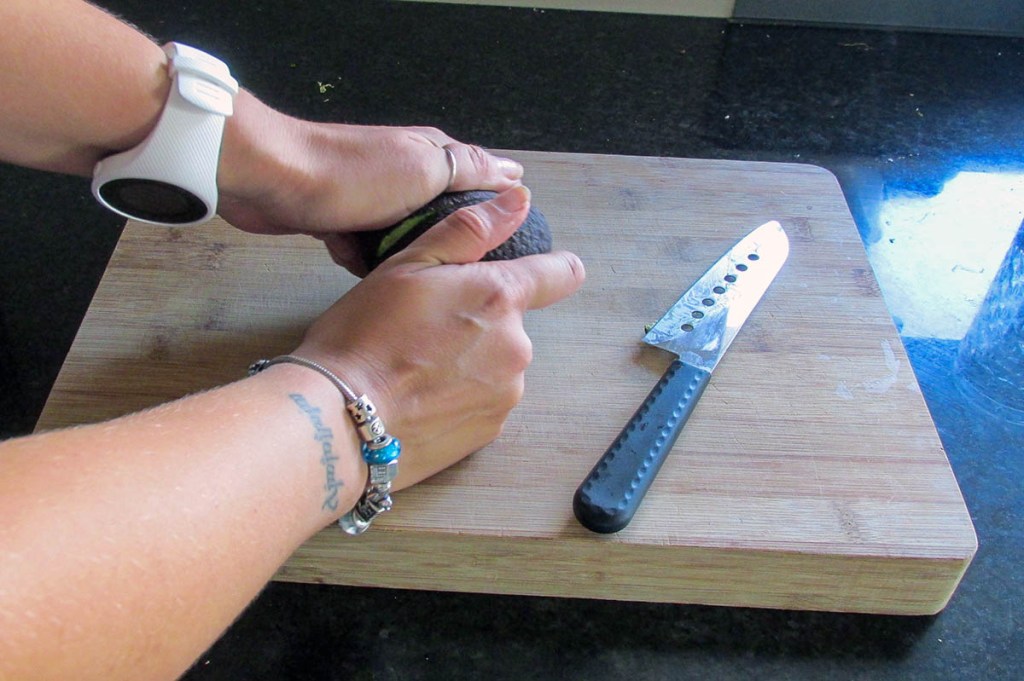
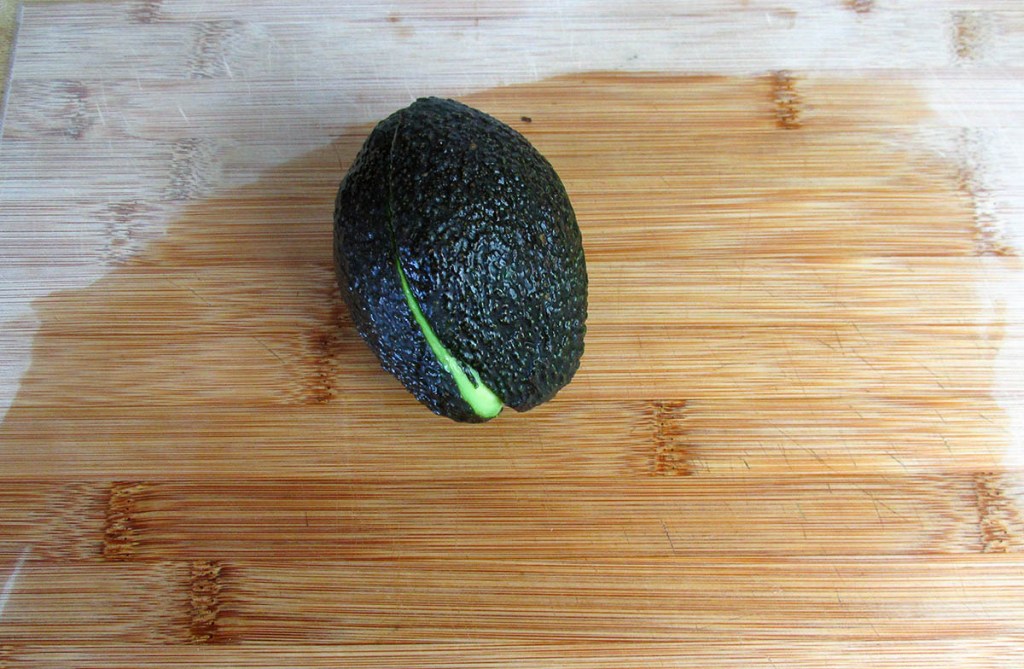
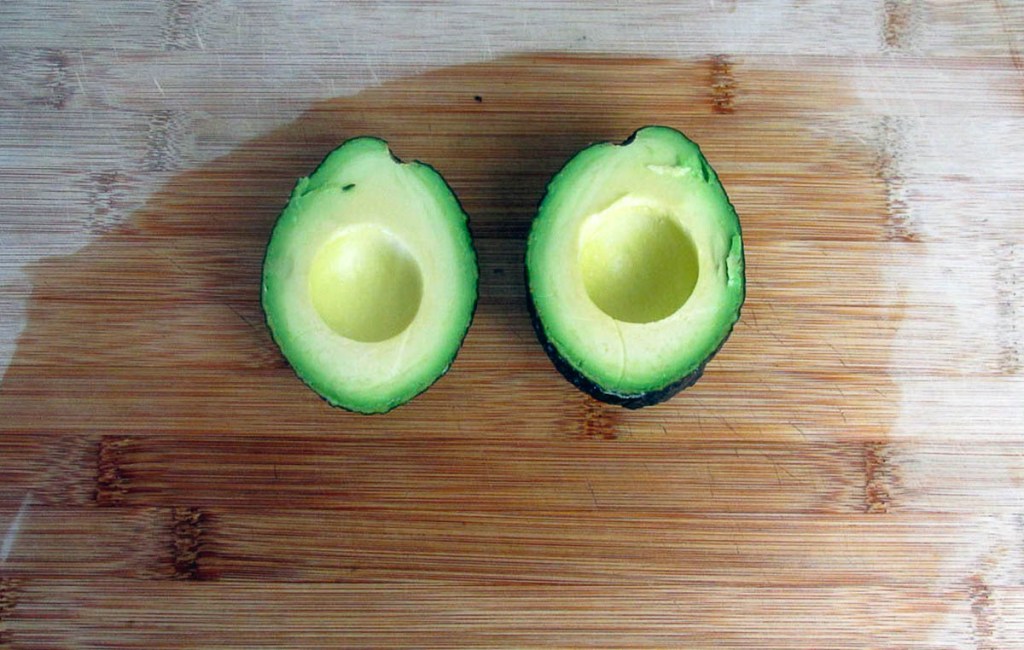
Twist the two halves to separate them
Take the half with the stone in it and place it on a countertop.
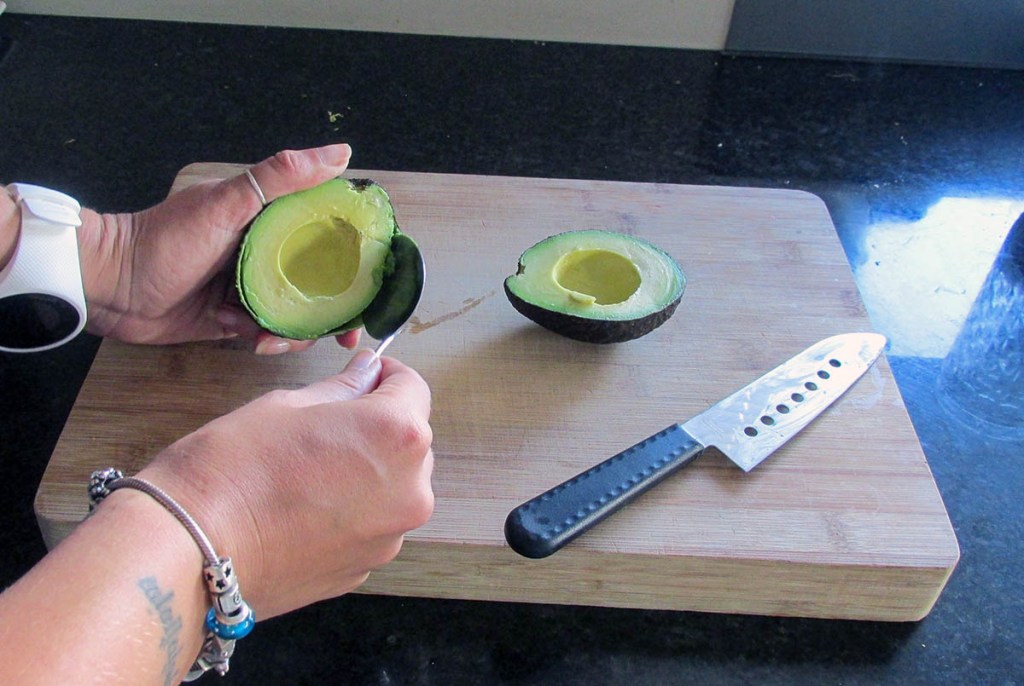
Take a knife and tap it in the bottom of the stone.
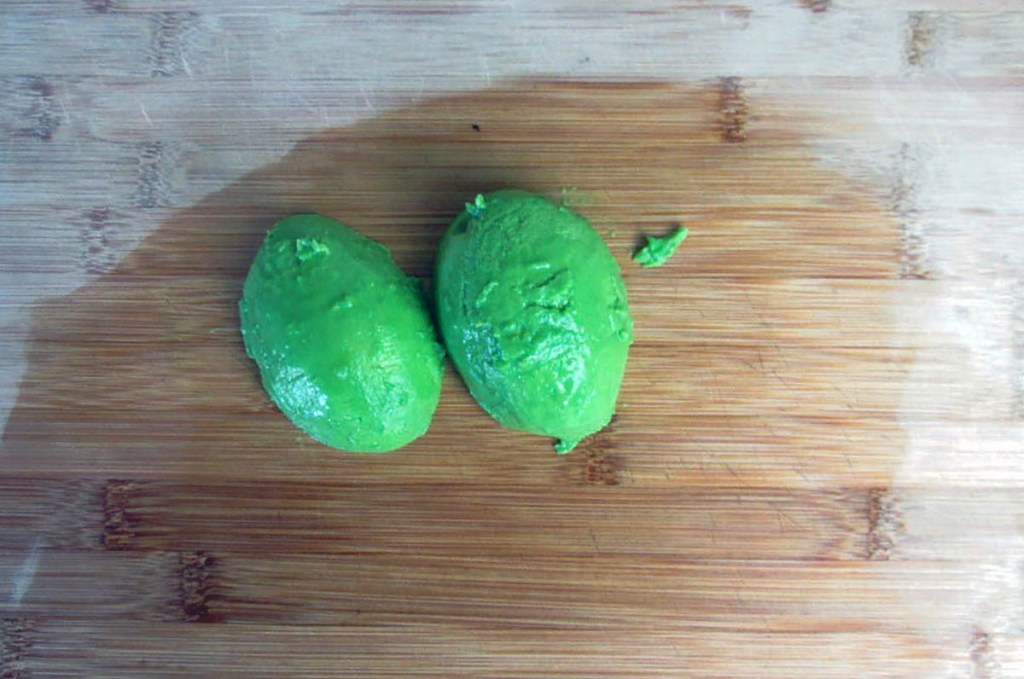
Take a tablespoon and run it around the inside of the skin to remove the avocado.
To stop the avocado from going brown, you just need to sprinkle some lemon juice or a dash of vinegar.
Something fancy
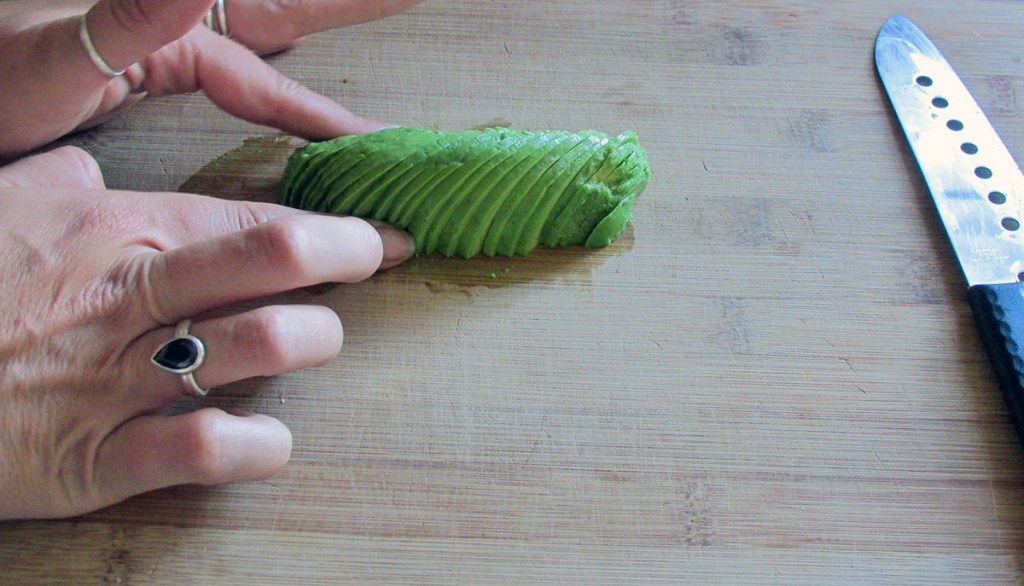
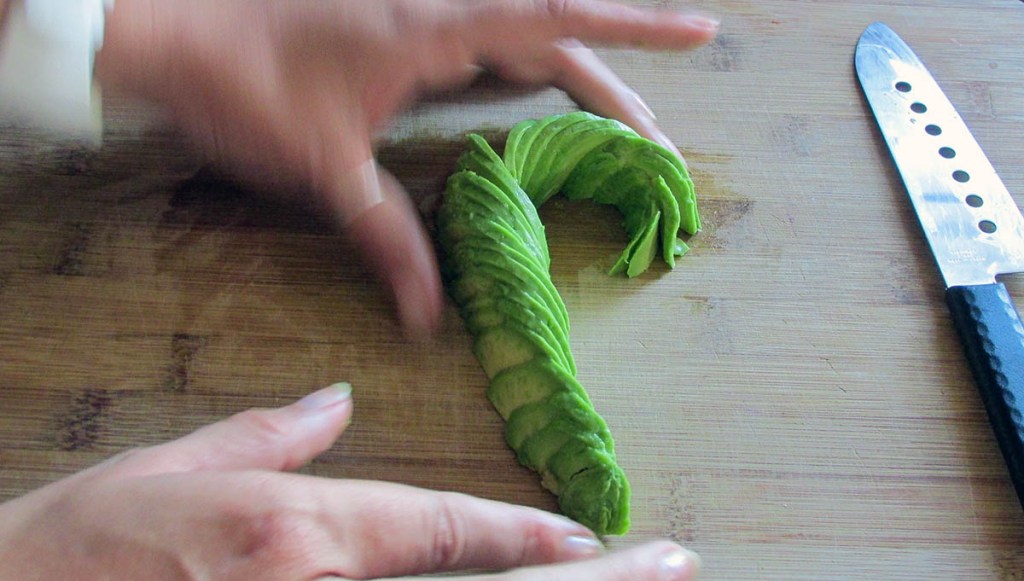
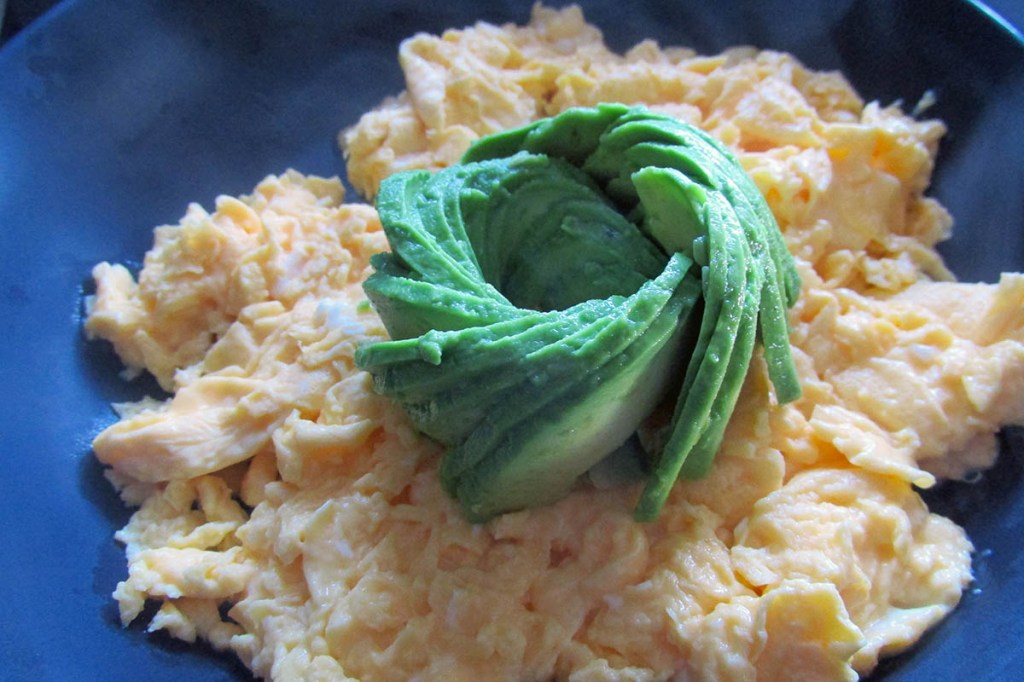
Avocado roses are so elegant looking and surprisingly easy to create. If you want to add a special touch to your breakfast for salad, an avocado rose is a way to go.
Place the avocado half on the board, so the length of the fruit is horizontal on the board
Using a sharp knife cut thin slices vertically in the fruit, you want them as close together as possible
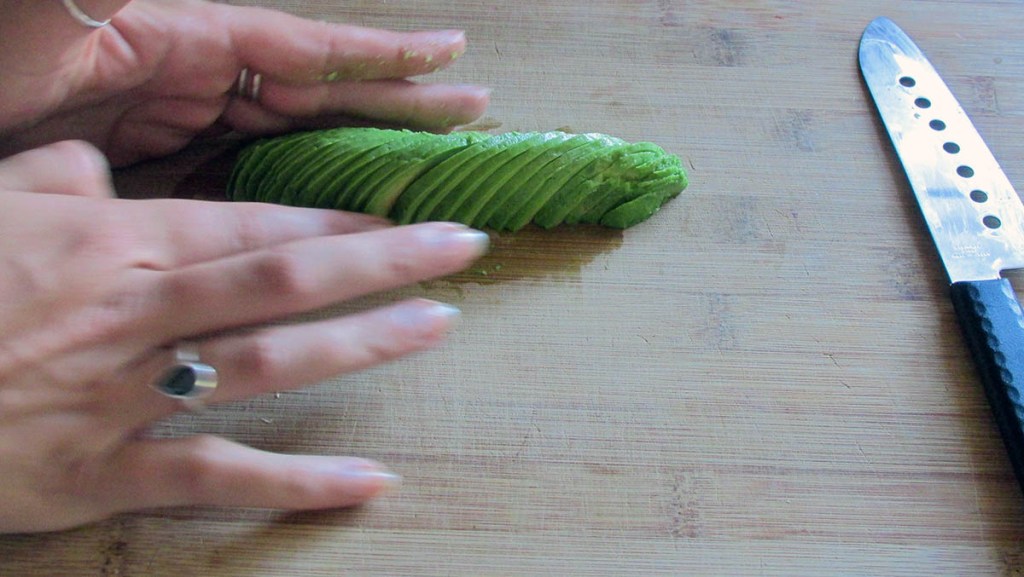
Using your fingers gently elongate the slices to create a long line out of the slices.
Using your fingers gently elongate the slices to create a long line out of the slices.
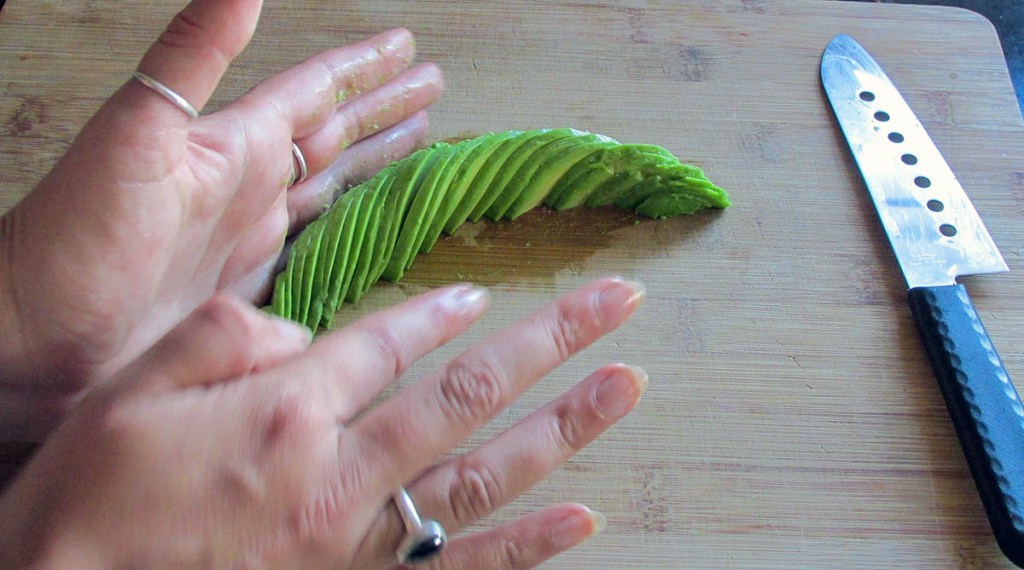
Take the smallest end and gently roll them in on themselves.
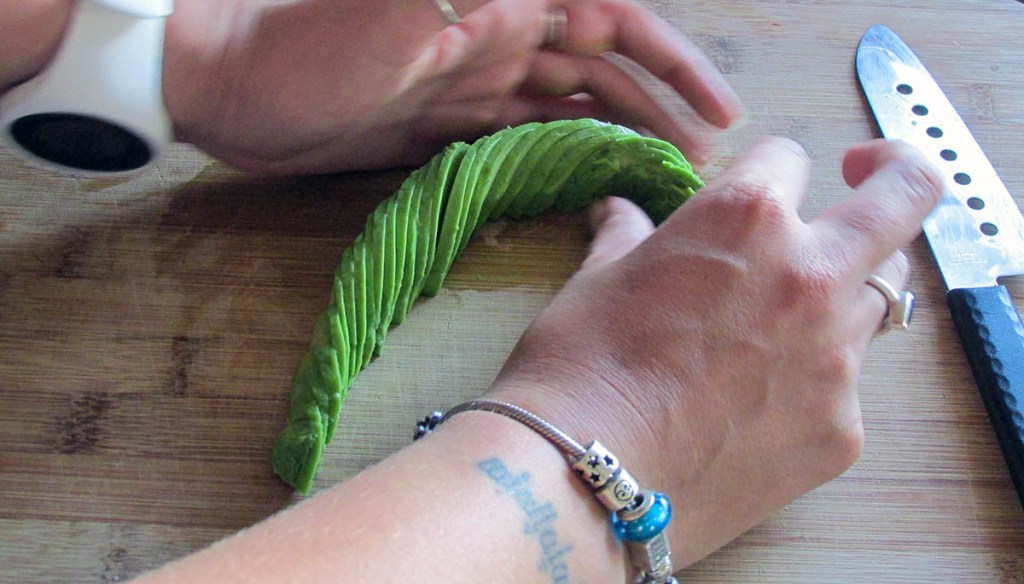
Continue to roll the slices in to create an avocado circle
Gently push down the top of some slices to form the petals of the rose
Use a knife to lift the rose off the chopping board and place it on top of your salad
Eating clean gets a lot easier once you have mastered a few essential recipes. This recipe is basic; not like basic unicorn basic, more like beard and flannel basic. Back to the point (which isn’t Unstable unicorns), having basic skills and recipes in your arsenal means you will never be left with only Uber Eats as your weeknight option. Once you master this recipe, the possibilities are endless.
Simple meal
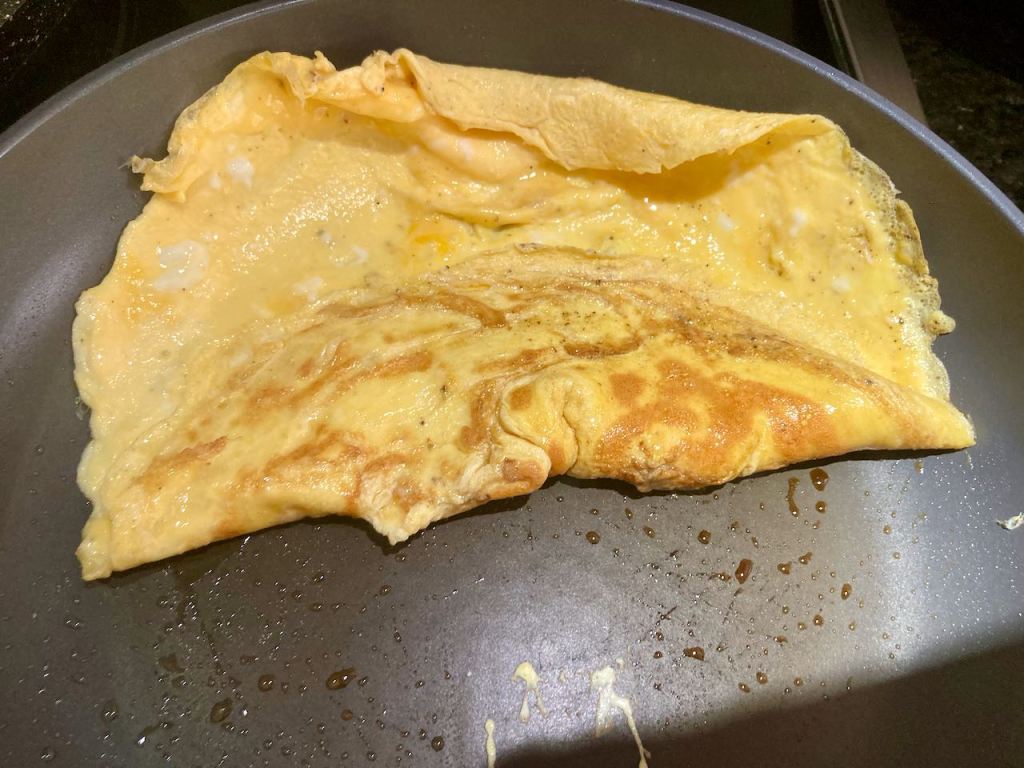
The omelette is stupidly easy and only takes a few minutes to make. The omelette is one of my go-to recipes when I’m short on time and low on options. They are an excellent option for breakfast, lunch or even a simple dinner with a salad. The method is simple, and you can add extras whenever you want to make some tasty meals.
Omelette recipe
Ingredients
2 eggs
Salt and pepper to taste
A small knob of butter
Instructions
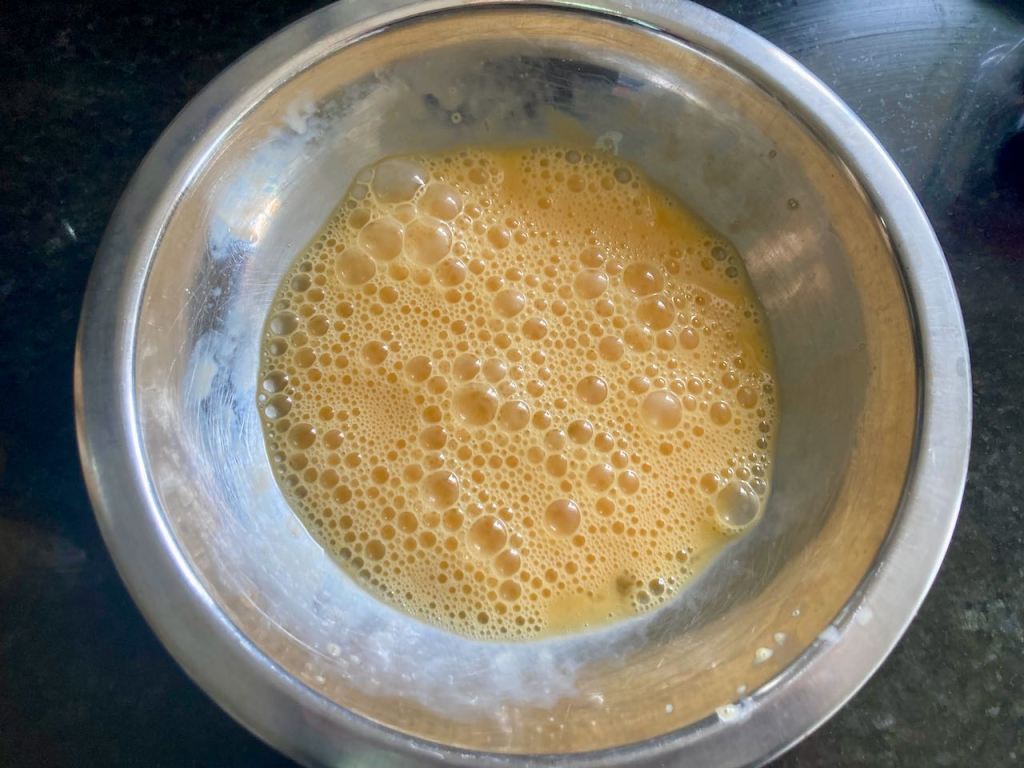
Crack eggs into a mixing bowl and beat them well.
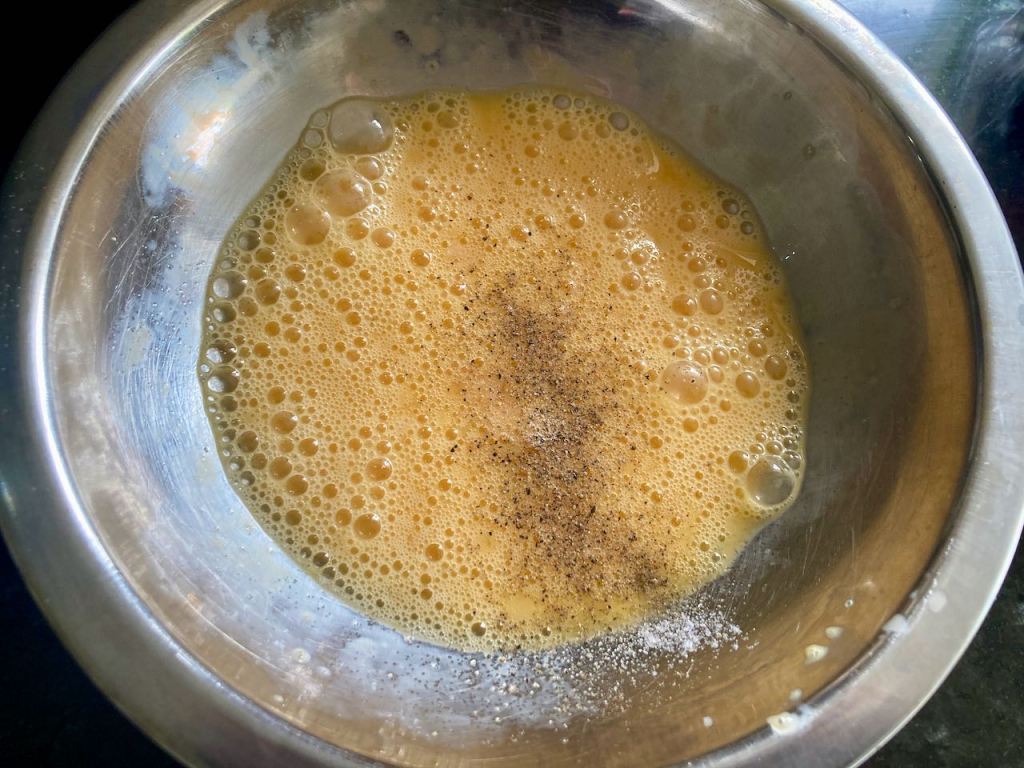
Add a pinch of salt and pepper.
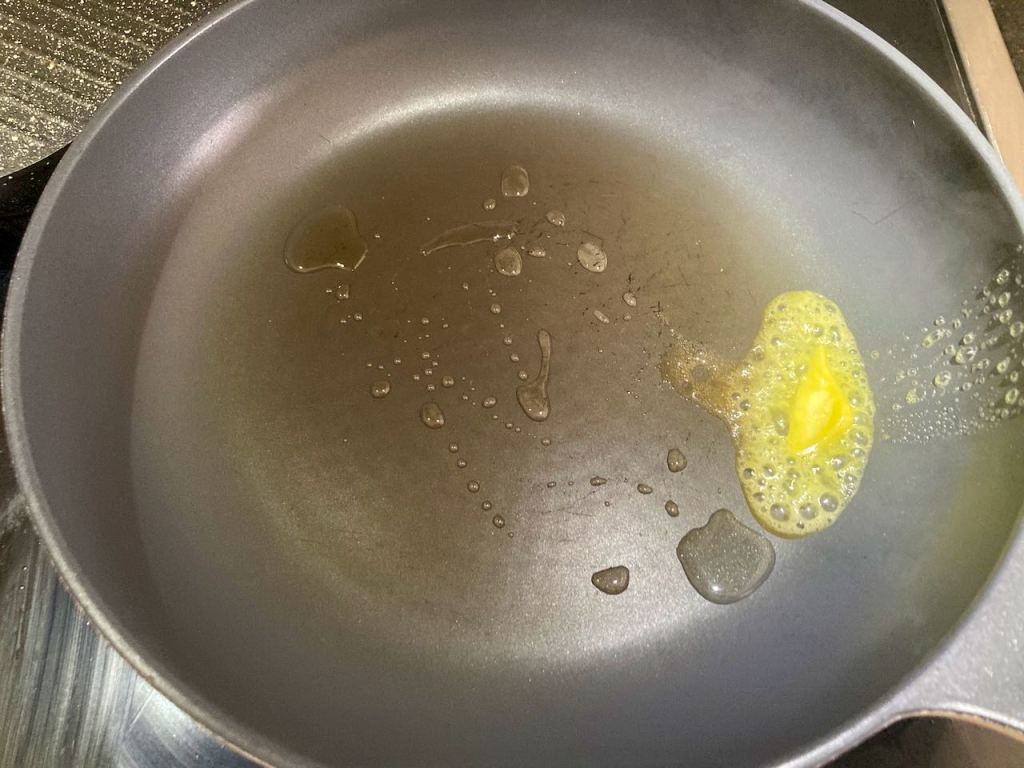
Over low heat, melt the butter in a frying pan.
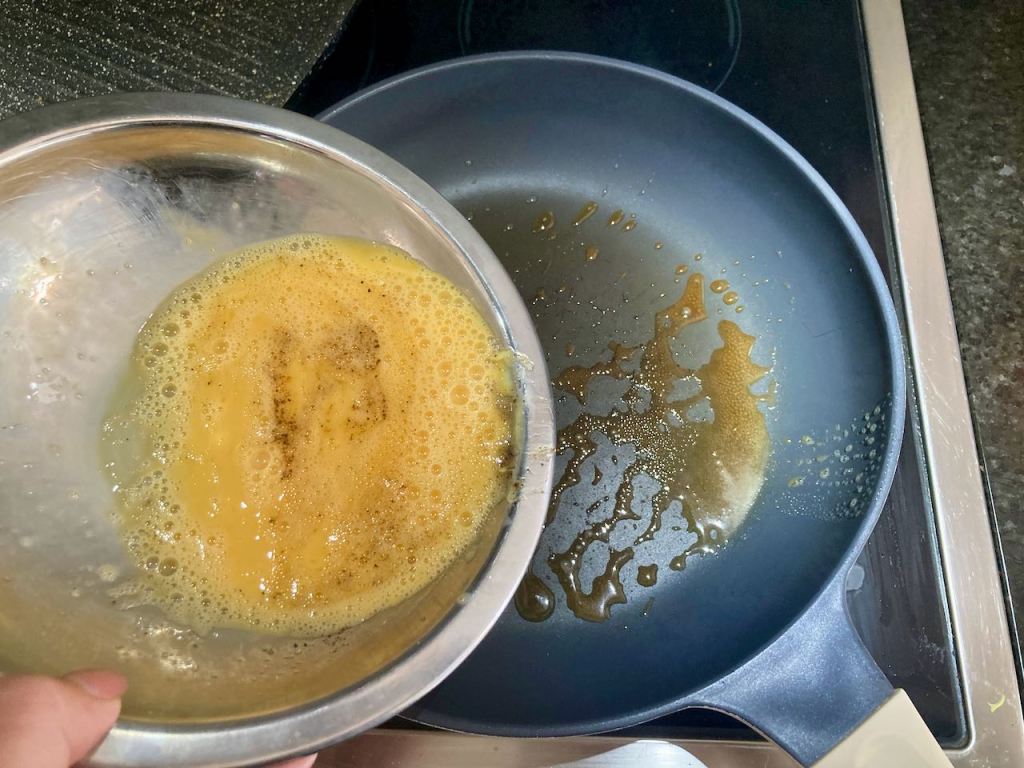
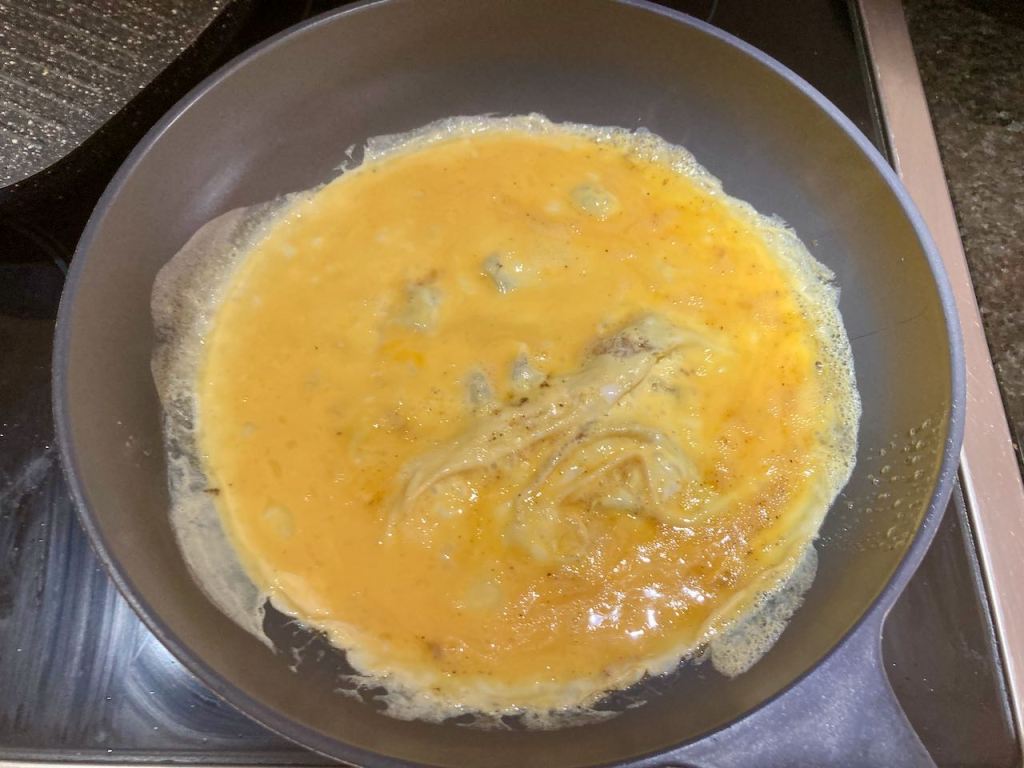
When the butter has melted, and the pan is hot, pour in the eggs.
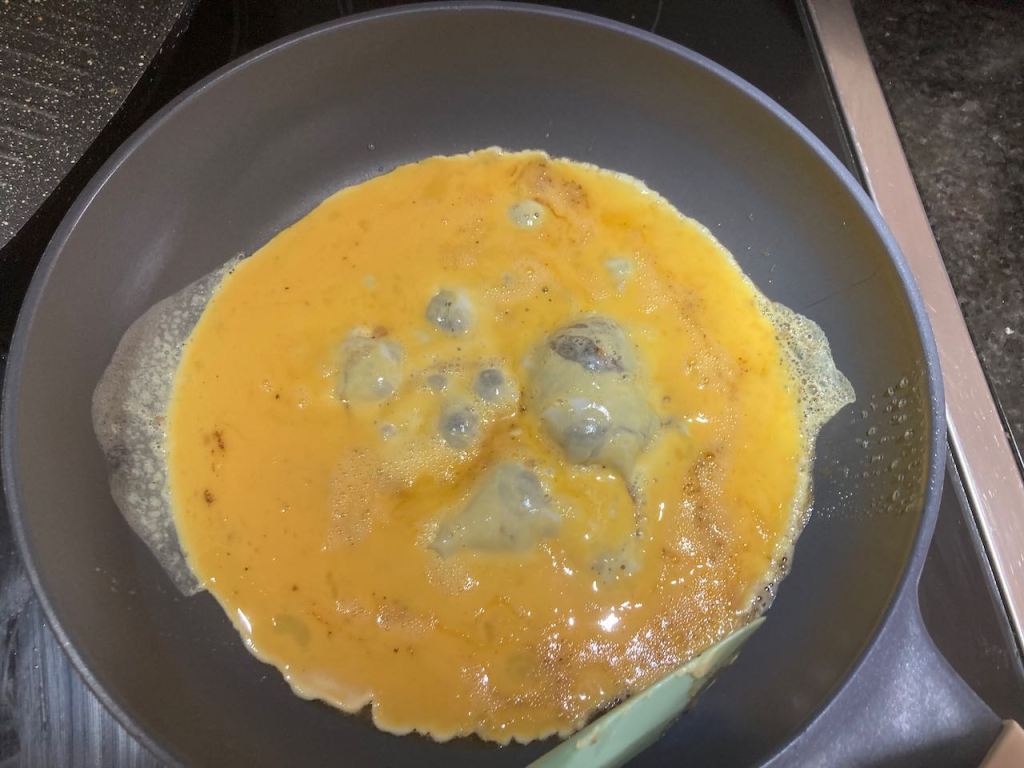
Make sure the eggs are evenly spread in the pan.
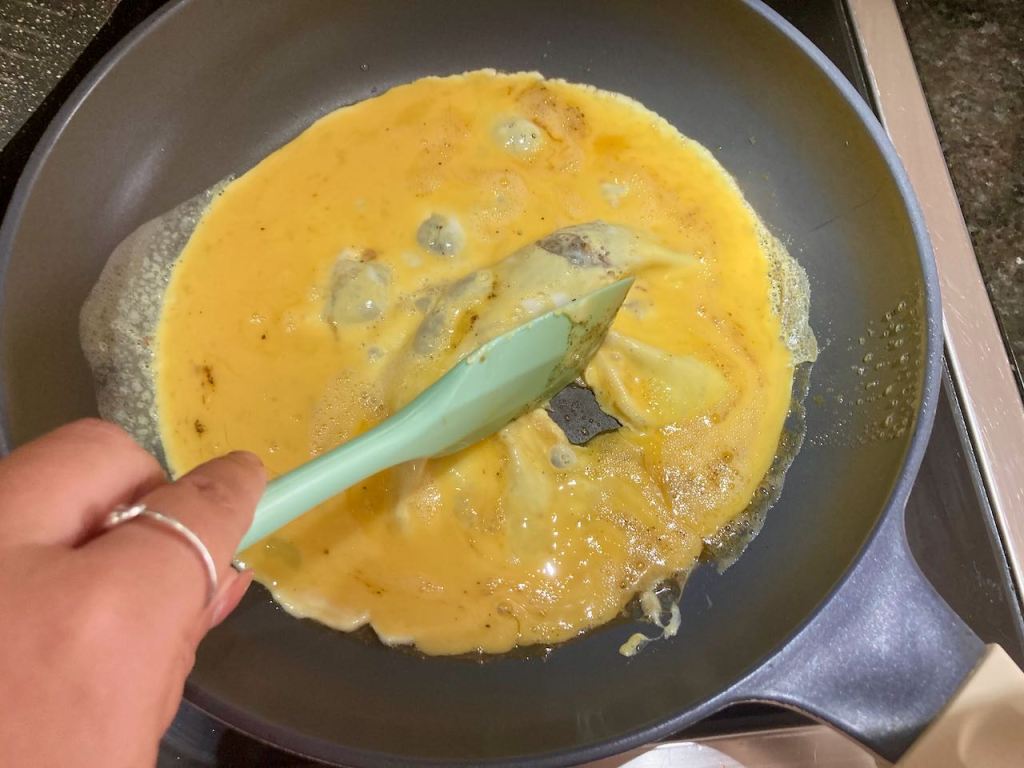
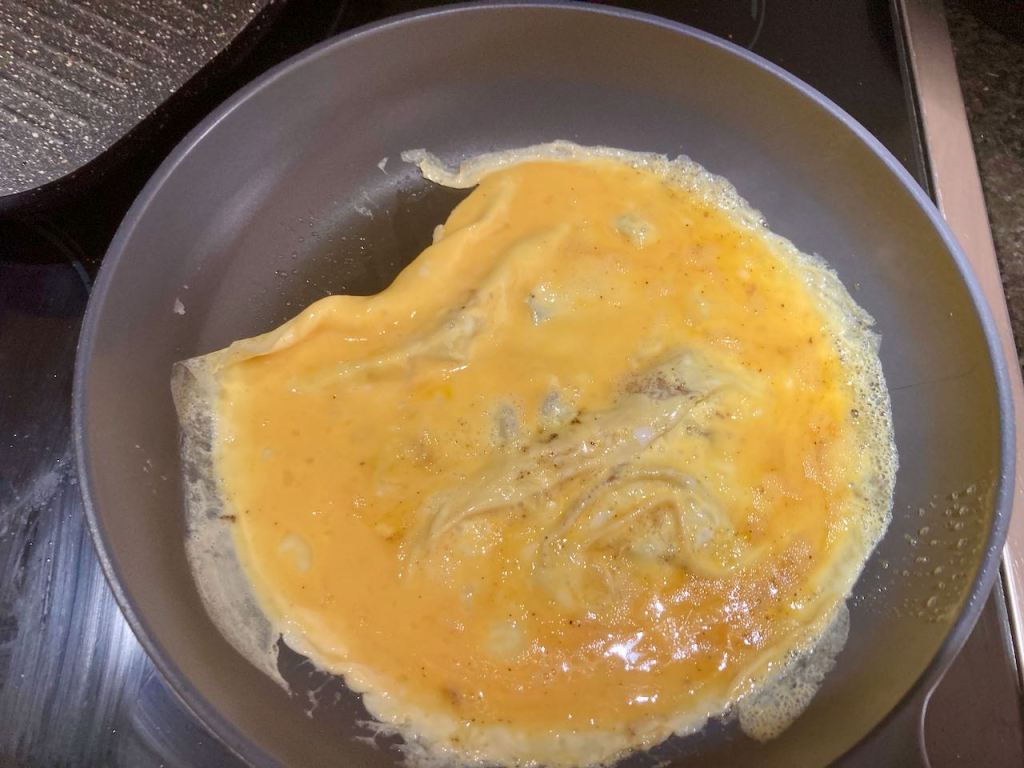
The eggs will set and start to firm around the edges; if you have any liquid egg on top, gently push the egg away from the edge and allow the liquid egg to move into the space created.
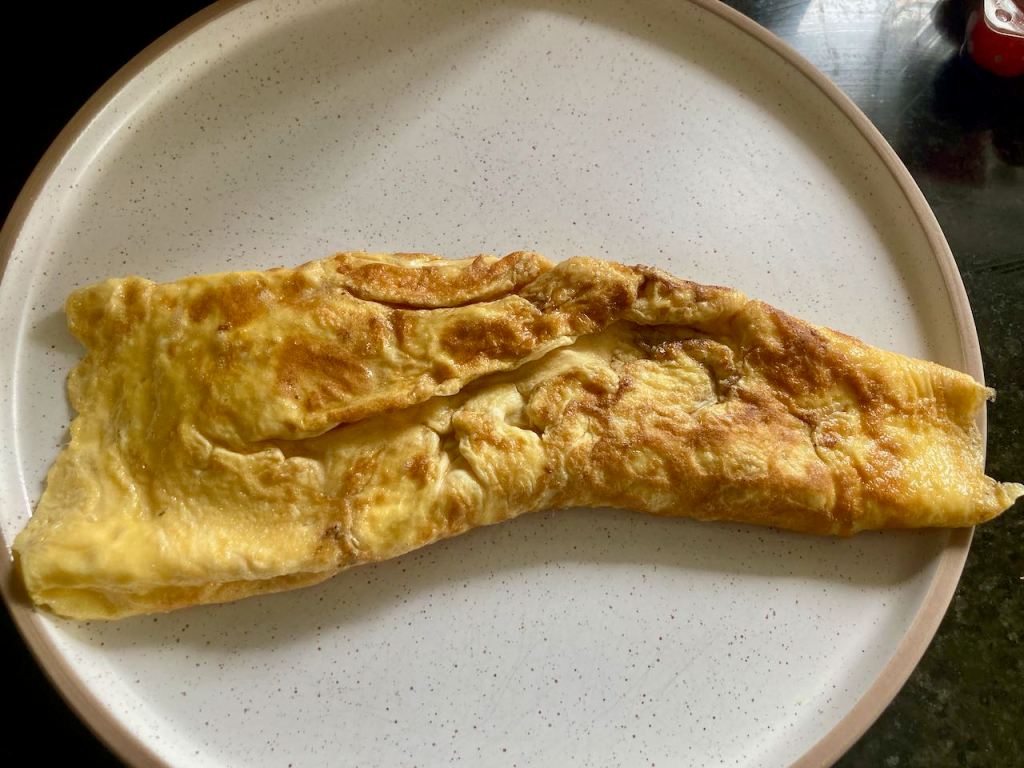
When all of the egg looks set, use your spatula to fold the omelette in half.
When the bottom is golden brown underneath, it is ready to serve.
Crack eggs into a mixing bowl and beat them well.
Add a pinch of salt and pepper.
Over low heat, melt the butter in a frying pan.
When the butter has melted, and the pan is hot, pour in the eggs.
Make sure the eggs are evenly spread in the pan.
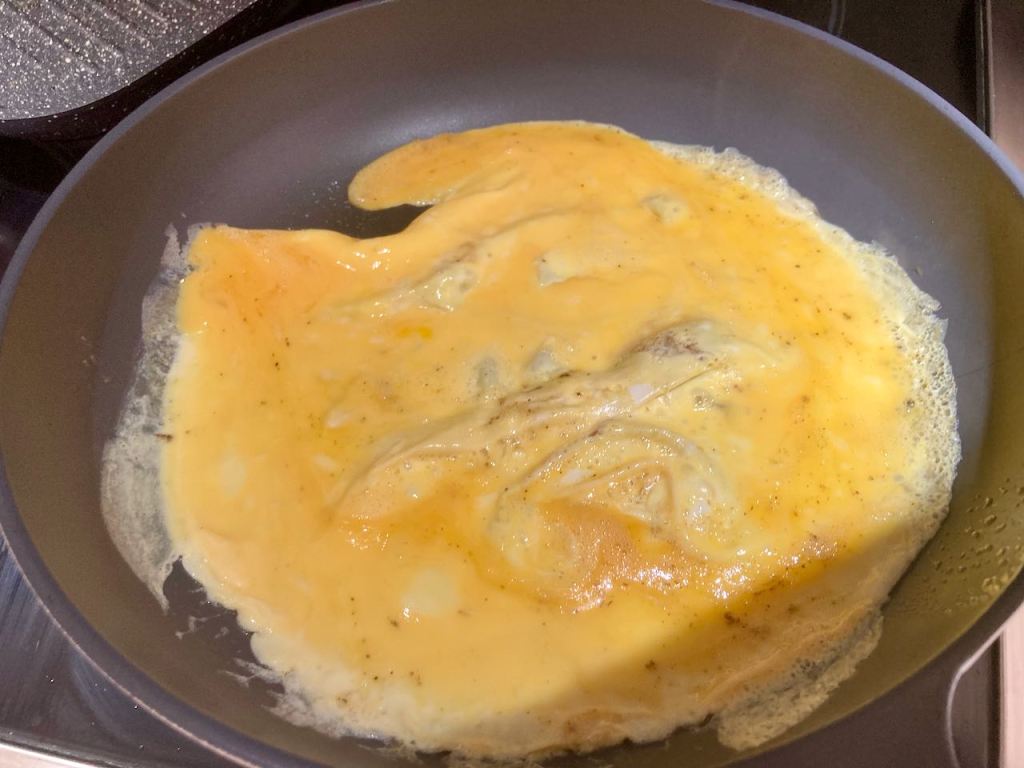
The eggs will set and start to firm around the edges; if you have any liquid egg on top, gently push the egg away from the edge and allow the liquid egg to move into the space created.
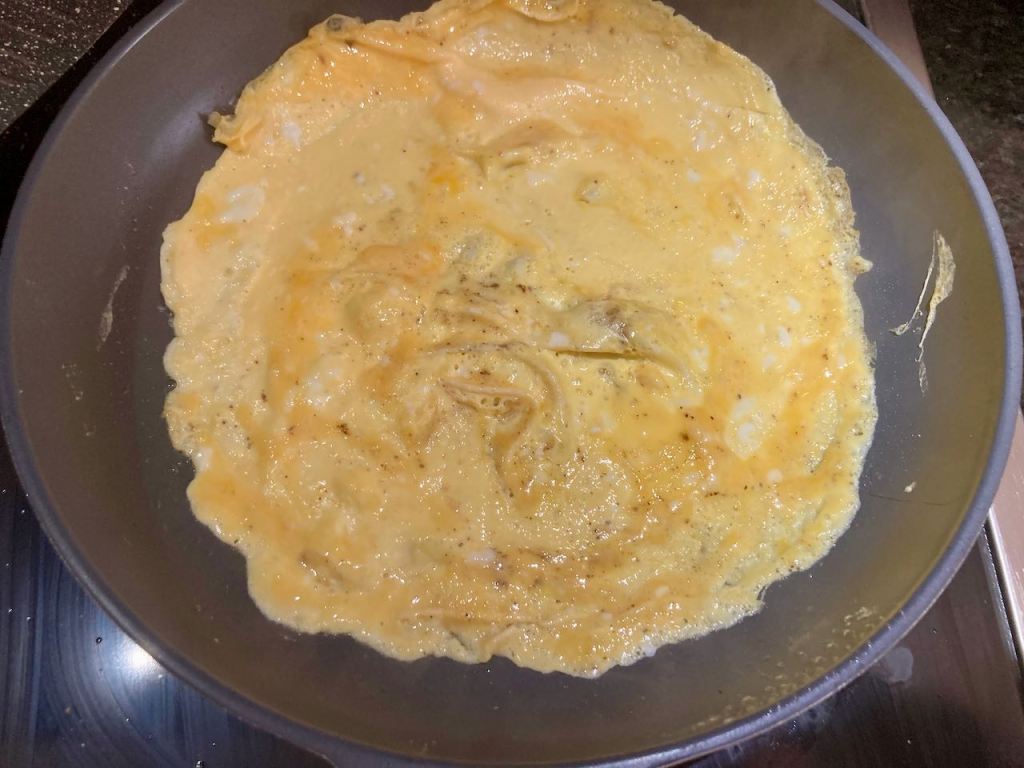
When all of the egg looks set, use your spatula to fold the omelette in half.
When the bottom is golden brown underneath, it is ready to serve.
Transfer the omelette and serve.
Nutrition
Per Serving: 173 calories; 14g fat; 0g carbohydrates; 12g protein
Equipment
Mixing bowl
Whisk
Frying pan
Spatula
Nutritional disclaimer
Nutrition information is provided as an estimate based on the ingredients used and available in my area (New Zealand). The nutritional information is here to help you understand the recipe; I use MyFitnessPal to generate my estimates. For more accurate nutritional information, please use a nutritional calculator with the ingredients in your area.
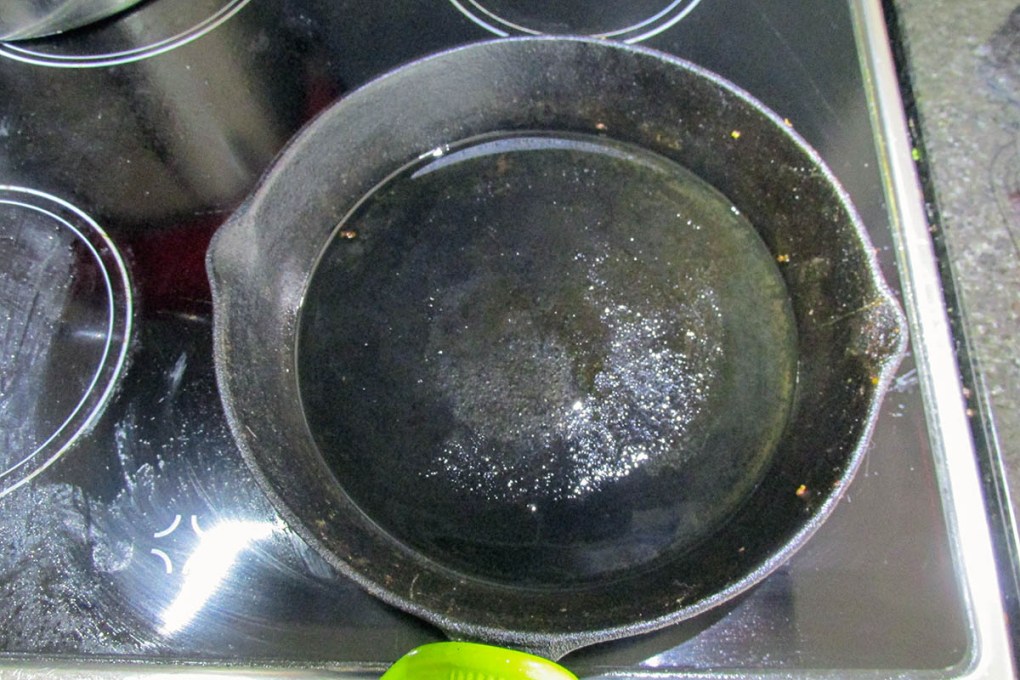
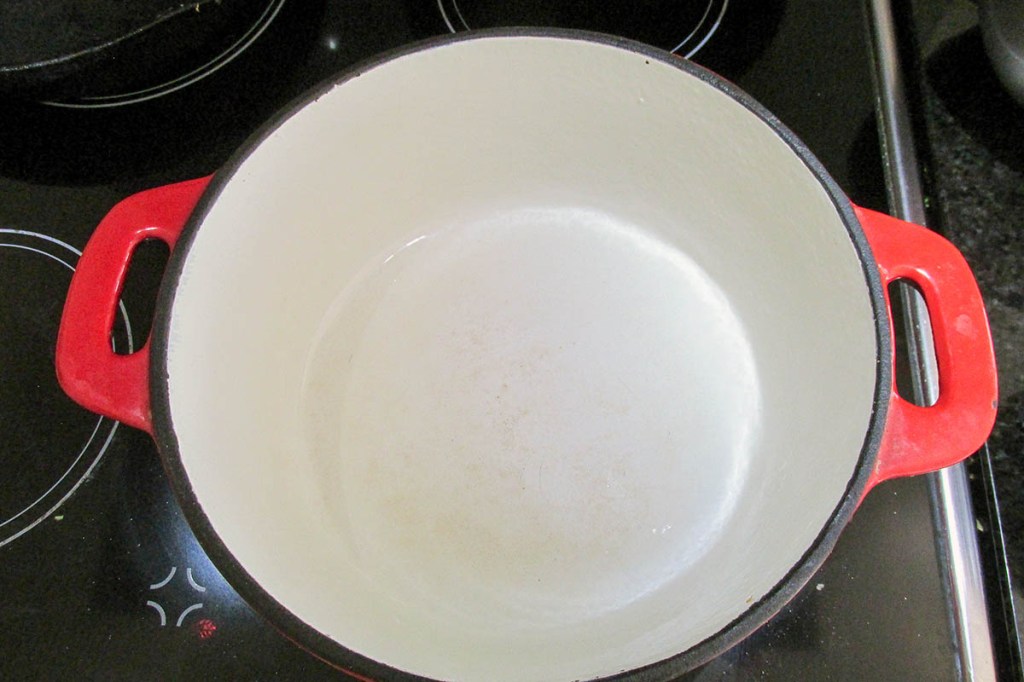
Cast iron pans are fantastic but they take a little bit of care and take some getting used to when you start cooking with them. That being said when you find your feet with cast iron you never want a non-stick frying pan again.
Let’s get a few things clear about cast iron
ïIt’s not difficult to look after you just need to know the basics for looking after cast iron.
ïSeason it when you get a cast iron pan you need to season it, even the pre-seasoned cast iron pans need to be seasoned.
ïRe-season every time you use the pan when you have rinsed the pan out re-season.
ïUse it a lot the more you use the pan, the better the pan will get.
ïDon’t let it stay wet once you have cleaned the pan dry it off and re-season it straight away, wet pans rust no matter how good your seasoning is.
So with all that said let’s look at cast iron pans. There is a strange misconception that cast iron is high maintenance, needs to be handled carefully and will be ruined if you don’t look after it right. The truth is that cast iron pans are the kitchen equivalent to the terminator. Some people have the cast iron pan their grandmother got as a wedding gift, 40 plus years of use and they are still going strong. Cast iron is built to last, unlike most new pans. The most difficult thing with cast iron is seasoning the pan, it is also the most important part of using a cast iron pan. Seasoning is not that hard because you can buy them pre-seasoned now, so it’s not really a big problem. As long as your pan is well seasoned, you should never need to worry about chipping or rust.
It’s non-stick
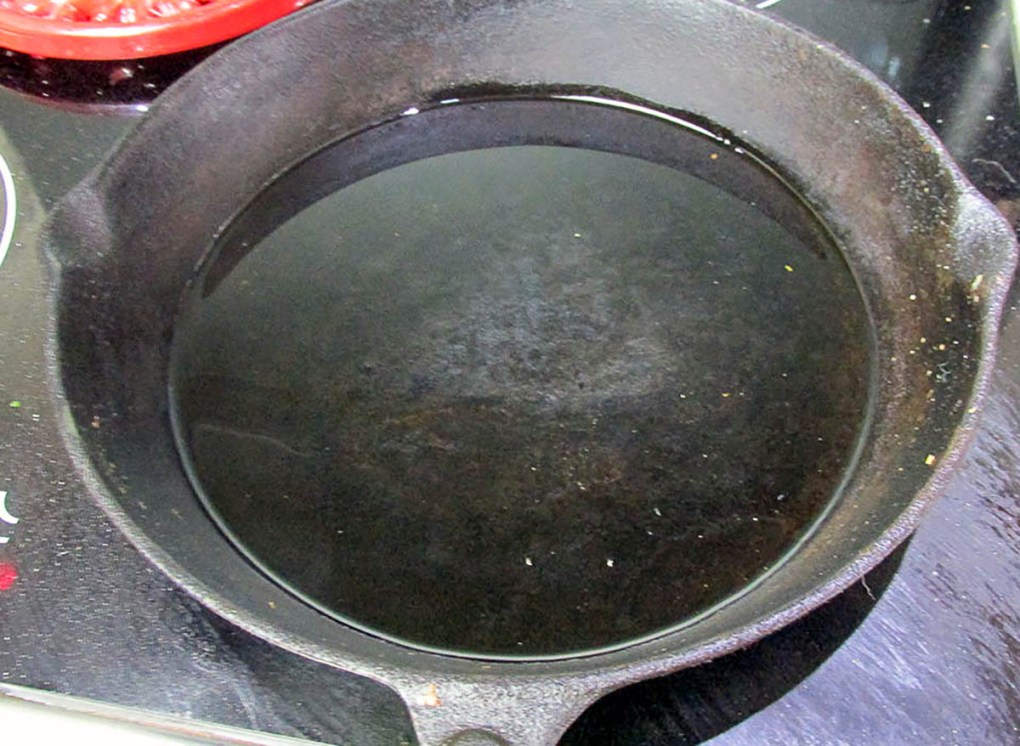
Cast iron is non-stick, in the right circumstances. When it comes to cast iron how well it is seasoned has a great deal to do with how non-stick the surface is, the better the seasoning, the less your food sticks. Another important part is the heat of the pan, unlike new material pans you can’t add food to a cold pan and expect it not to stick. Your cast iron pan needs to be hot before you put food near it.
Washing the pan with soap will not ruin it
People think that washing a cast iron pan with dishwashing soap will remove the seasoning and ruin the pan. This isn’t true, I’m not a boffin so here’s my understanding of the science (think of this as my bro science). You heat oil in the pan and coat the pan, you do this repeatedly. The repeated application of oil and then exposure to heat changes the properties of the oil, it turns it into a plastic-like coating that sticks to the pan. Like the oil, you used to coat the pan is no longer technically an oil, so dishwashing soap doesn’t impact or remove the seasoning. So washing your pan with soap won’t ruin it, but letting it soak in water will.
Keep the pans exposure to water to a minimum, wash and dry the pan in one go then re-season as soon as it is dry.
Not all cast iron is made equal
As with most things in life you get what you pay for, this applies to cast iron pans. The quality of the modern cast iron pan is not the same as the quality of pans made in the early 20th century. This has more to do with the way pans were made back then vs. how they are made now. The truth is I don’t want to bore you with a bunch of information about casting that you won’t care about. What you will care about is how the different pans available now have different finishes and which one is best. Basically, there are 3 finishes available for cast iron pans
Smooth
Bumpy
Coated
Here are the key differences
Smooth
These pans have been cast and then polished, this removes the uneven surface of the pan. It still needs to be seasoned and looked after. Generally speaking, pans that have been polished are not as heavy so are a good option if you aren’t seeking to increase your upper body strength while you make dinner. Other than the weight they are no different than the bumpy pans.
Bumpy
These pans have been cast and retain what is basically the imprint of the mould, the surface of the pan will always be uneven. They generally have more weight to them but have all the same properties as the smooth pans.
Coated
These pans are cast and then typically covered in enamel, the coating acts as a skin for the cast iron, you get the benefits of using cast iron without the need to constantly re-season. These pans are just as good as the bumpy and smooth pans and have very similar properties.
So what is cast iron good for? what can you cook in your cast iron pan?
Answer
Pretty much whatever you want. My cast iron pans get regular use when cooking things like
Bacon
Fried eggs
Frittata
Burgers
Sausage
Steak
Meatballs
Buttered greens
Searing seafood
I’ve even been known to make pancakes in there.
I love using my cast iron pans for anything that needs a high heat to cook, a crisp skin or that needs to start on the stovetop and finish off in the oven. It’s a versatile tool that deserves a little bit of love and attention. Once you adjust to the way it heats up, how to wash it and how to season it, it is hard to go back to the Teflon coated pan in the back of the cupboard.
If you are ready to migrate over to a cast iron pan, there are only a few rules you need to know that will ensure a successful and lifelong relationship with your cast iron pans.
Season it when you get it
Seasoning is critical and should be done as soon as you get it, even a pre-seasoned cast iron pan can do with some additional protection.
Clean it after each use
Clean your pan thoroughly after each use. Washing it with soap, water and scrubbing out any debris from the bottom. I use the scrubby side of a sponge for this.
Clean it while it is still hot, it will make it easier to clean.
Re-season it.
When you have cleaned your pan, make sure you have rinsed out all soap with water.
Place the skillet over high heat.
When the water inside the skillet has dried out, add a half teaspoon of oil.
Rub it around with a kitchen towel.
Keep heating the pan until it starts to smoke, give it one more good rub.
Let it cool, and you’re done.
Fry and Sear in it
The best way to keep your pan well seasoned is to use it a lot. The more you fry, sear, or bake in it, the better that seasoning will become.
Don’t let it stay wet.
Water and iron equal rust.
Treat water like the enemy of your iron pan, don’t let a drop of water sit in your pan, even one drop can lead to a rust spot. It isn’t the end of the world, but rust will require a little scrubbing and re-seasoning. A good rule is to dry the pan and coat with a little oil before storing it.
How to season
Heat it up on the stovetop until it’s smoking hot.
With a paper towel rub a little oil into the pan
Remove the pan from the heat, let it cool.
Repeat this process a few times, and you’re ready to go.
If you are like us and you try to avoid mass-produced processed foods, the best option is to make your own. When you make your own, you get to control which ingredients you use and how much or how sweet you want it to be. Once you have a go at making your own and realise how easy it is, you will never go back to store-bought again.
Easy to make
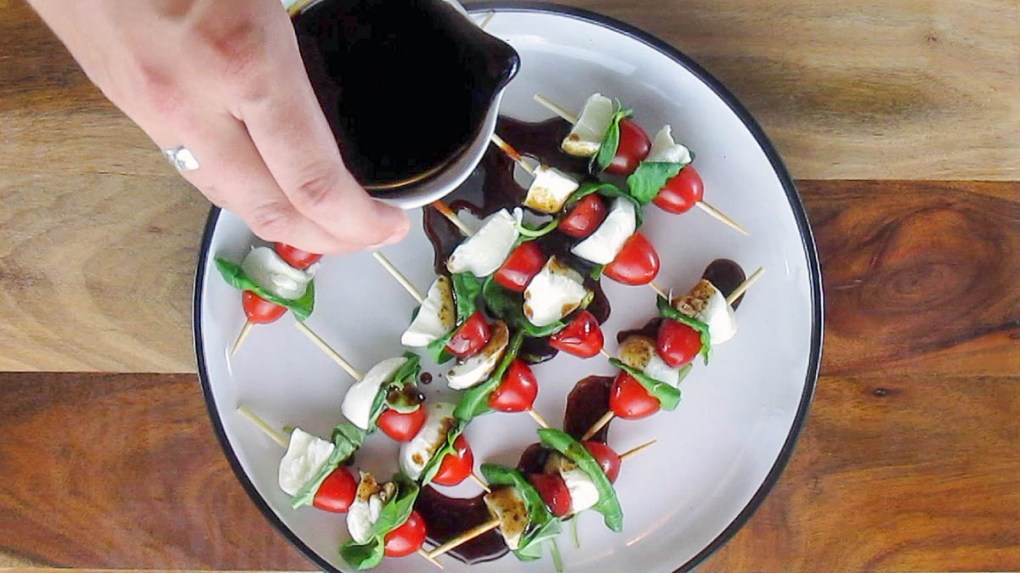
Most store-bought balsamic glaze comes with added ingredients like colouring, preservatives and sweeteners, which none of us wants. This glaze is simple to make, has only two ingredients, and can be used on salads, pizzas, chicken, and anything else you think needs a flavour elevation.
Quality ingredients make a difference
To ensure you get the best balsamic glaze, you want to start with the best quality vinegar you can; this can significantly impact the flavour. If you have good-quality vinegar, you can make the glaze without adding any sweetener.
Balsamic glaze recipe
Ingredients
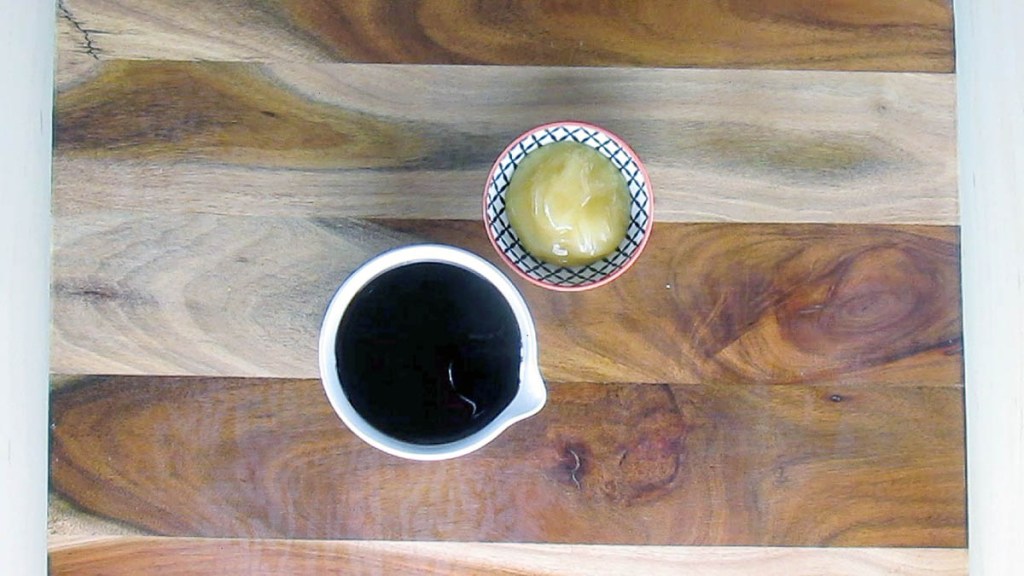
1 cup balsamic vinegar
2 tbsp. honey
Instructions
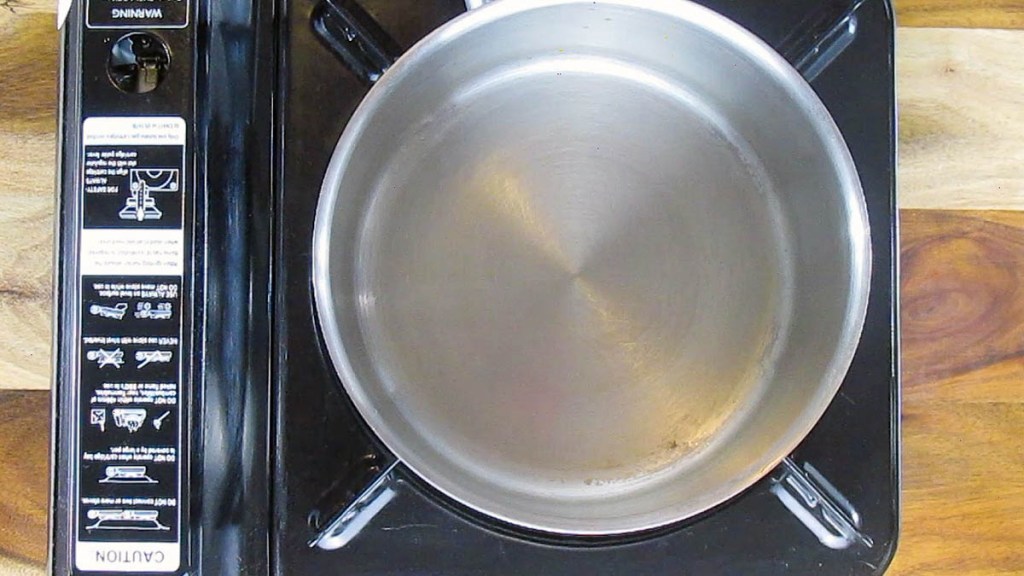
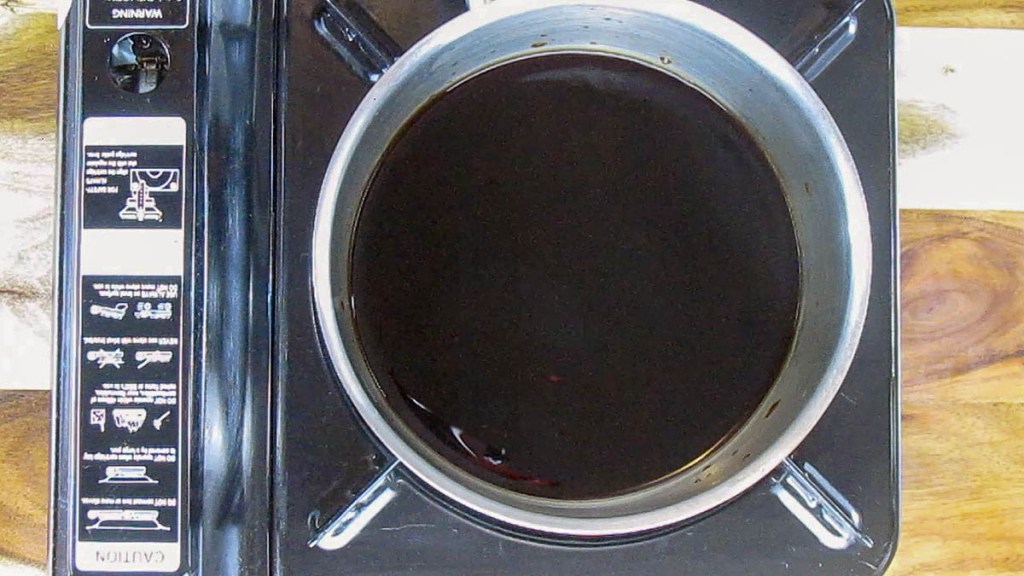
In a saucepan over medium heat, mix together the honey and vinegar.
Mix until the honey is dissolved.
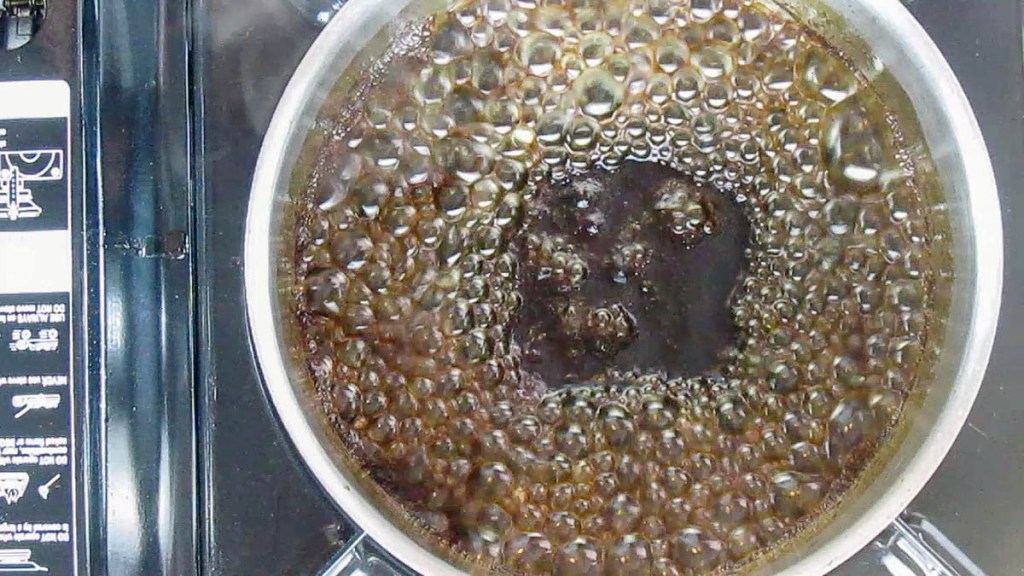
Bring the liquid to a boil, then reduce the heat to a simmer.
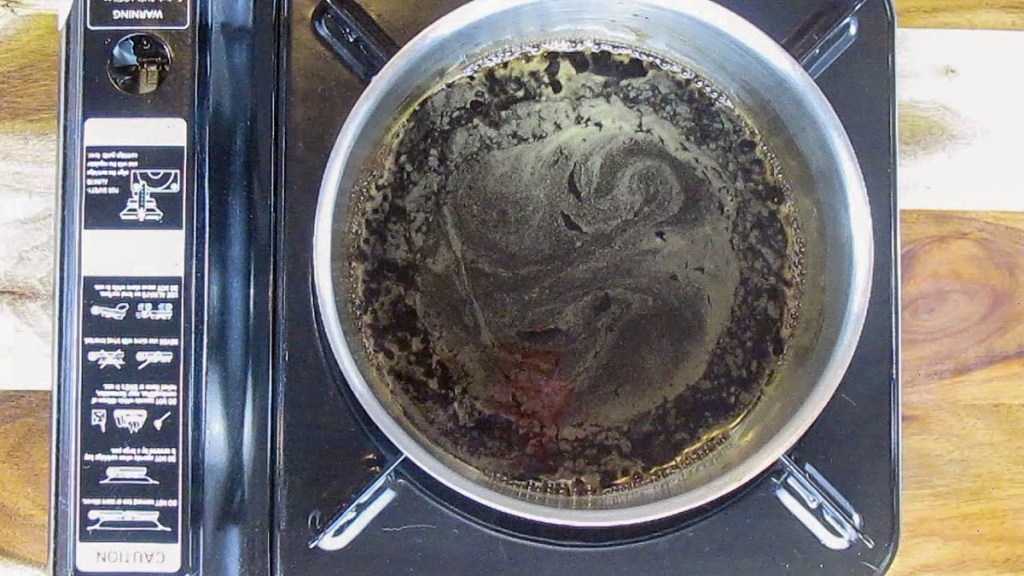
Stir the vinegar occasionally to check how much it has reduced.
The glaze is ready when it coats the back of a spoon.
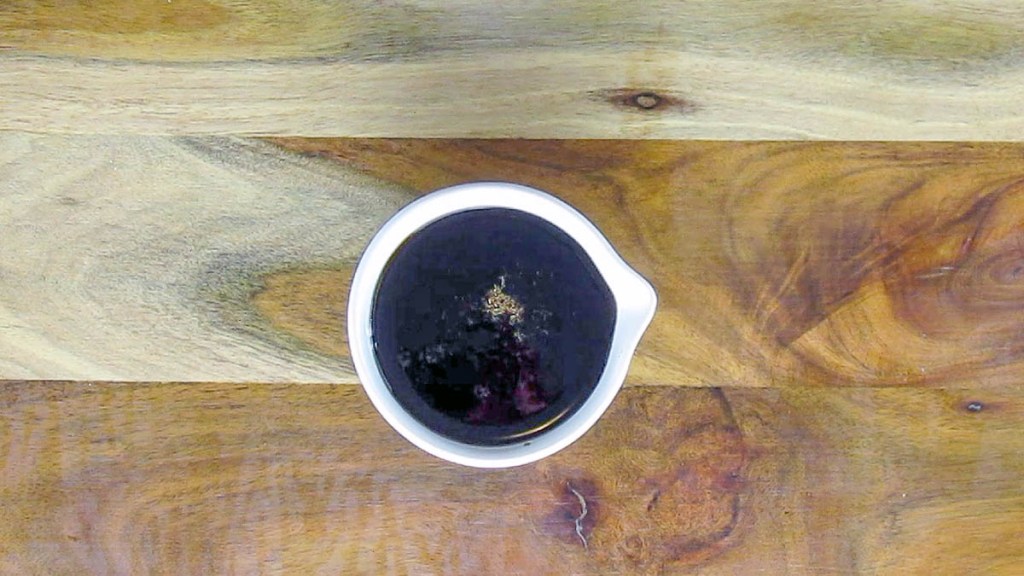
Take it off the heat and transfer it to a glass jar as soon as possible.
In a saucepan over medium heat, mix together the honey and vinegar.
Mix until the honey is dissolved.
Bring the liquid to a boil, then reduce the heat to a simmer.
Stir the vinegar occasionally to check how much it has reduced.
The glaze is ready when it coats the back of a spoon.
Take it off the heat and transfer it to a glass jar as soon as possible.
The glaze will thicken as it cools.
Nutrition
Per Serving: 24 calories; 0g fat; 6.9g carbohydrates; 0g protein
Equipment
Saucepan
Whisk
Spoon
Nutritional disclaimer
Nutrition information is provided as an estimate based on the ingredients used and available in my area (New Zealand). The nutritional information is here to help you understand the recipe; I use MyFitnessPal to generate my estimates. For more accurate nutritional information, please use a nutritional calculator with the ingredients in your area.
I only recently discovered that you could freeze them, with that piece of information you now get to have avocado all year round. With this potential abundance of avocado in your life, you will need to find new and interesting uses for avocado.
Enter avocado desserts
I love this dessert because it is quick, easy and packed with healthy ingredients, what more can you ask for?
We are working hard to eat clean with no slip ups so having a dessert that tastes like really rich chocolate while being good for you is a big tick in the win column.
This mousse passed the little (and big) boy chocolate test, they thought it tasted just as good as mousse that you buy.
The beauty of this dessert is that you can make it before dinner and put it in the fridge.
Avocado mousse recipe
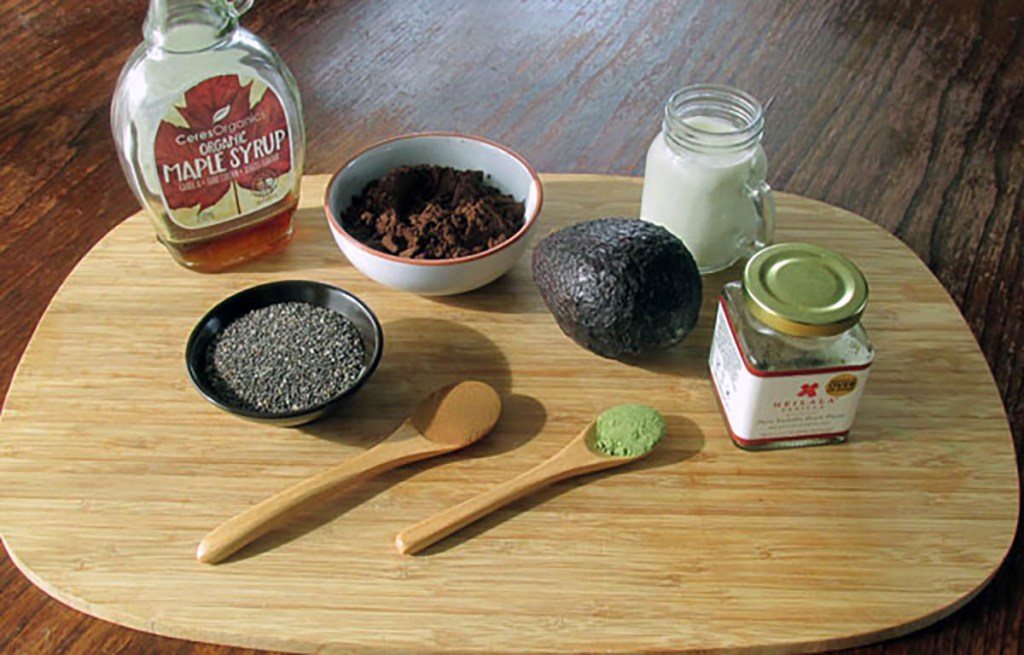
Ingredients
2 avocados
125ml milk
1/4 cup cacao powder
1 tbsp. chia seeds
1 tsp. stevia
1 tsp. maple syrup
1 tsp. vanilla bean paste
1/2 tsp. ground cinnamon
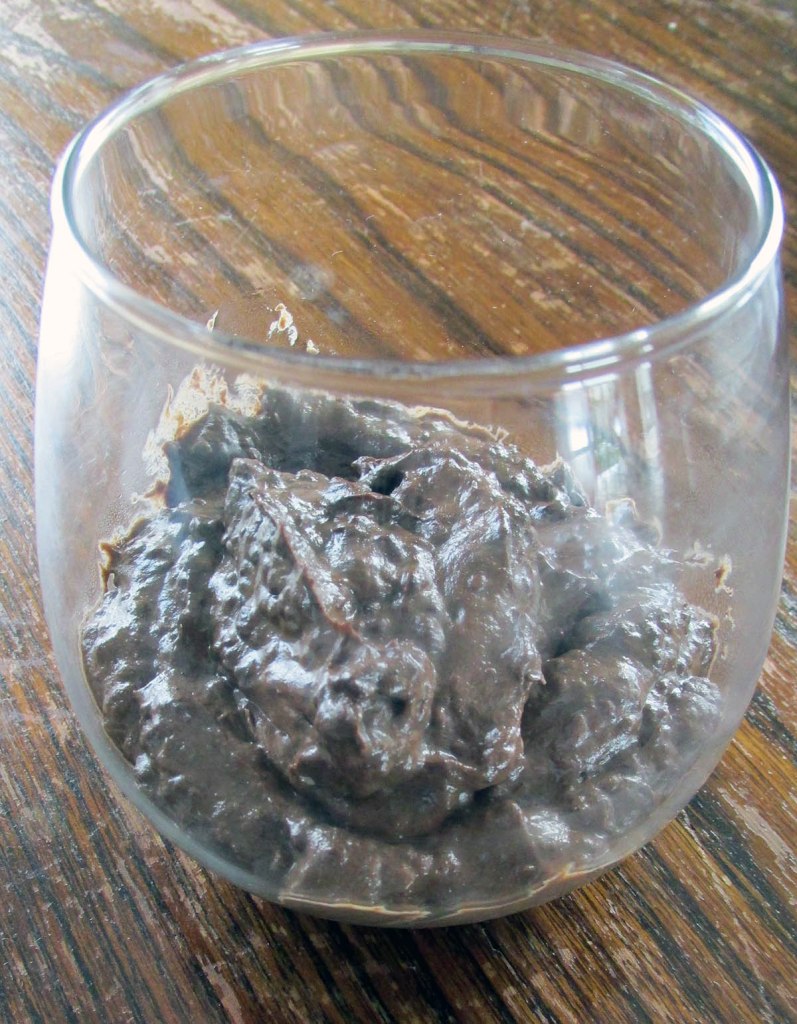
Place all of the ingredients into a food processor and blend until everything is smooth.
Put the mousse into glasses and chill for an hour before serving.
Chocolate and avocado are a match made in heaven, this rich mousse is perfect for a weeknight treat
Credit: Cath @ easycleaneats
Ingredients
2 avocados
125ml milk
1/4 cup cacao powder
1 tbsp. chia seeds
1 tsp. stevia
1 tsp. maple syrup
1 tsp. vanilla bean paste
1/2 tsp. ground cinnamon
Directions
Place all of the ingredients into a food processor and blend until everything is smooth.
Put the mousse into glasses and chill for an hour before serving.
Nutrition
Per Serving: 60 calories; 2.2 g fat; 7.8 g carbohydrates; 2.7 g protein
Equipment
Measuring spoons
Measuring jug
Knife
Chopping board
Spoon
Food processor
Spatula
Glasses
Nutritional disclaimer
Nutrition information is provided as an estimate based on the ingredients used and available in my area (New Zealand). The nutritional information is here to help you understand the recipe; I use MyFitnessPal to generate my estimates. For more accurate nutritional information, please use a nutritional calculator with the ingredients in your area.
If you are like us and you try to avoid mass-produced processed foods, the best option is to make your own. When you make your own, you get to control which ingredients you use and how much or how sweet you want it to be. Once you have a go at making your own and you realise how easy it is, you will never go back to store-bought again.
Master the basics
Eating clean gets a lot easier once you have mastered a few essential recipes. This recipe is basic, not like basic unicorn basic, more like beard and flannel basic. Back to the point (which isn’t Unstable unicorns), having basic skills and recipes in your arsenal means you will never be left with only UberEats as your weeknight options. Once you master this recipe, the possibilities are endless.
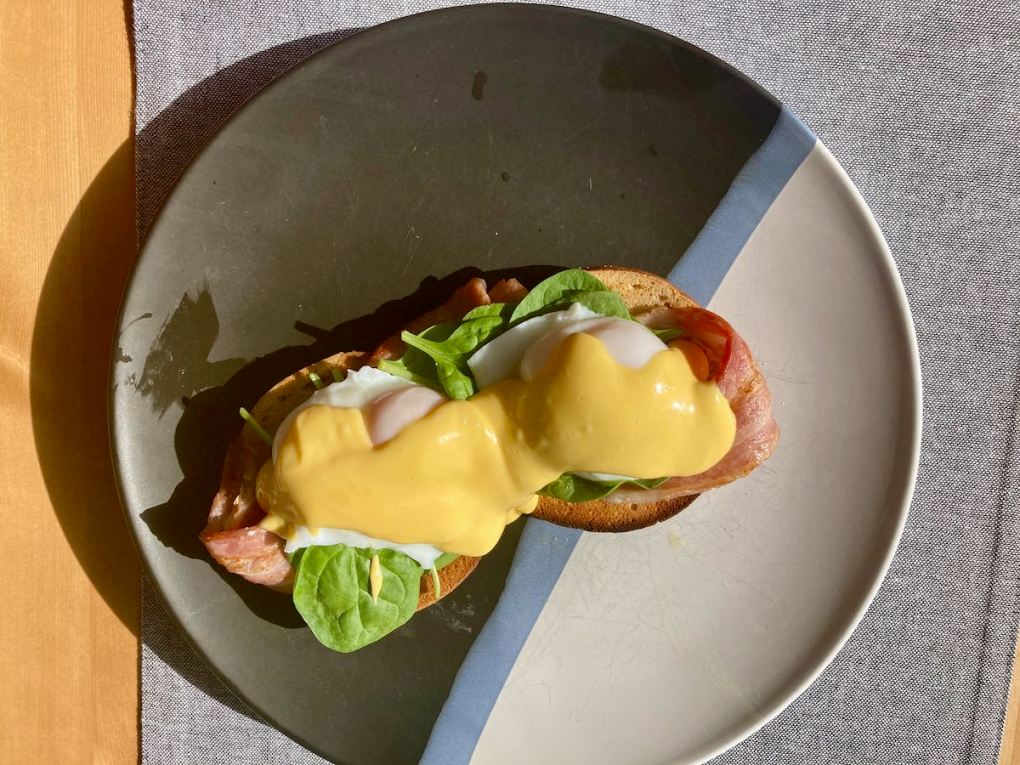
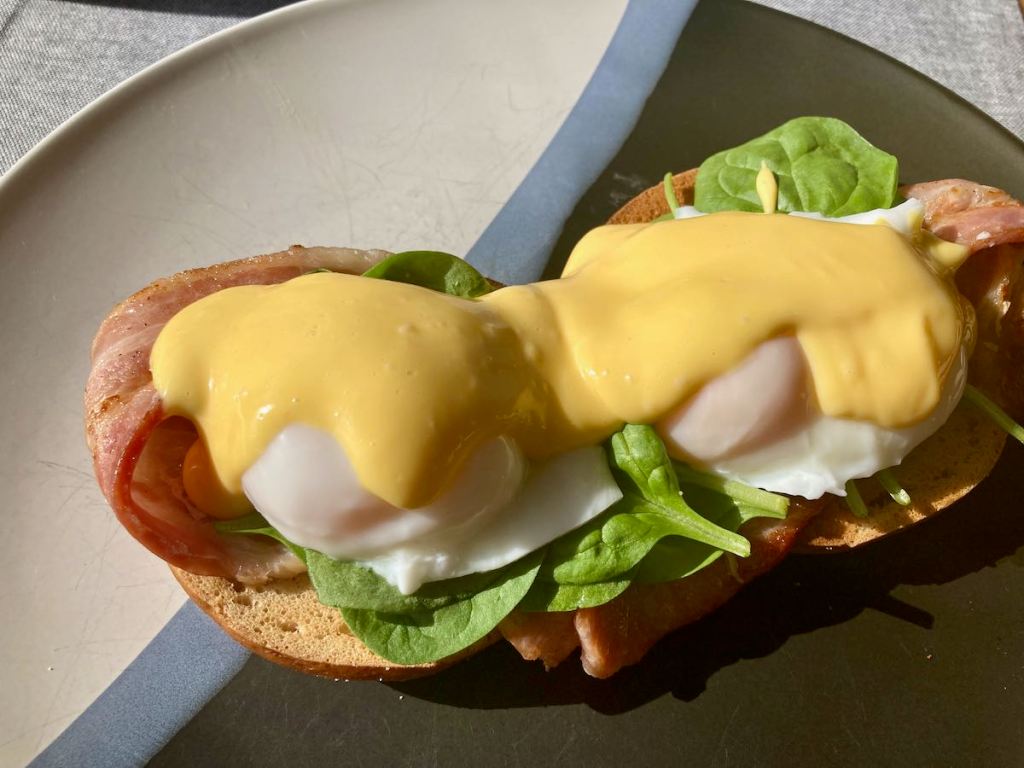
Something fancy for the weekend
I’ve been craving a brunch fix for a few weekends, so I decided to do something about it. Hollandaise sauce is the perfect opulent topping for poached eggs and crisp bacon. I was fortunate enough to be gifted a stick blender not long ago, so I had a go at making my hollandaise with that instead of my blender jug. After a bit of trial and runny sauce, I handed on the perfect method to create thick and creamy hollandaise for my homemade eggs bene.
Easy hollandaise sauce recipe
Ingredients
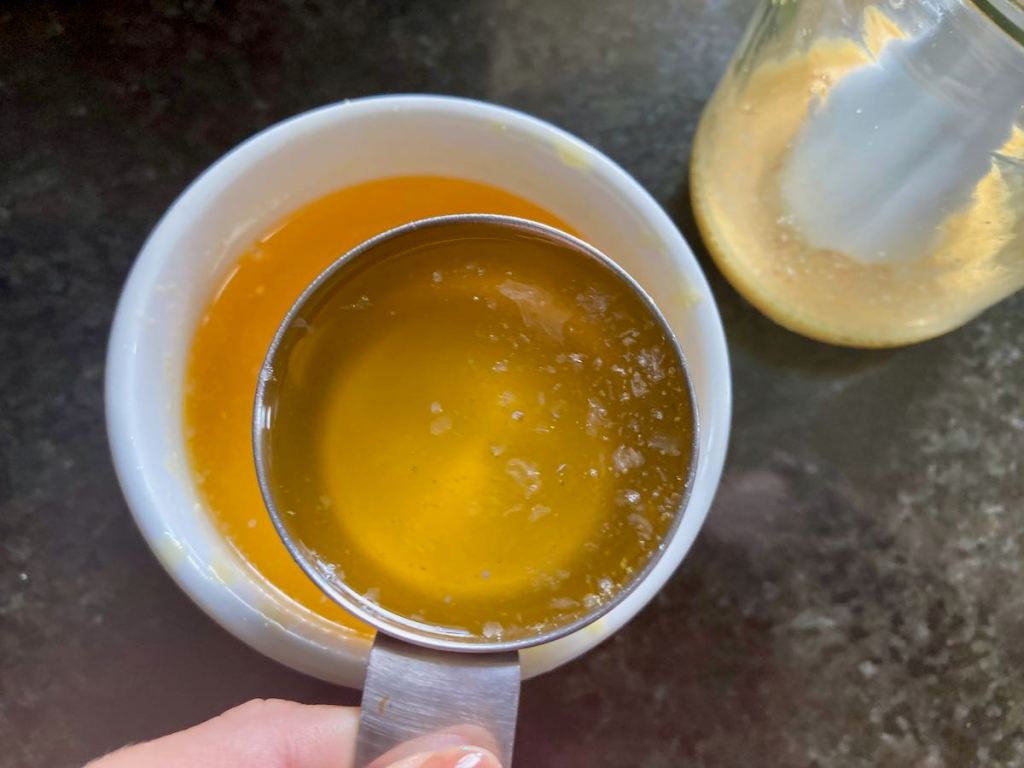
1/2 cup ghee, melted
2 egg yolks
1 tbsp. lemon juice
salt
pepper or cayenne papper
Instructions
Using a stick blender
Place the egg yolks, lemon juice in a glass jar with some salt, and pepper.
Pulse the eggs to break them up.
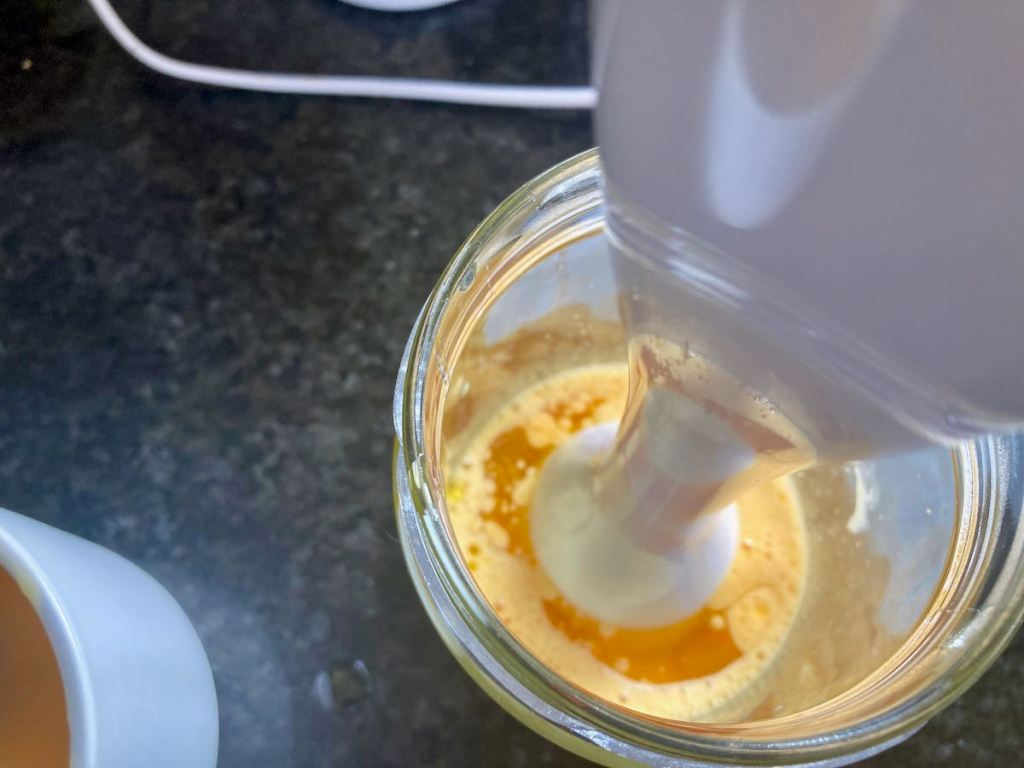
Add 2 tablespoons of the melted ghee to the jar and blend until the ghee has emulsified.
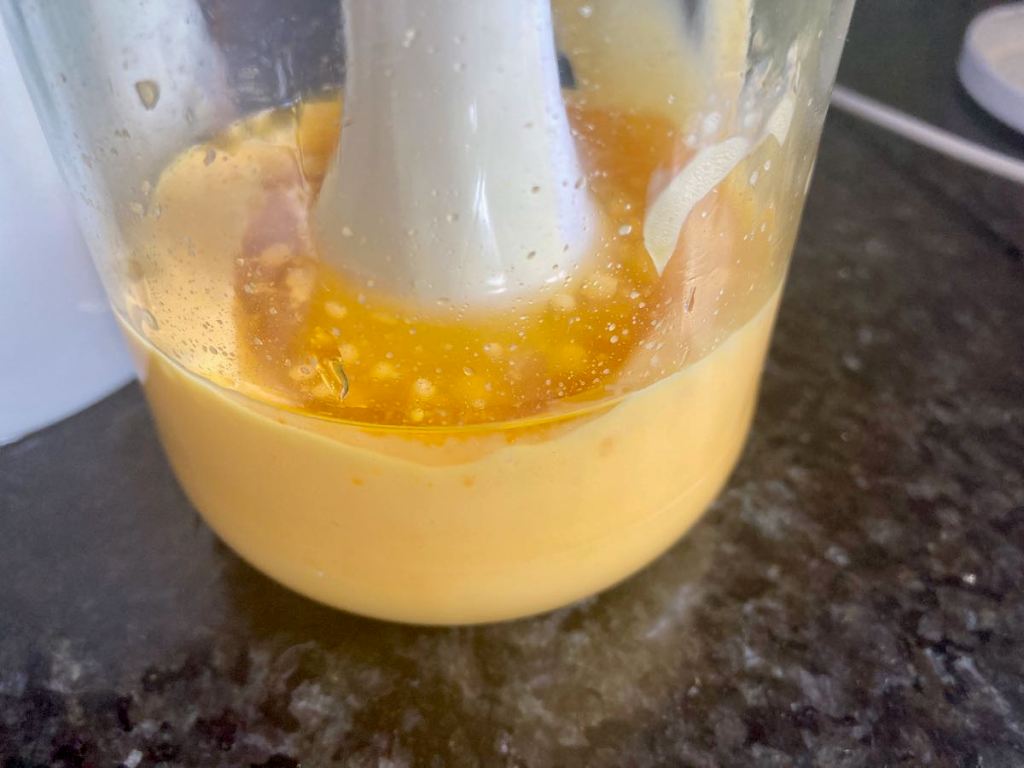
Continue to add 2 tablespoons of ghee to the jar at a time and blend until you have a thick and silky sauce.
1.Melt the ghee over low heat or in the microwave, it should be liquid, not boiling.
Using a blender
Place the egg yolks, lemon juice in the blender with some salt, and pepper.
Start the blender on low and run for about 30 seconds.
Slowly pour the ghee into the blender through the hole in the lid.
You must go slowly so that the emulsion does not separate.
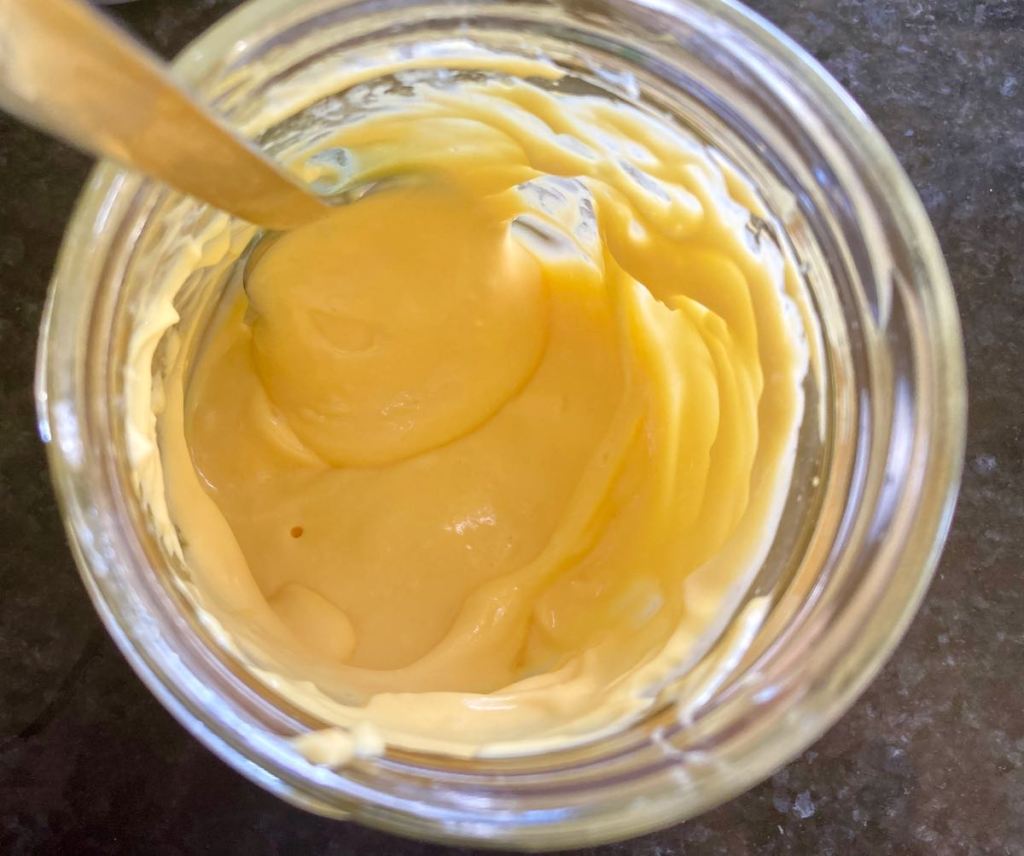
When all the ghee is added, and the sauce has thickened, you are finished.
Using a stick blender
Place the egg yolks, lemon juice in a glass jar with some salt, and pepper.
10.Pulse the eggs to break them up.
Add 2 tablespoons of the melted ghee to the jar and blend until the ghee has emulsified.
Continue to add 2 tablespoons of ghee to the jar at a time and blend until you have a thick and silky sauce.
Nutrition
Per Serving:153 calories; 16.2 g fat; 0.1 g carbohydrates; 1.6 g protein
Equipment
Saucepan
Blender
Spatula
Nutritional disclaimer
Nutrition information is provided as an estimate based on the ingredients used and available in my area (New Zealand). The nutritional information is here to help you understand the recipe; I use MyFitnessPal to generate my estimates. For more accurate nutritional information, please use a nutritional calculator with the ingredients in your area.
The meringue started as little cookies that were crispy on the outside and chewy inside. There are a few different types of meringues from across Europe that have slightly different ingredients and techniques. Meringue has been used for cookies, pavlova, Eton mess, and lemon meringue pies.
Big on sugar
There is one thing that all meringues have in common is a considerable amount of sugar, which isn’t my bag. Some recipes take a long time to get right from a technical cooking perspective and others from a flavour perspective, it is usually one thing or another, but in this instance, it took a long time to get the flavour and the technique right. I will save you the tale of woe and the many failed experiments to get a recipe that gave me silky meringues that once baked were crisp on the outside and chewy on the inside. All you need to know is the best combination of cream of tartar, apple cider vinegar and monkfruit sweetener.
No sugar meringue recipe
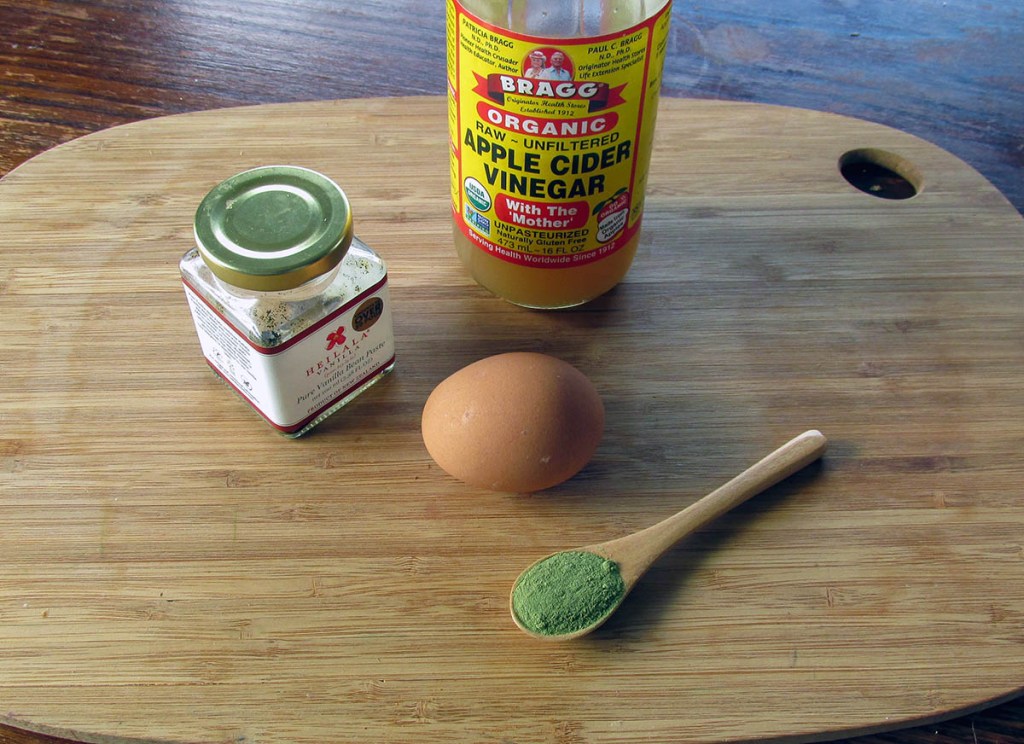
Ingredients
3 egg whites
1/2 tsp. apple cider vinegar
1/4 tsp. Cream of tartar
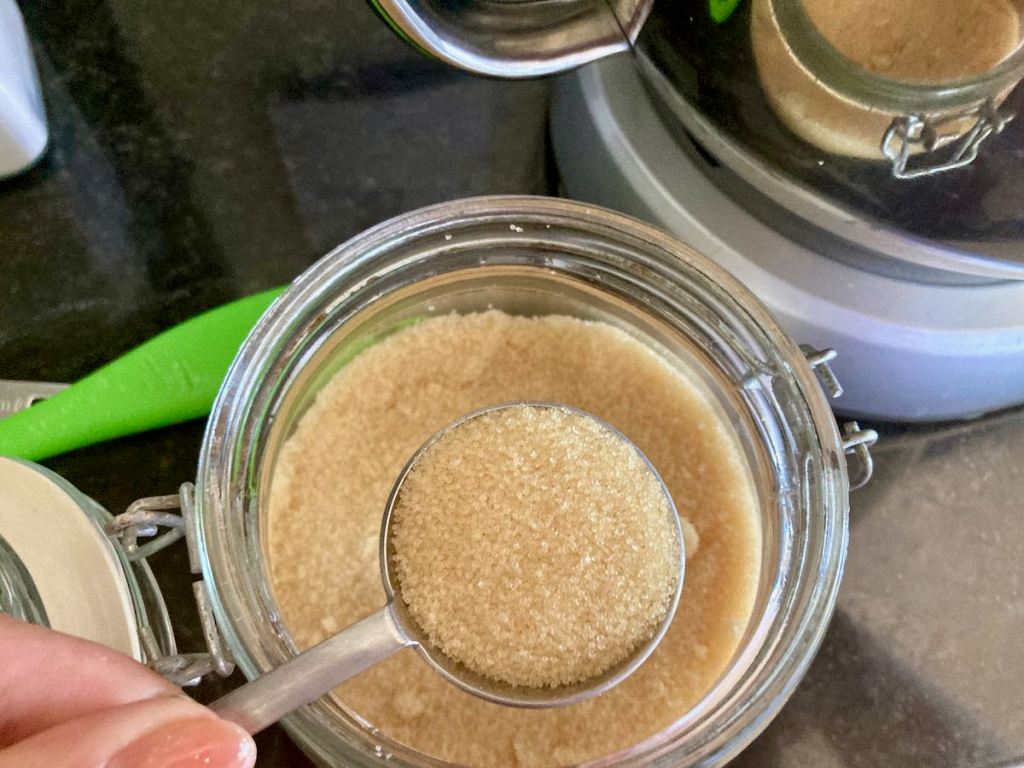
3 tbsp. Monkfruit sweetener
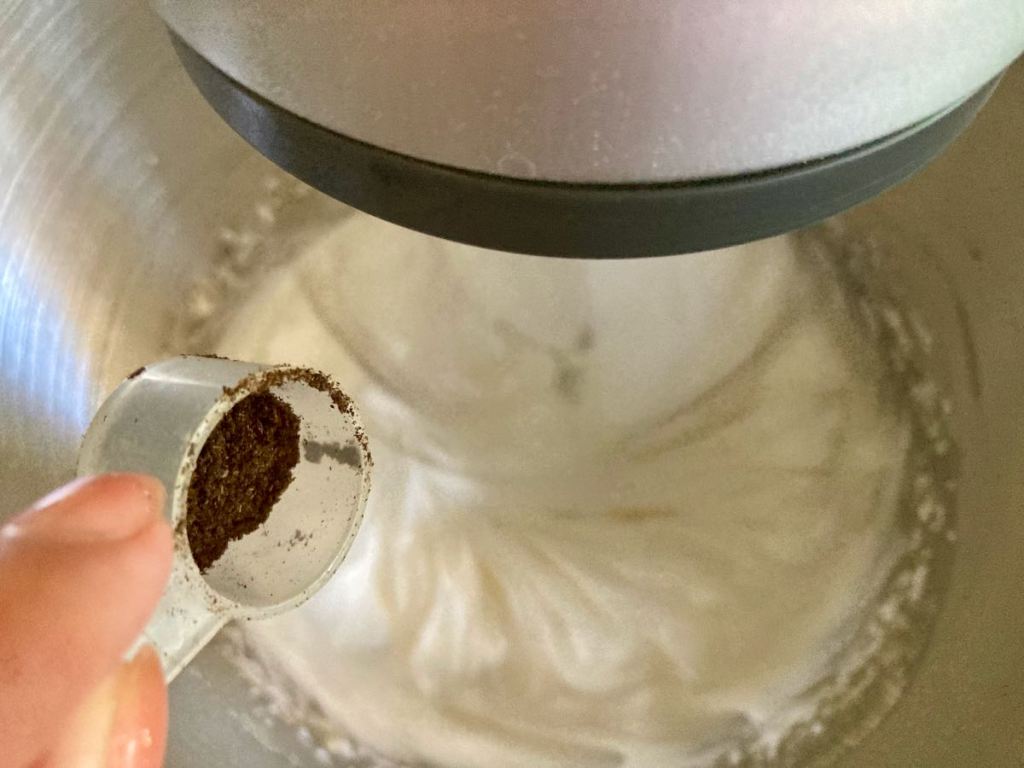
1/4 tsp. vanilla bean powder
Preheat to 135 degrees C / 275 degrees F.
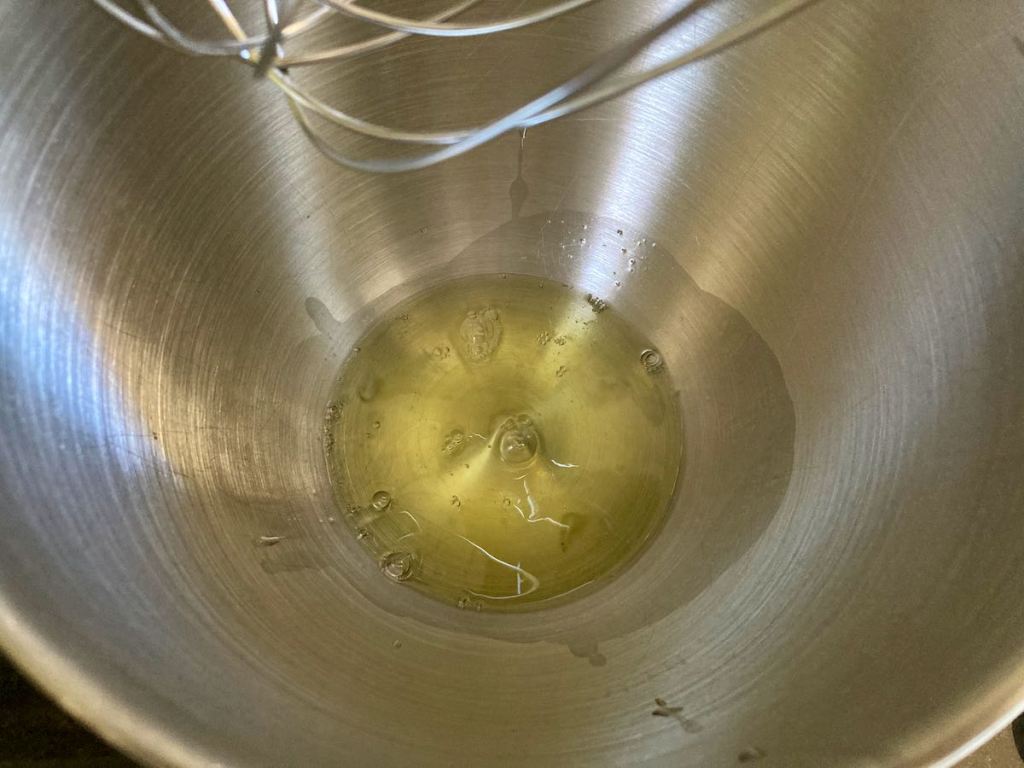
Crack the eggs and separate the egg whites from the yolks*.
Place the egg whites into a large, clean bowl or a mixer.
Using an electric whisk, start to beat the egg whites, use a medium speed setting on the whisk.
Beat the whites until they become foamy.
Whisk in the apple cider vinegar.
Add the monkfruit sweetener one tablespoon at a time, then whisk in the vanilla bean powder.
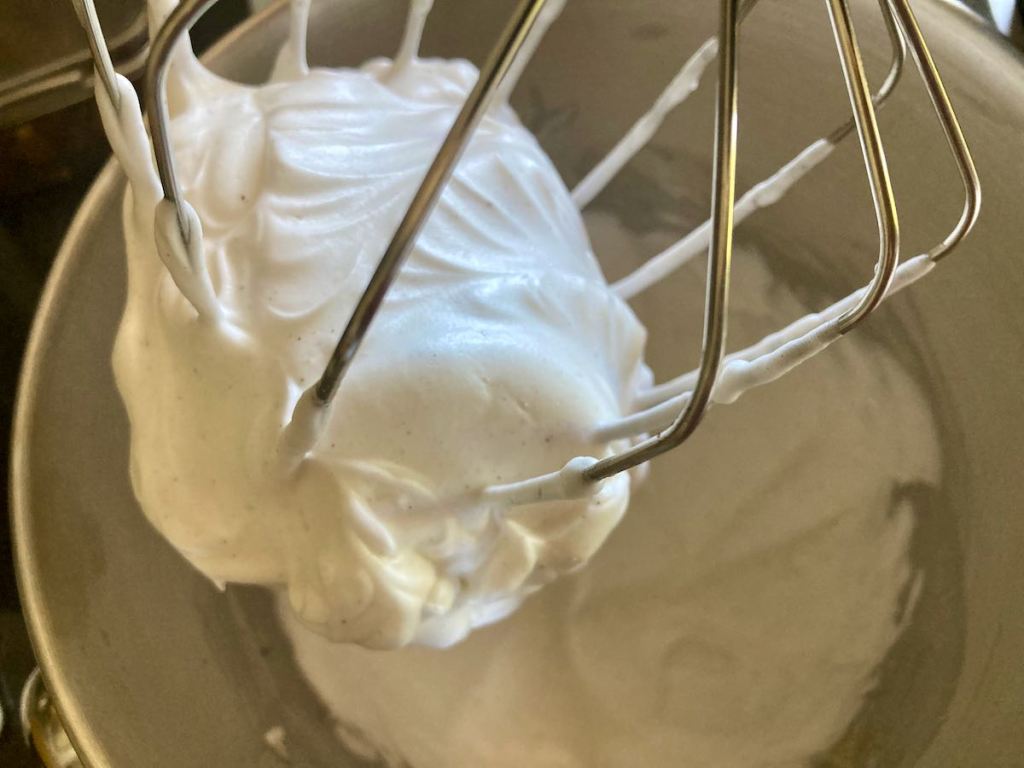
Keep beating the egg whites until they are stiff peaks and look glossy.
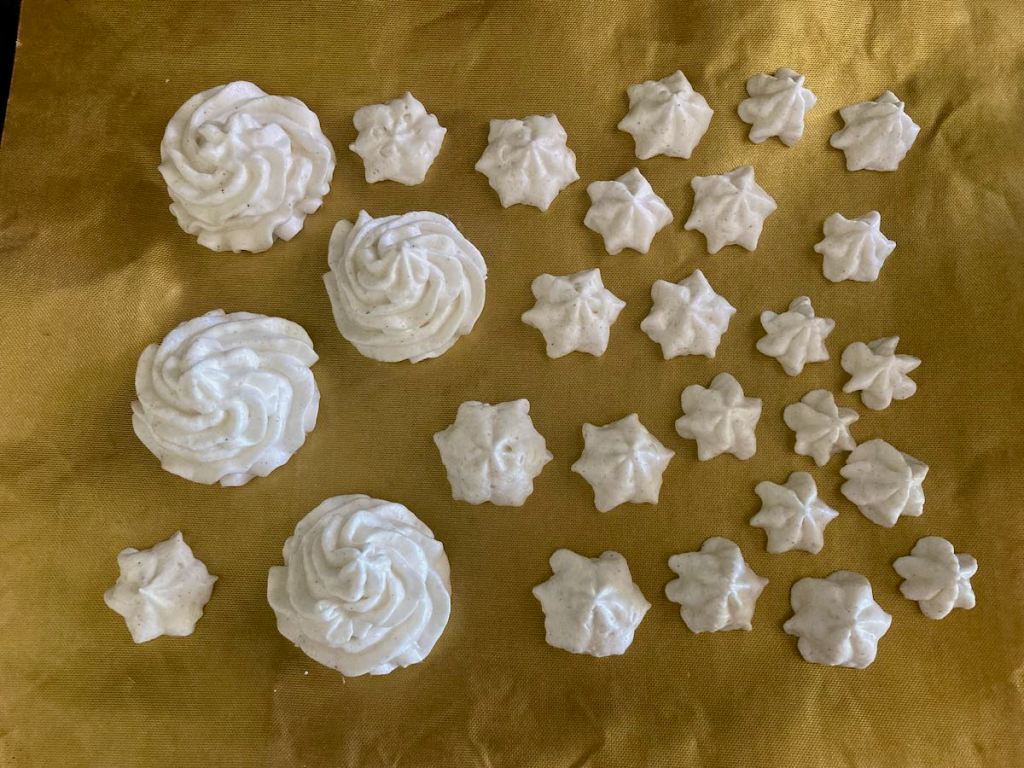
Line a baking tray with baking paper or a silicone liner.
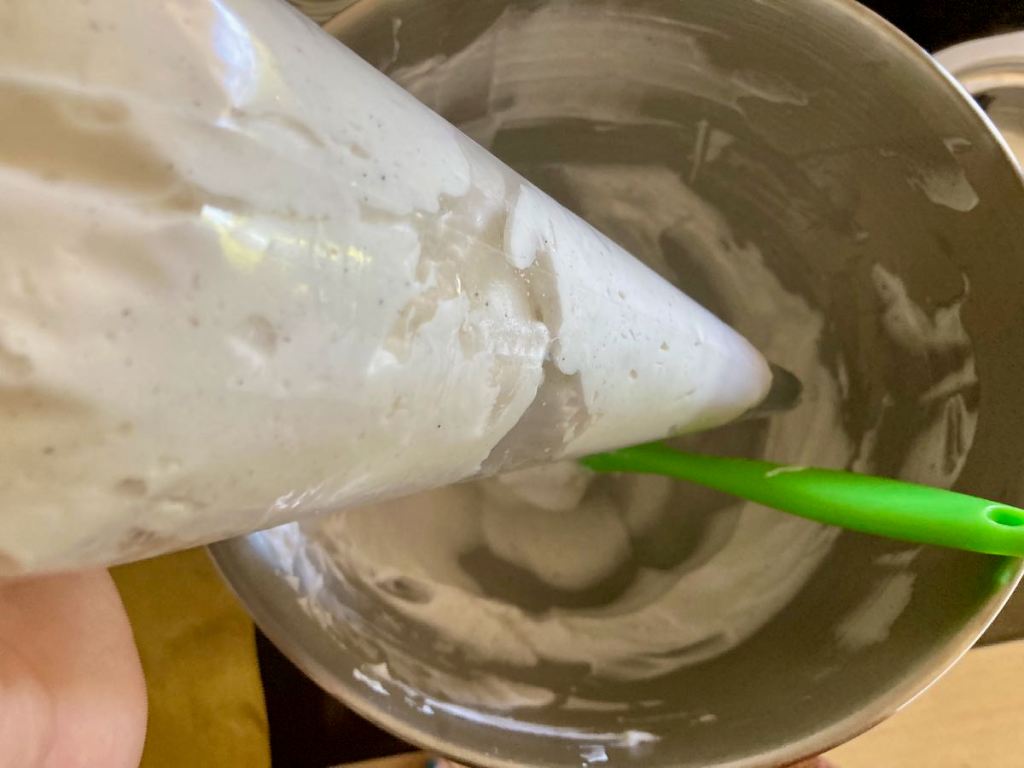
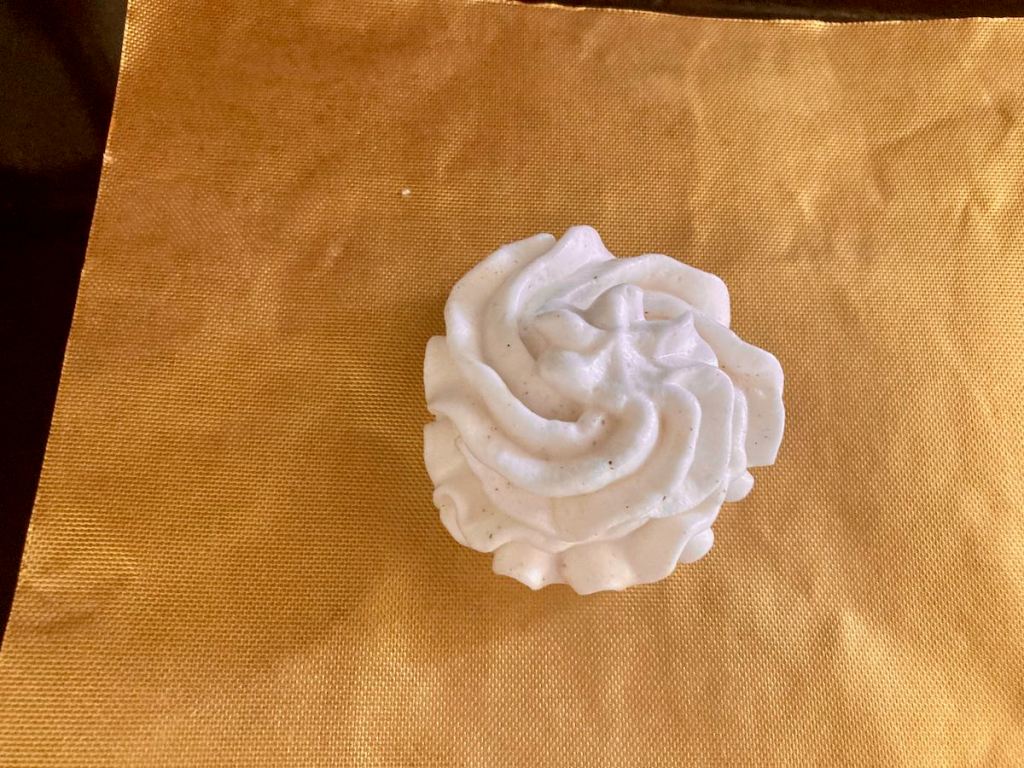
You can use a spoon to put the whites onto the baking tray; alternatively, you can use a piping bag to create shaped meringues.
Bake at 135 degrees C 275 degrees F for 15 minutes.
After 15 minutes, turn down the oven’s temperature to 100 degrees C 210 degrees F and cook for another hour.
After an hour, turn the oven off and keep the meringues in for another 2 hours.
When the oven has cooled completely, remove the meringues and put them into an airtight container.
You can store the meringues at room temperature until you need them.
*keep the yolks. You can add them to your homemade mayo to make it more creamy
Crack the eggs and separate the egg whites from the yolks*.
Place the egg whites into a large, clean bowl or a mixer.
Using an electric whisk, start to beat the egg whites, use a medium speed setting on the whisk. Beat the whites until they become foamy.
Whisk in the apple cider vinegar.
Add the monkfruit sweetener one tablespoon at a time, then whisk in the vanilla bean powder.
Keep beating the egg whites until they are stiff peaks and look glossy.
Line a baking tray with baking paper or a silicone liner.
You can use a spoon to put the whites onto the baking tray; alternatively, you can use a piping bag to create shaped meringues.
Bake at 135 degrees C 275 degrees F for 15 minutes.
After 15 minutes, turn down the oven’s temperature to 100 degrees C 210 degrees F and cook for another hour.
After an hour, turn the oven off and keep the meringues in for another 2 hours.
When the oven has cooled completely, remove the meringues and put them into an airtight container.
You can store the meringues at room temperature until you need them.
Nutrition
Per Serving:14 calories; 0.1g fat; 0.3g carbohydrates; 3.3g protein
Equipment
Mixing bowl
Electric whisk
Baking tray
Baking paper or silicone liner
Piping bag
Star piping tip
Nutritional disclaimer
Nutrition information is provided as an estimate based on the ingredients used and available in my area (New Zealand). The nutritional information is here to help you understand the recipe; I use MyFitnessPal to generate my estimates. For more accurate nutritional information, please use a nutritional calculator with the ingredients in your area.
Eating clean gets a lot easier once you have mastered a few essential recipes. This recipe is basic; not like basic unicorn basic, more like beard and flannel basic. Back to the point (which isn’t Unstable unicorns), having basic skills and recipes in your arsenal means you will never be left with only UberEats as your weeknight options. Once you master this recipe, the possibilities are endless.
Always make friends with salad
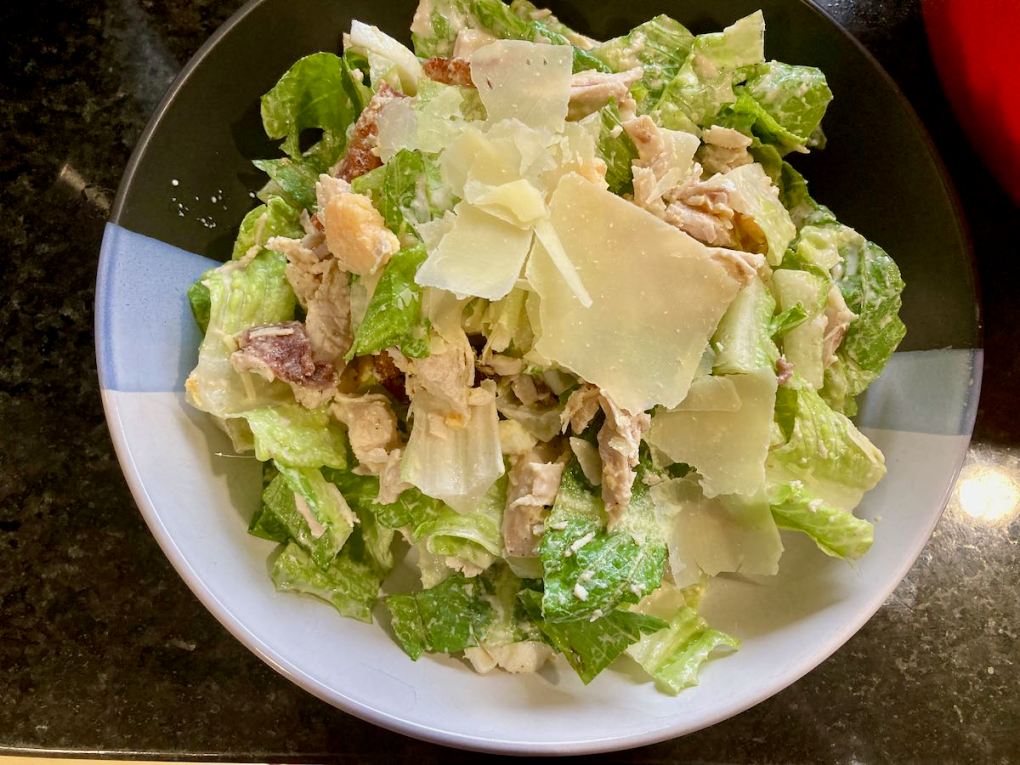
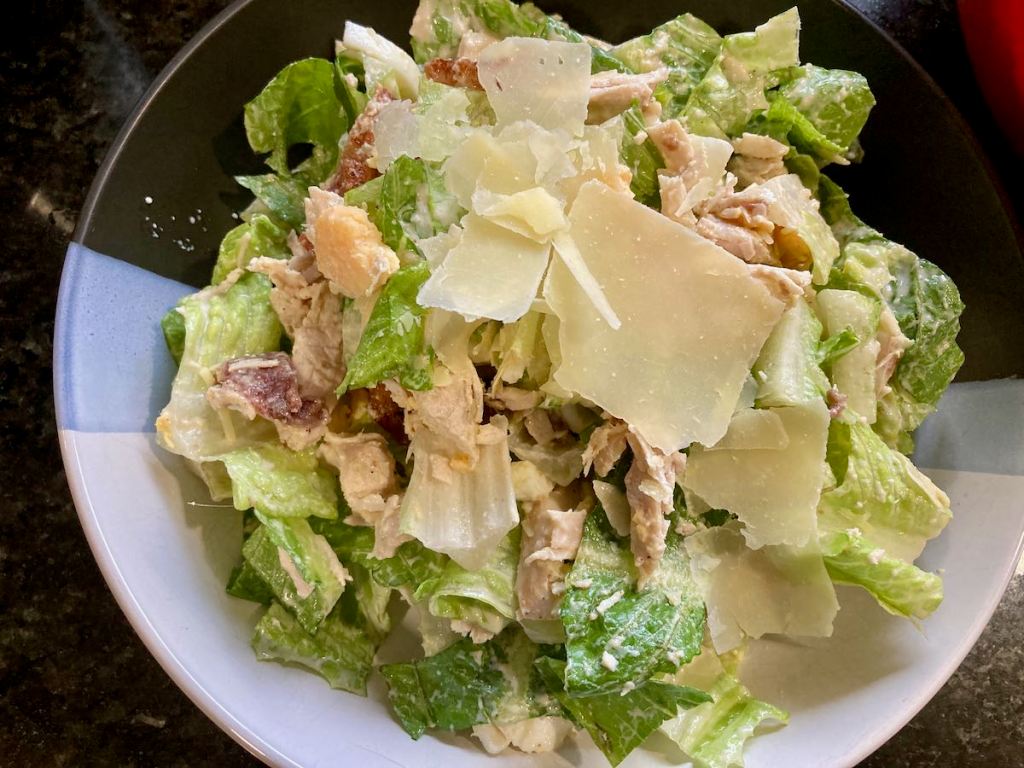
In my book, salad is something to get excited about; it is an amazingly fresh meal full of endless possibilities, not limp lettuce, sad dressing and soggy tomatoes. I’m one of those strange people that could happily eat salad for every meal. Gone are the days when I couldn’t plan to have salad as a family meal; I still can’t get away with a salad at every meal, but I do get a lot more salad than I once did.
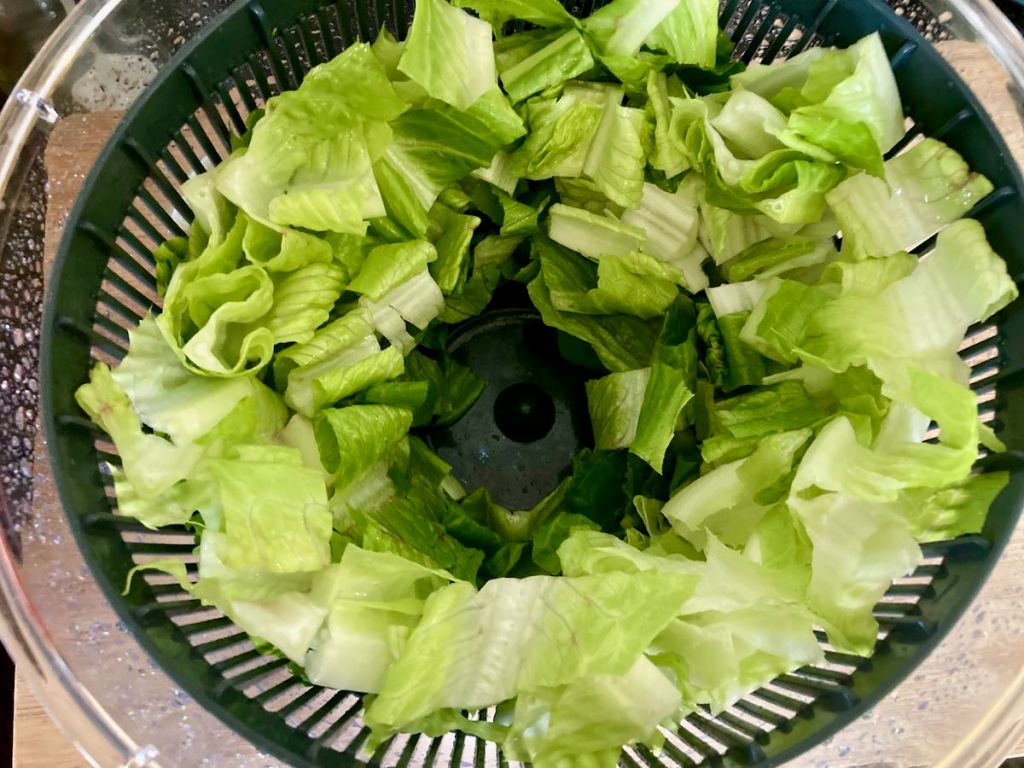
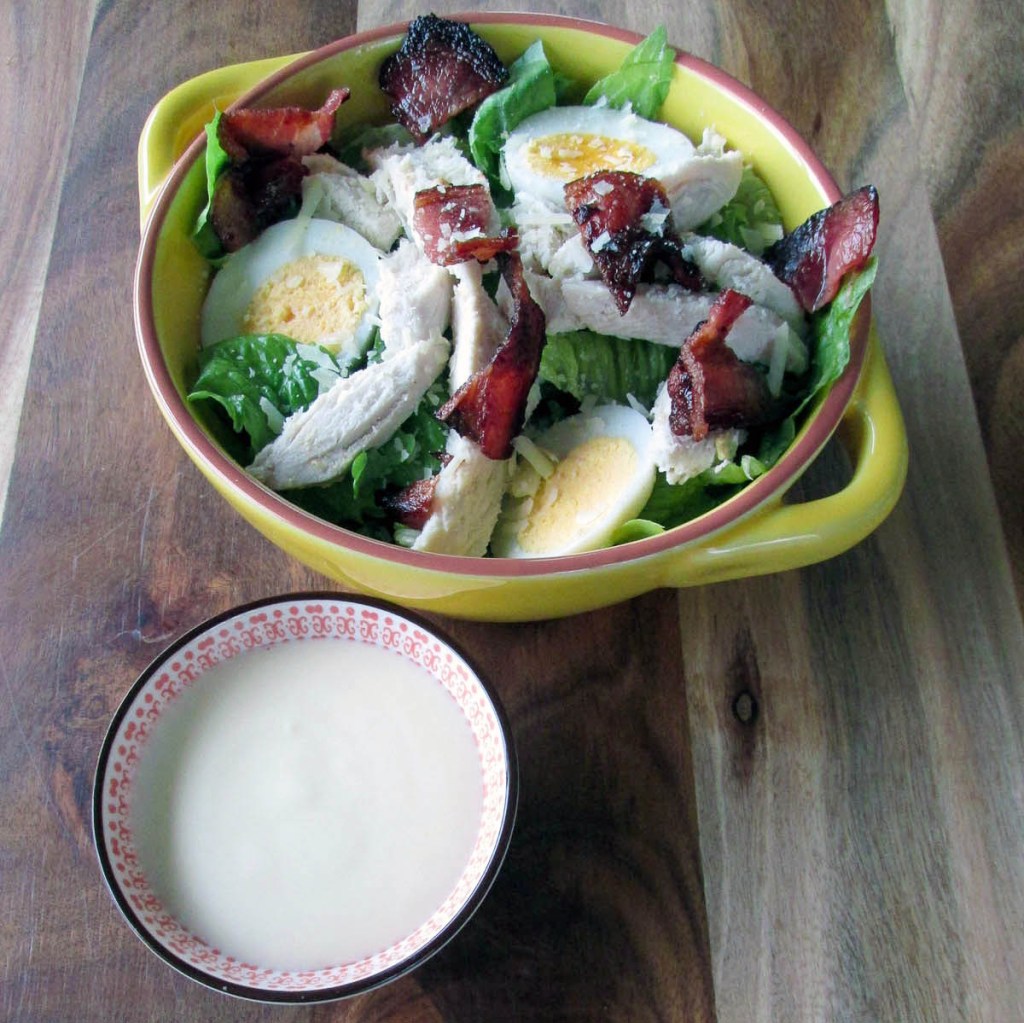
This is my take on the classic Caesar salad, it is portioned for one person but can easily be increased to feed more people.
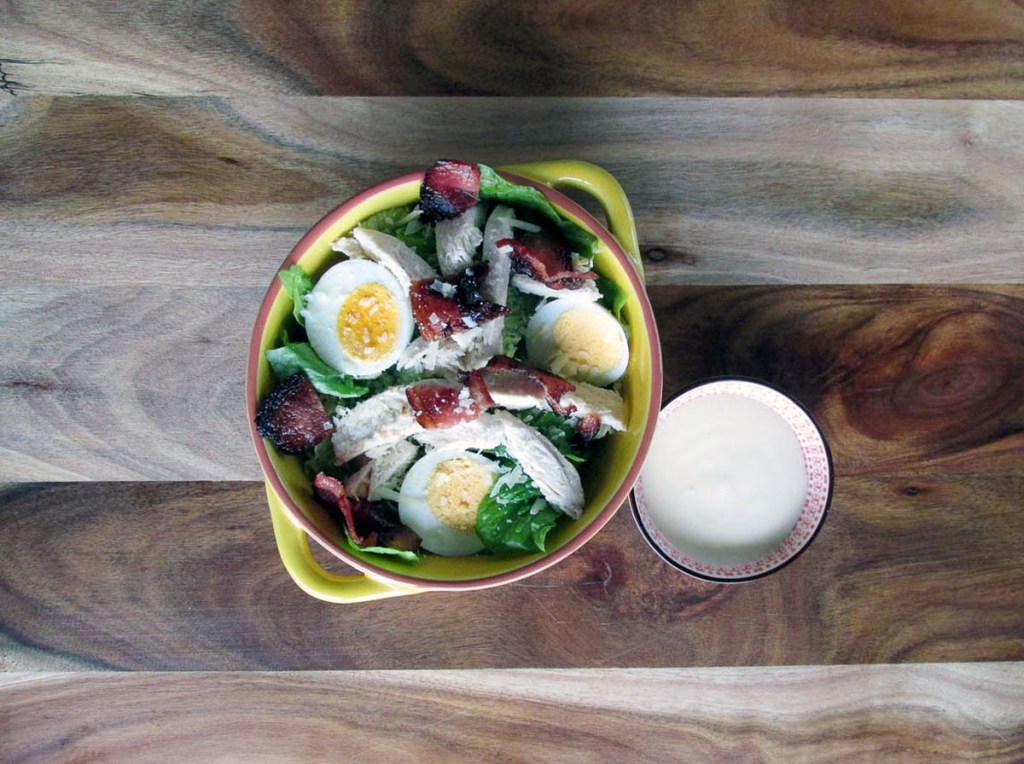
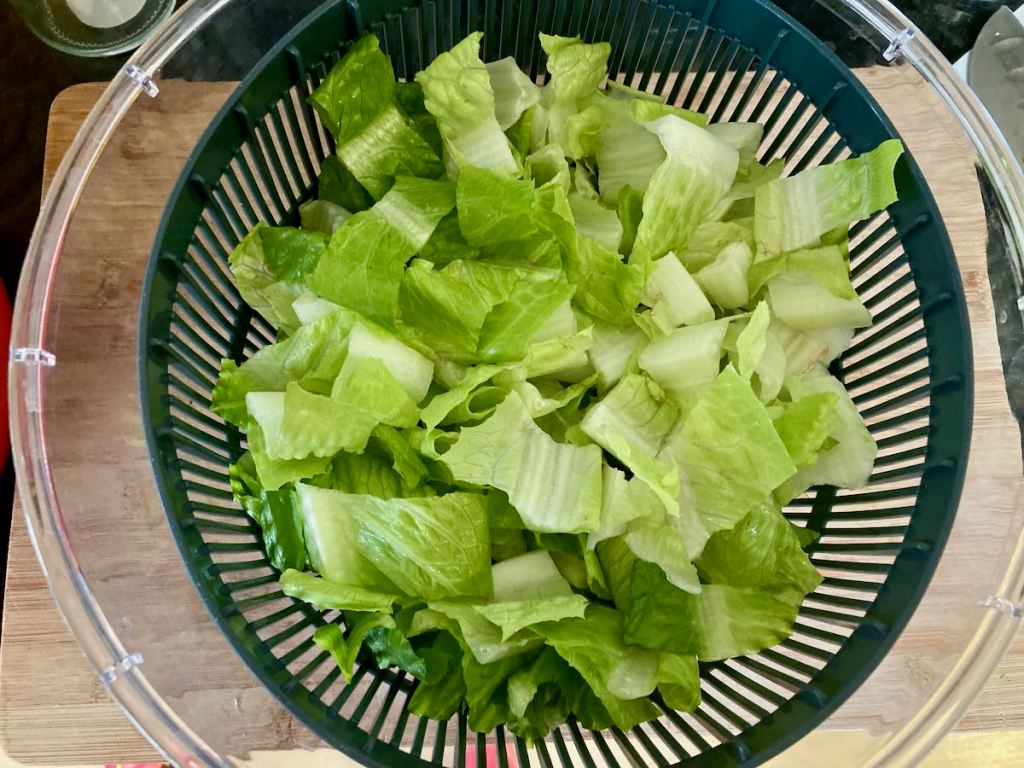
Place the cos lettuce into a bowl or onto a platter.
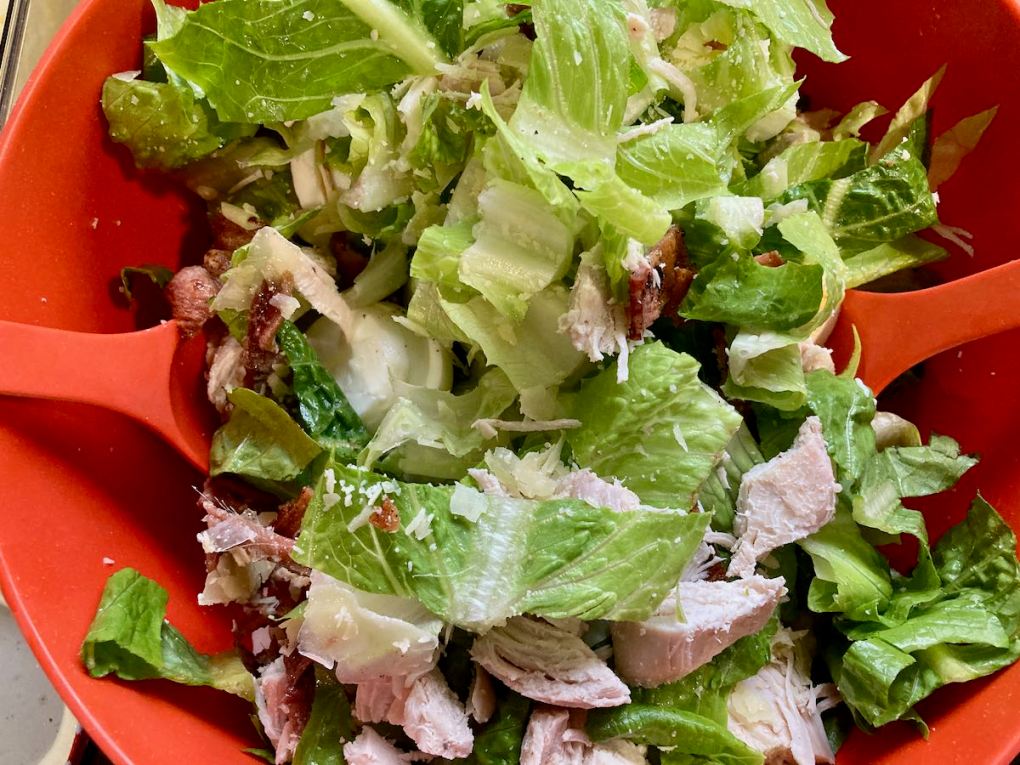
Slice the egg, chicken and bacon and layer them on top of the lettuce.
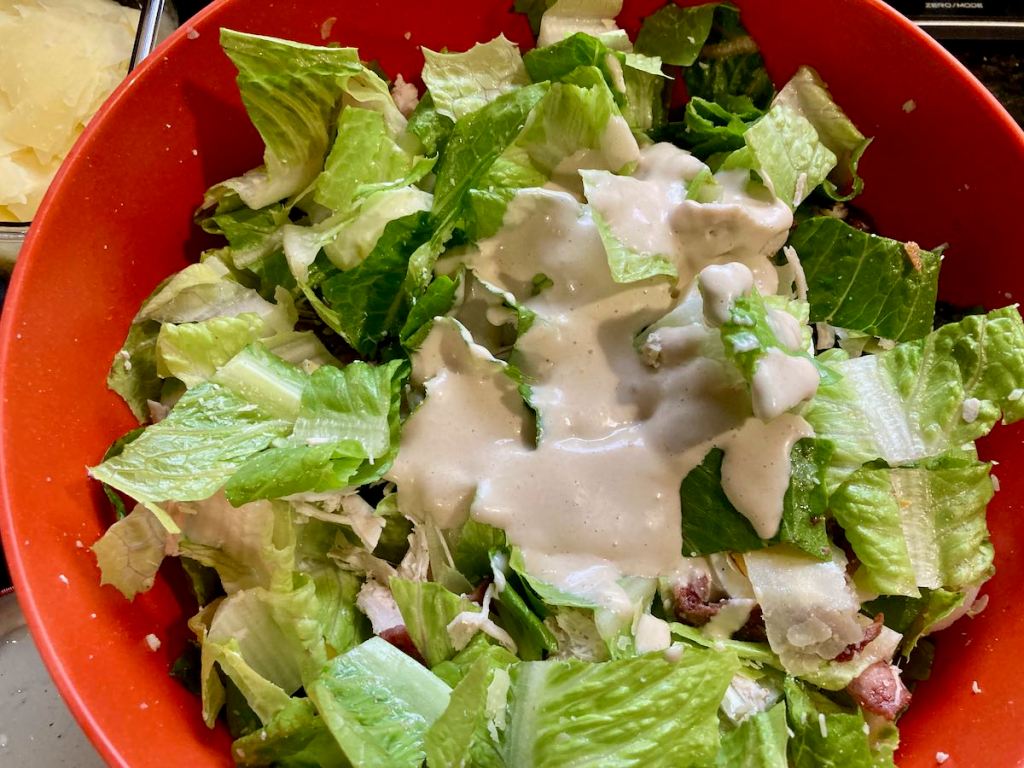
Drizzle the Caesar dressing over the top.
Mix gently to cover the cos
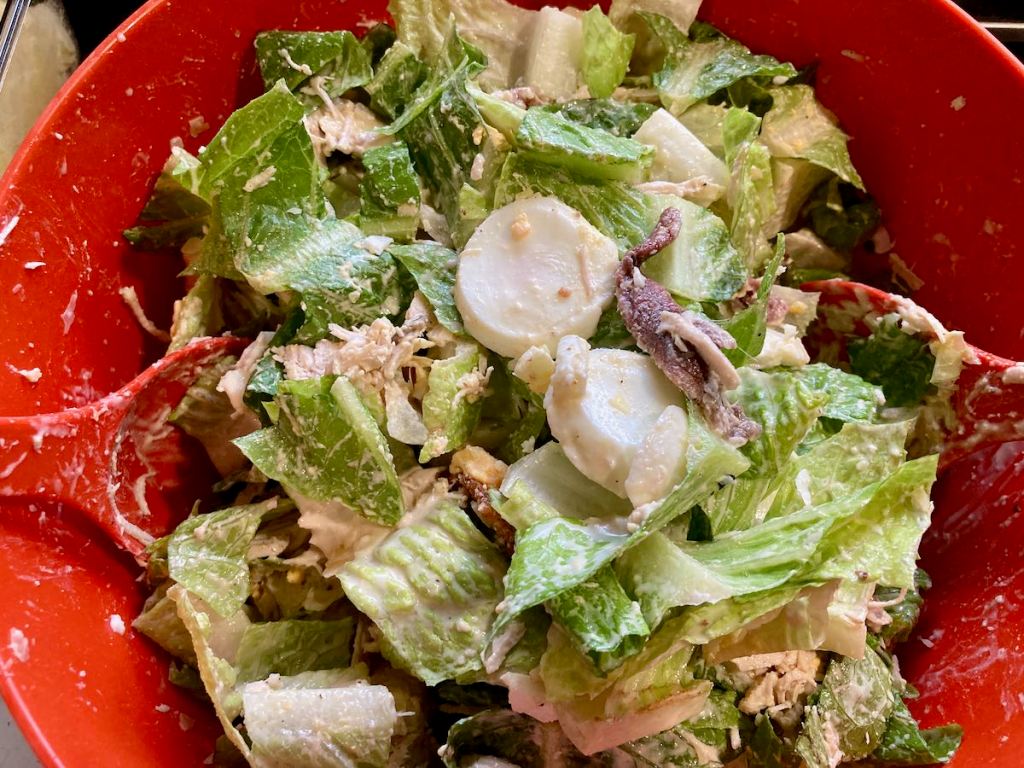
Add the shaved parmesan cheese and anchovies before serving.
Nutrition
Per Serving: 244 calories; 10.5 g fat; 3.3 g carbohydrates; 30.3 g protein
Equipment
Knife
Chopping board
Mixing bowl or platter
Scales
Nutritional disclaimer
Nutrition information is provided as an estimate based on the ingredients used and available in my area (New Zealand). The nutritional information is here to help you understand the recipe; I use MyFitnessPal to generate my estimates. For more accurate nutritional information, please use a nutritional calculator with the ingredients in your area.