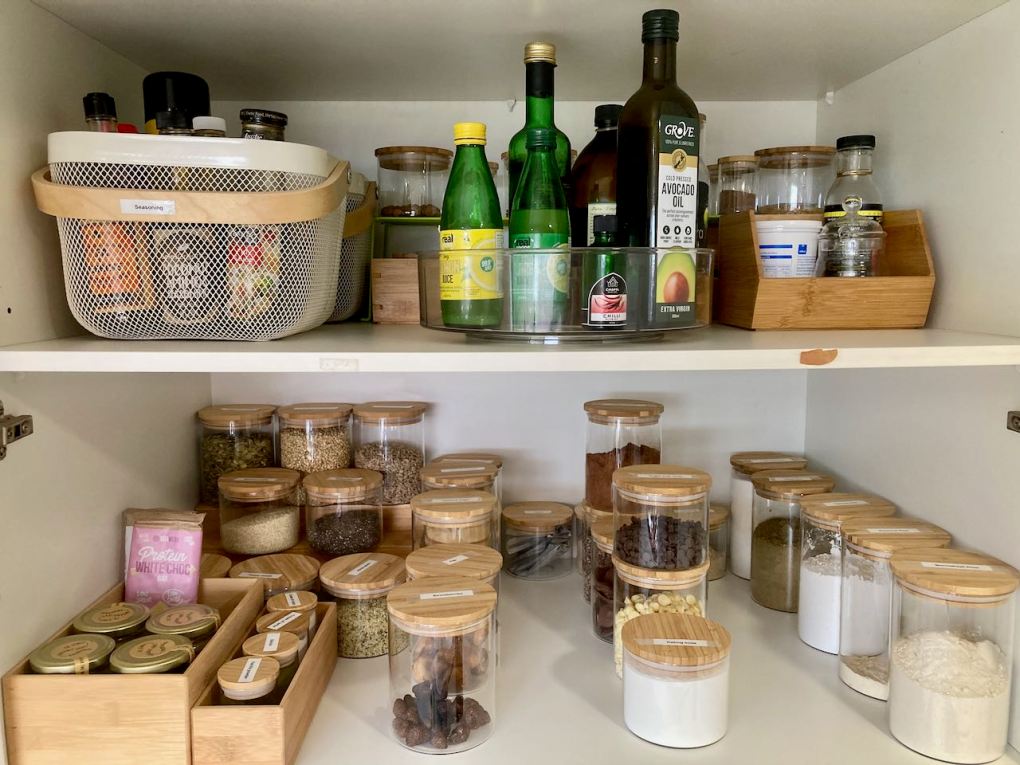
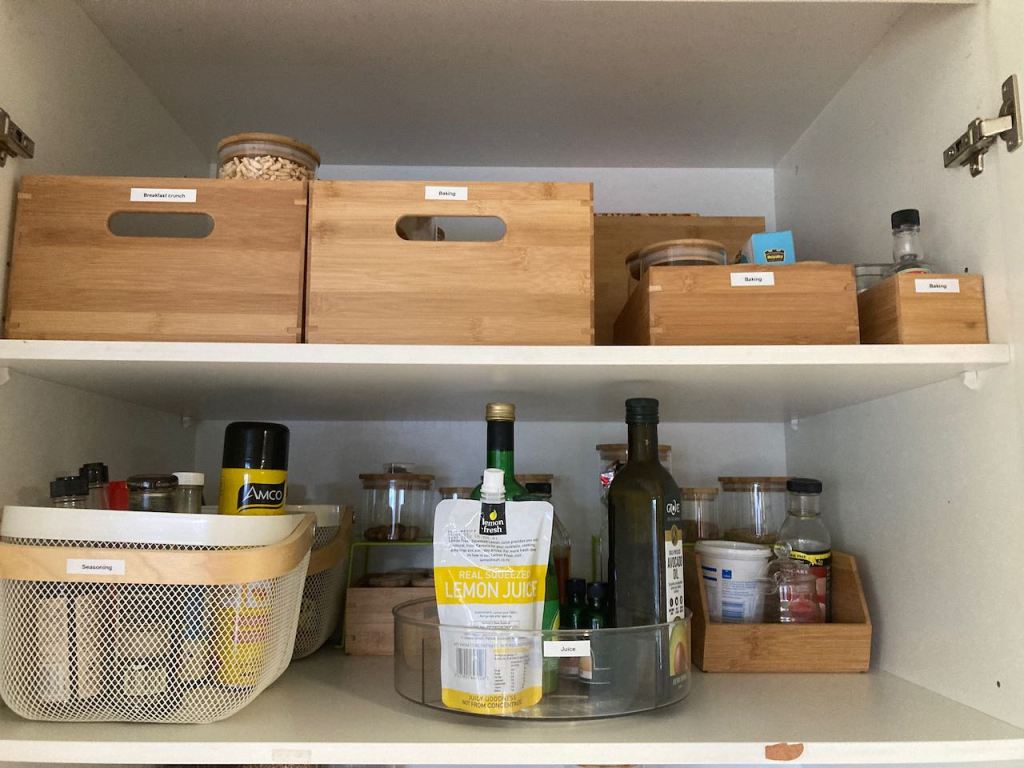
A well-stocked pantry is a key element that can help turn boring weeknight meals into something special.
Stocking your pantry is something that is achieved over time; I built up my pantry over months, adding something to my shopping list every couple of weeks to get started and then just topping up empty items as and when they are needed. The list of items below is what I make sure I always have in the house, or items that I would recommend for your pantry as well as my go-to items to spice things up.
Oils, Vinegars and Condiments
Extra-virgin olive oil this is generally used for cooking and salad dressings
Sunflower oil this is commonly used for cooking and baking
Sesame oil this is usually used for stir-frying
Coconut oil this is generally used for baking and eating
Avocado oil this is typically used for cooking and salad dressings
Balsamic vinegar
Apple cider vinegar raw if you can get it
Coconut aminos
Fish sauce
Dijon mustard
Worcestershire sauce
Flavourings
Salt, whichever you want, sea salt, coarse salt, fine salt
Black peppercorns
Onions
Fresh garlic
Fresh ginger
Anchovies for flavouring sauces and salad dressings
Early in 2021, I relocated and started updating my website; I’ve been making changes and improving everything as I go. This recipe is one of the many things I’ve tried to improve.
Getting off the sugar train
Over the last year, sugar has crept back into my diet, and I’ve noticed the adverse effects of late. Between my busy work life and lots of travel for work, I have found it challenging to eat clean and stay healthy. I decided to return to the sugar-free wagon and start feeling more like myself again.
Easy snack
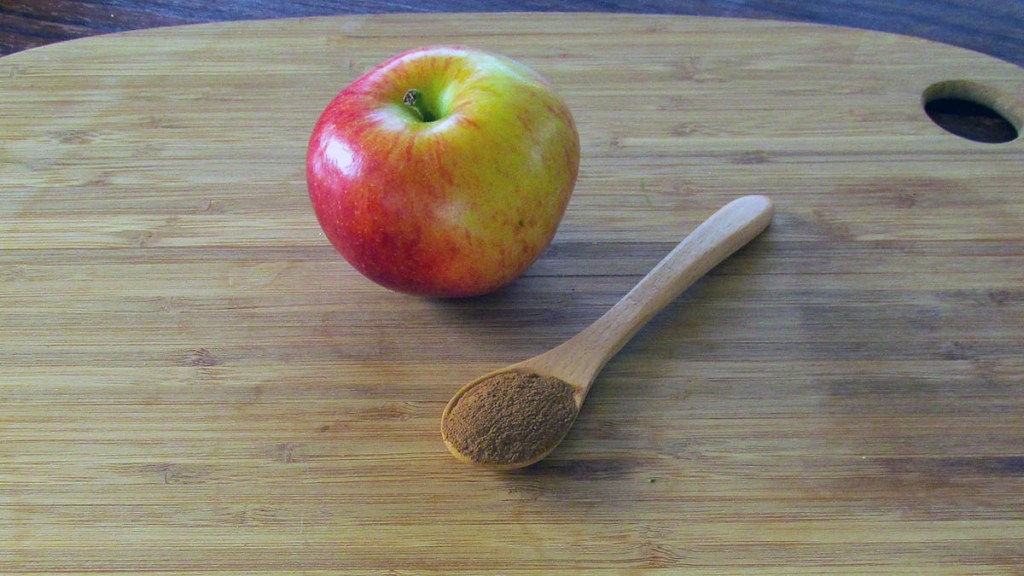
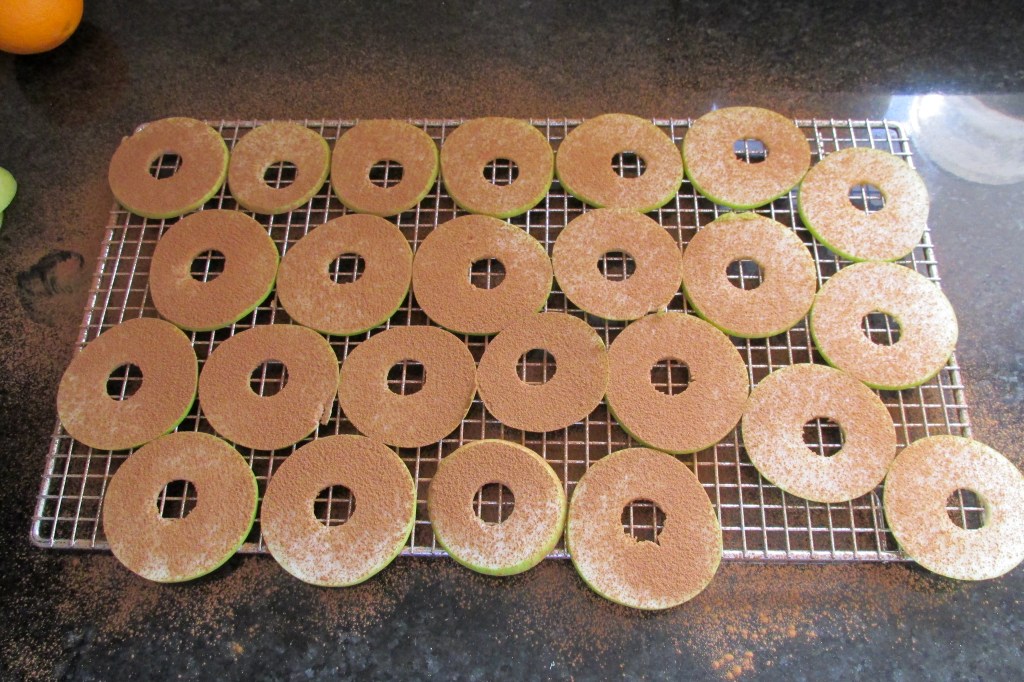
Apple chips are a cheap and easy snack. They make a great alternative to potato chips; they are sweet, crisp and slightly addictive. If you are looking for a way to get fruit into little people, they are a brilliant option.
Preheat your oven to 100 degrees C/ 220 degrees F.
Line two baking trays with baking paper or a silicone liner.
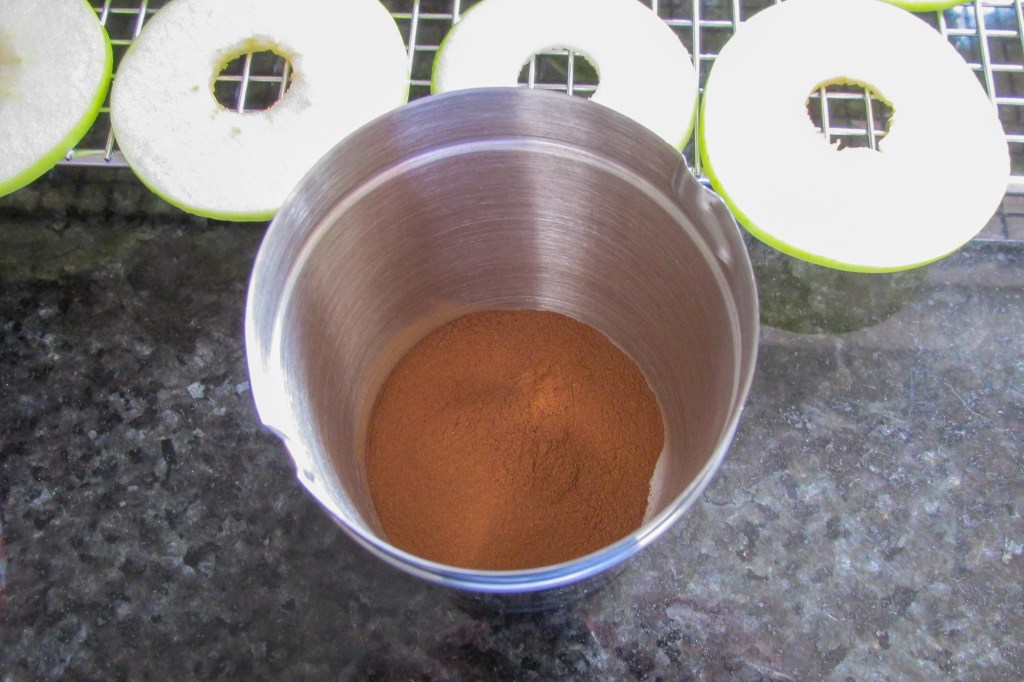
Cut the apples into thin slices, for uniform size slices you can use a mandolin.
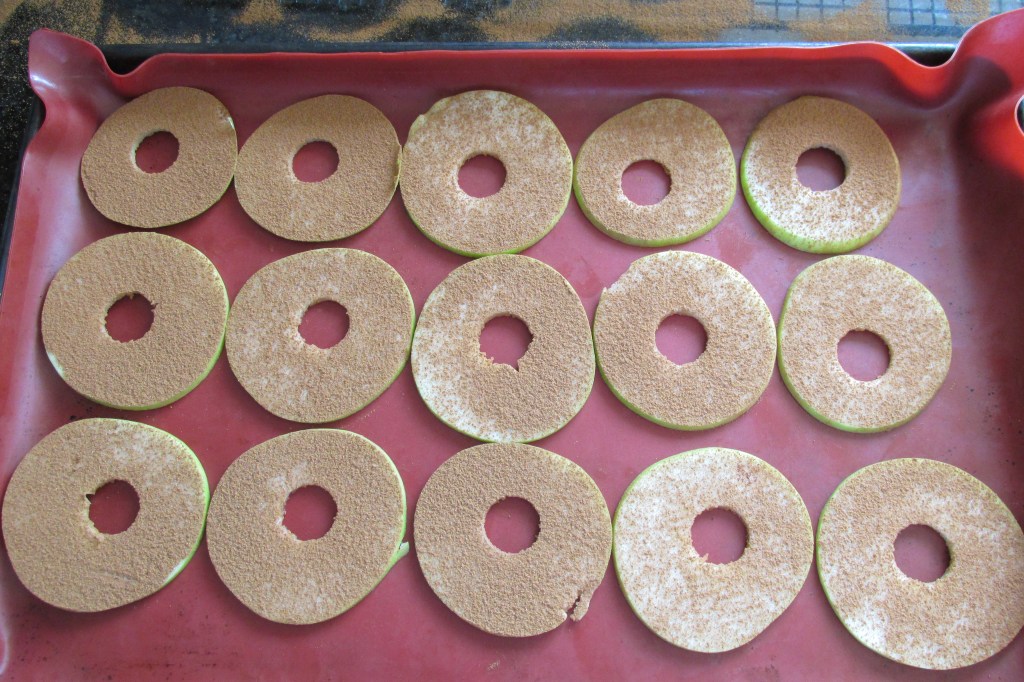
Spread the apple slices on the baking trays, making sure you have no overlapping edges.
Sprinkle the ground cinnamon on top of the apples.
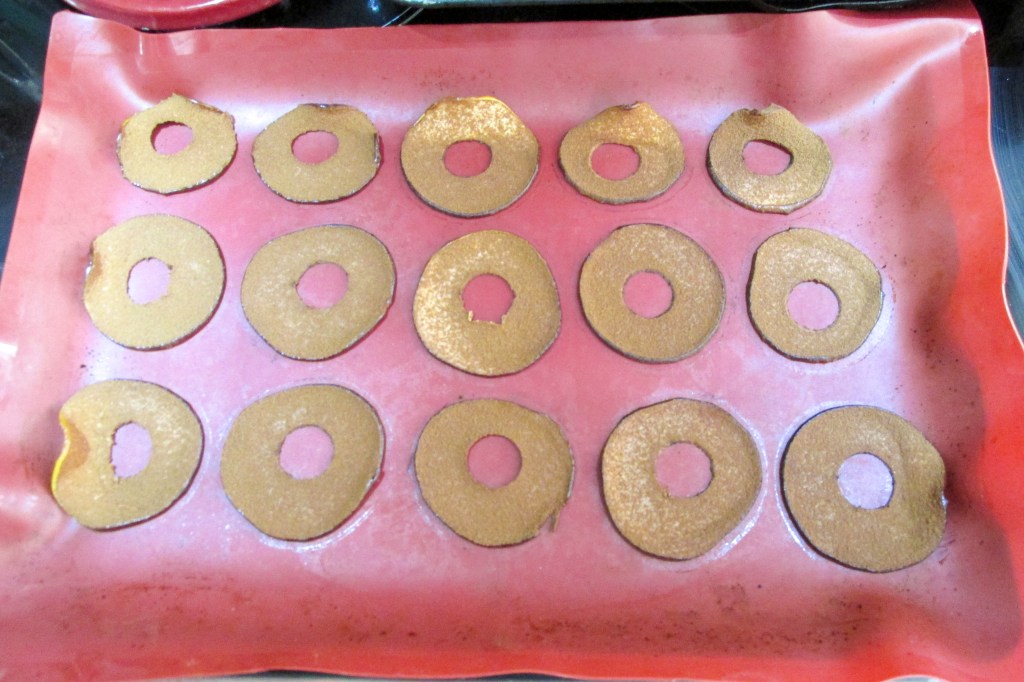
Place the baking trays in the oven.
Leave the chips in the oven for two hours; turn them over after the first hour.
Let the chips cool before eating.
Keep the chips in an airtight container in the fridge for up to a week
Nutrition
Per Serving: 40 calories; 0 g fat; 11 g carbohydrates; 0 g protein
Equipment
Knife
Chopping board
Mandolin
Baking tray
Baking paper or silicone liner
Nutritional disclaimer
Nutrition information is provided as an estimate based on the ingredients used and available in my area (New Zealand). The nutritional information is here to help you understand the recipe; I use MyFitnessPal to generate my estimates. For more accurate nutritional information, please use a nutritional calculator with the ingredients in your area.
For many reasons, it has been a while since I posted anything new on my blog. I won’t go intoall the gory details, just the highlights;
the unexpected and messy end to a 13-year relationship,
two job changes,
two naughty kittens and
a lot of work to stay in my home.
Needless to say, with so much happening in my professional life and a total implosion of my personal life, I needed some time out to reset my life, rediscover what makes me happy, focus on what is important and heal. It has taken longer than expected, but I am finally in a space where I am ready to embrace the things that make me happy and share them with the world.
Some changes to what you will see from me
For a long time, my life and cooking revolved around keeping others happy and adjusting things to make kids happy; now, I only have to make myself happy (and my fur babies). I am not one to erase the past; life is about experience and learning; erasing the past removes the lessons learned and dooms us to repeat the same mistakes. I won’t erase my past on my blog; I prefer to win or learn.
Much of my old content includes recipes for my stepkids to eat vegetables and try new things. I want to share these valuable resources with others looking for ideas, but they won’t be my focus anymore.
I want to share my ideas and learning with those looking for healthy and tasty meals, challenging workouts, and tips to make life easier for all who need them.
Who am I am
It seems fitting to reintroduce myself.
Hi, I’m Cath
Originally from the UK, I’ve called Auckland, New Zealand, my home since 2010. In 2024, I finally became a New Zealand citizen. I’m fortunate enough to live in a part of the city close to everything I need and has beautiful views of a Mountain and the water daily.
I share my home with two fur babies, Bella and Luna, who make every day interesting. Bella is my loving but very anxious baby. She lives for snuggles while holding paws and hunting for anything that moves in the house. Luna is special in so many ways; she loves with her claws (and teeth), she loves to cuddle (and bite), and she is so uncoordinated she has never caught anything worth hunting in her life. My girls keep me company, complain when I don’t pay them enough attention and make me laugh each day.
BellaLuna
I spend my working week trying to make a real difference in the lives of the less fortunate in New Zealand. I work for a government agency and try hard to fight for changes that will benefit the most vulnerable in our society. I love my job and that it is always a challenge; no two days are the same, and I always have opportunities to make a difference, even in the smallest of ways.
I’m addicted to coffee, Post-it notes, and my bullet journal; please don’t judge me. Order and organisation are my jam. Exercise is how I consistently manage my well-being and maintain balance in life. My home gym is my sanctuary; knowing it is just downstairs whenever I need it is a saving grace on hard days. Falling out of bed in the morning to practice yoga or run on the treadmill sets me on the right path each day.
Sweating my face off
When I’m not working hard or sweating my face off, I spend time doing the things I love. At the end of my relationship, I was fortunate to find new friends who filled my life with laughter and enjoyment. I spend part of my weekends drinking coffee, talking shit and laughing until I cry. When we aren’t talking shit, we have two-wheel adventures across Auckland, which always leave me exhausted. Whenever possible, I blow up my paddle board and take to the water to enjoy some moving meditation.
My life is simple, but it is enough for me. I’ve relearned to find pleasure in the small things and put myself first again. Being creative in the kitchen, trying new things and learning new things brings me joy and satisfaction.
One of the key things missing that I found important when removing ‘standard’ foods from my diet was knowing an alternative I could use. Many of the alternatives I discovered that were suitable for how I wanted to eat took time to discover. I considered each discovery a little triumph on my food journey. Knowing what is out there and suitable for you can be hard work. I’m all for making life easier, so here is a list of the alternative ingredients I have found and used over the years.
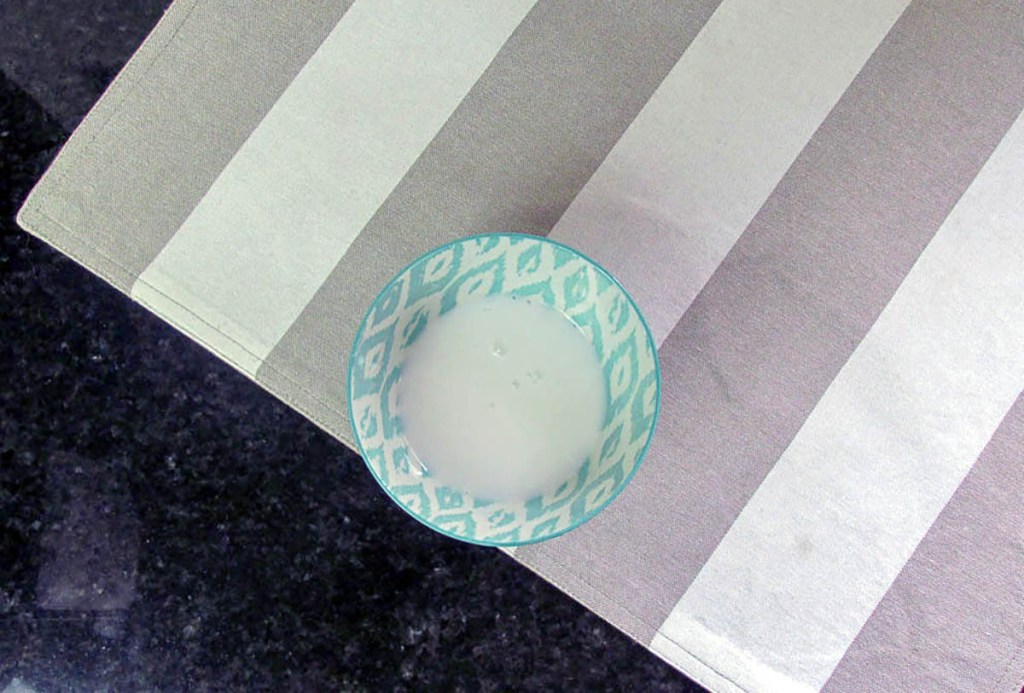
Removing milk – alternative coconut milk/ almond milk
Dairy is a big issue for some people. Removing milk can be challenging and take a while to get used to; having an alternative can make life much easier. Coconut and almond milk are nice alternatives available in most supermarkets and health food stores. Look for milk that doesn’t have added sugar, sweetener or preservatives; you can always make your own if you want to remove the risk of milk with added chemicals. There are other milk alternatives out there, but I highly recommend doing some interweb research on potential health impacts before you try them.
Coconut milk
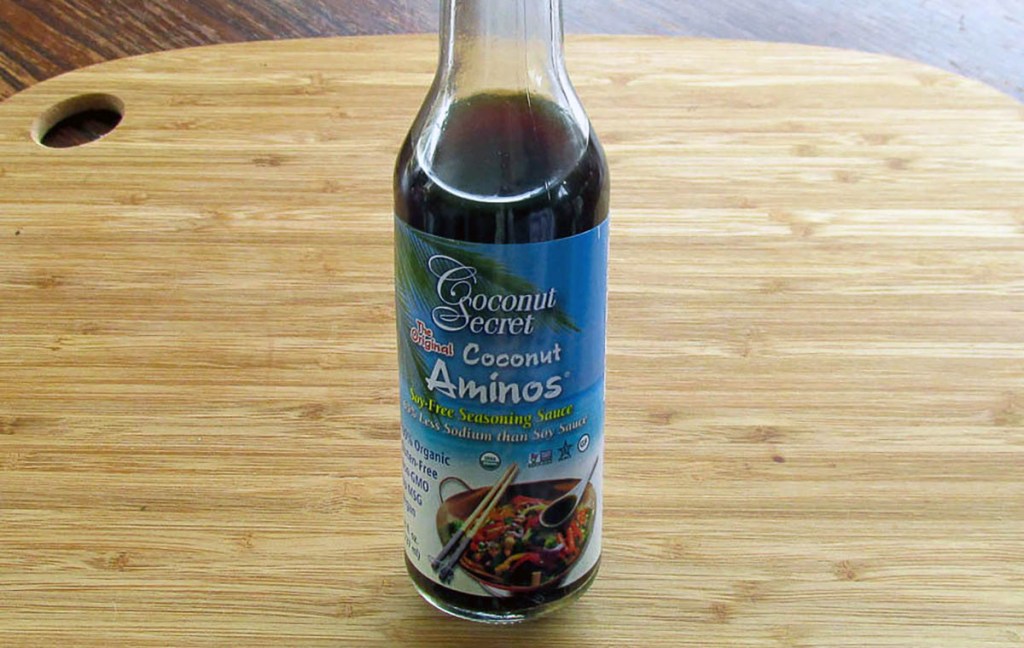
Removing soy sauce – alternative coconut aminos
Coconut aminos are an excellent replacement for soy sauce. Soy is one of the most controversial foods out there; it is considered either a superfood or a hormone-disrupting poison. Instead of working through many papers that argue the pros and cons of soy and running the risk of phytoestrogens, use coconut aminos where you would normally use soy sauce. It is a nice and simple solution without compromising on flavour. Interesting facts about coconut aminos;
This is the one that I keep in my pantry use, and you can buy it in most health food stores and in some supermarkets right next to the soy sauce.
Coconut aminos
Removing flour – alternative coconut flour
Often, getting rid of wheat and grains from your diet is one of the hardest things for people to do (it was for me – oh, bread, how I loved thee). To help ease the transition, you can now access a range of grain-free flours. As I have a nut allergy, I was limited to coconut flour or gluten-free mixes, which can include extra chemicals. Coconut flour has been my primary flour as a replacement. It pays to remember that coconut flour is not the same as wheat-based flour; after much experimentation, I have found a simple formula that you can apply when using coconut flour.
Other alternatives to standard flours include almond flour, tapioca flour, and many other non-grain flours; a suitable alternative often depends on what you are trying to make. I recommend experimenting to find out which flours work best for you and the food you are making.
Coconut flour
Removing sugar – alternative honey or maple syrup
Sugar is addictive and in everything nowadays (seriously, check out the label on pretty much anything in your fridge or pantry). Removing sugar can be hard, and once it’s gone from your diet, it does not mean the craving for something sweet will go away. Honey and Maple syrup are better options when you compare them gram for gram against sugar.
Both are sweet, but without that sickly sweetness you get with processed sugar, some honey is good for you (UMF honey and benefits). Other replacements include stevia and coconut sugar. The thing to keep in mind is that sugar-free doesn’t mean calorie-free; treats sweetened with sugar alternatives should be enjoyed in moderation.
Maple syrup
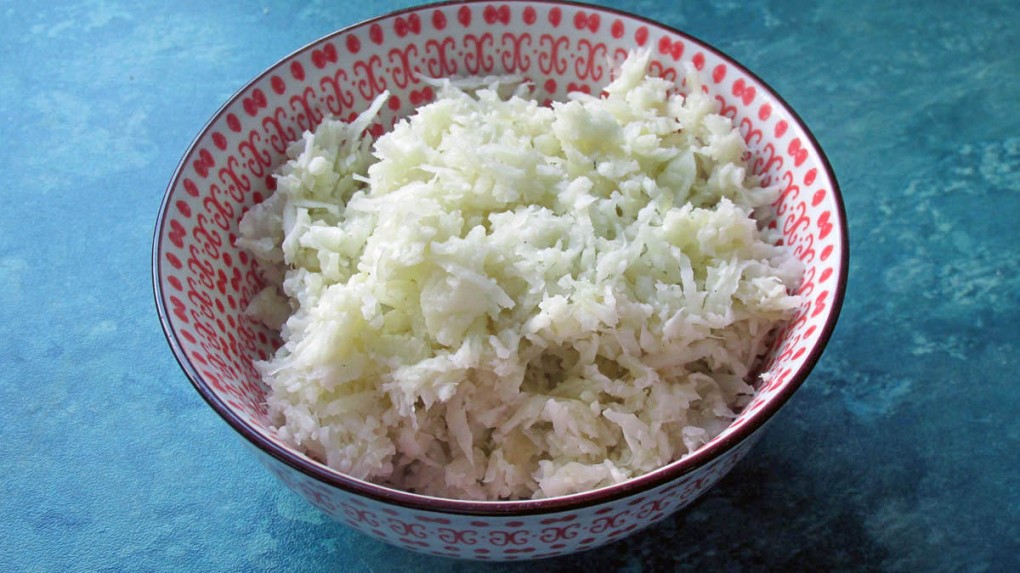
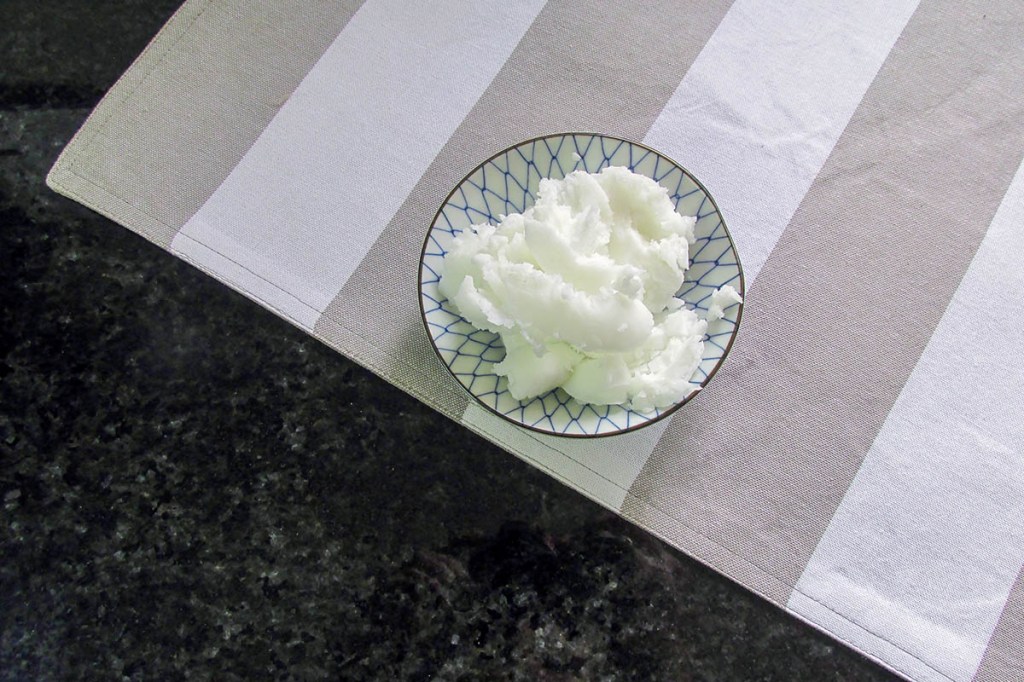
Removing rice and couscous – alternative cauliflower
Replacing rice is simple when you embrace cauliflower; it is much more versatile than you think. Grating or chopping your cauliflower gives you a rice grain texture that you can use in most of the same ways you would use rice. The bonus is that it is easy to cook and is lower-calorie than rice. It goes great with curry, as a side, fried rice, stuffing for peppers and even cold as a replacement for cous cous.
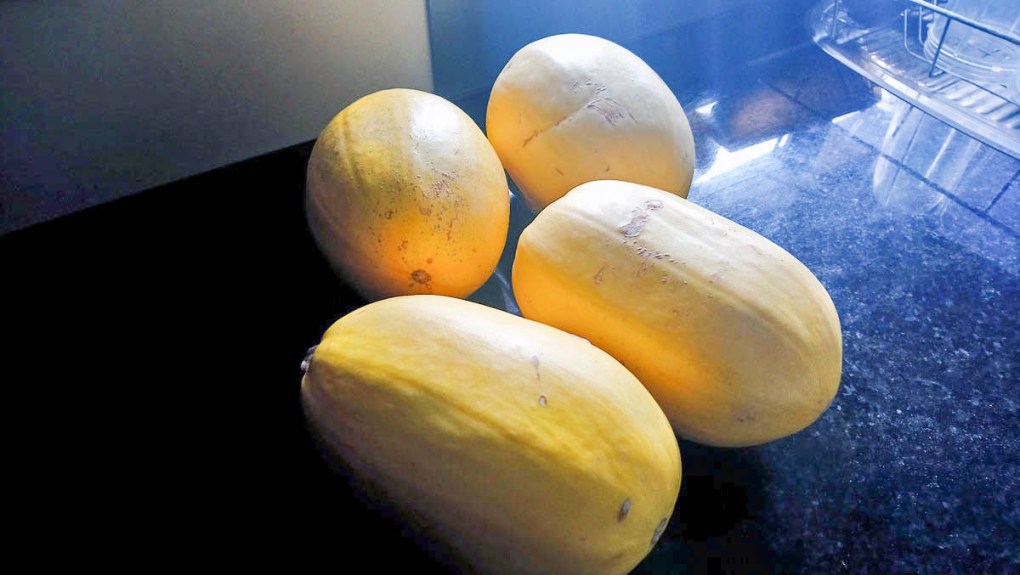
Slowly but surely, New Zealand supermarkets started to have limited supplies of spaghetti squash at the end of summer. There was a time (not too long ago) that if you want spaghetti squash, you need to grow it yourself (and I did). The squash gets its name from the spaghetti strands you get when cooked. It has a mild flavour and goes with sauces, meat, and eggs. The bonus is you get an extra vegetable portion with your meal.
Spaghetti squash
Removing pasta and noodles – alternative coodles
Replacing pasta may seem difficult, but it isn’t. Coodles (carrot and courgette noodles) are perfect for filling the gap left in your life by pasta and noodles. Just like cauliflower, coodles are versatile; cut them julienne and you have noodle or pasta strands; cut in strips, you have replacement lasagne sheets or something to put your stuffing in for ravioli or use a spiraliser, and you have little pasta shapes. They are quick to cook and are another sneaky vegetable hit for your meal. Coodles
Zoodles/Coodles
Removing vegetable oil – alternative coconut oil
There are so many oils out there to choose from it could make you dizzy. You can spend hours reading about the pros and cons of vegetable oil, soybean oil, sunflower oil, canola oil, and corn oil. I could go on, but I won’t. Coconut is, as far as I can tell, the best option. It gets a bad reputation because of the saturated fat it contains, but when you compare it to all the other oils out there, it comes out on top. A bonus is you can use it for your skin and hair, not just for cooking.
Coconut oil
Removing margarine – alternative ghee or butter
Replace your margarine now! It is highly processed and in no way good for you. Replace it easily with ghee or butter. Ghee is clarified butter and is considered by most to be Paleo-friendly, as it has a lot of the impurities in butter removed from it; if you have issues with dairy products, this is the best option. If you don’t have any issues with dairy products, use organic/grass-fed butter. I look for unsalted butter, which you can use for things like bulletproof coffee..
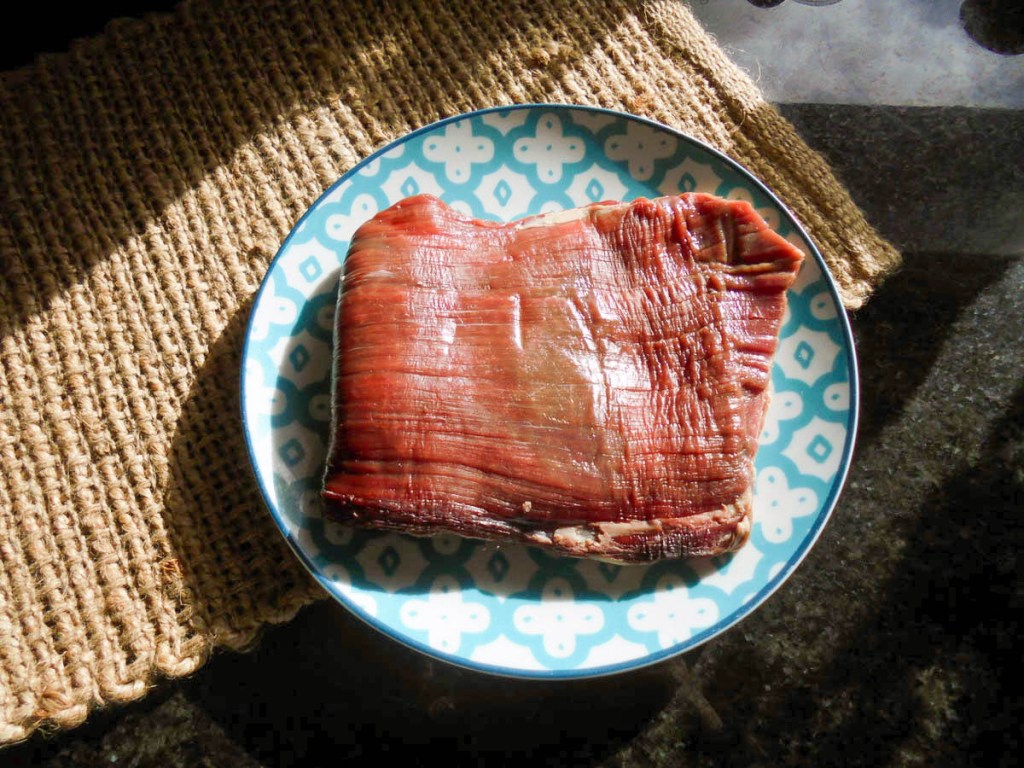
Removing standard/ lower quality meats – alternative organic, grass-fed and free-range meats
We are reasonably fortunate that here in New Zealand, we have some of the best meat products in the world. Unlike other countries, our meat is reared, as it should be, not fed grains like corn; they graze on grass all day long as animals are supposed to do. Mass-produced meat, generally speaking, is not fed on the right things and is usually of much lower quality. Organic, free-range, and grass-fed meats cost more, but it is worth it. In the long run, the meat you get is of better quality and tastes better, and often, you don’t need as much of the meat because there is less water and fat in the meat.
Grass-fed steak
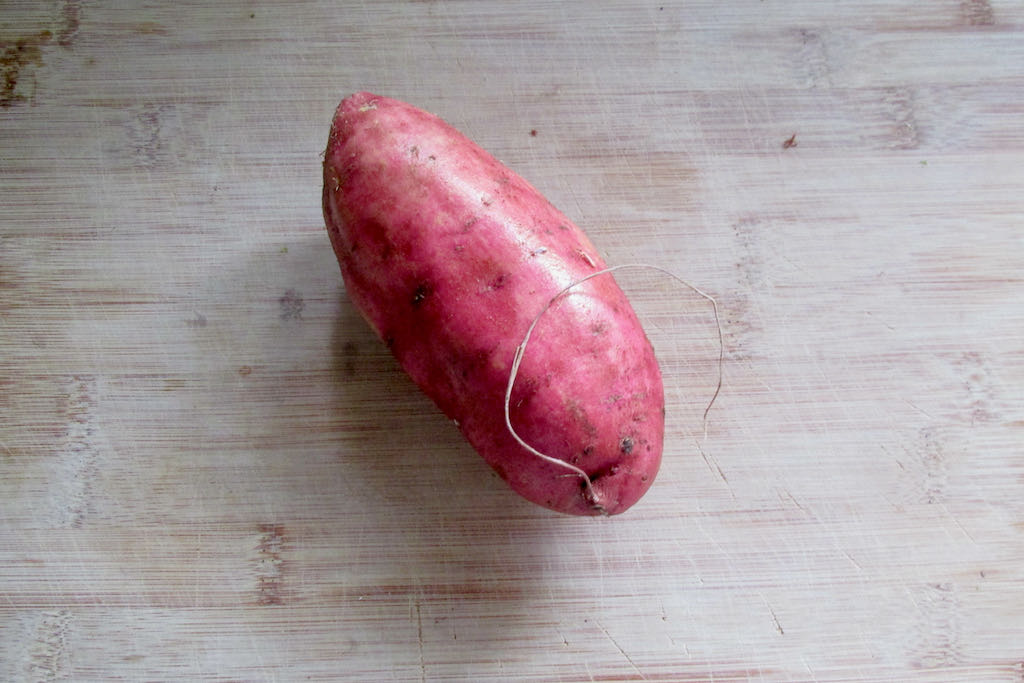
Removing potatoes – alternative sweet potatoes
Potatoes comprise a large part of many people’s diets, especially when you look at the amount of French fries, potato chips, and mashed potatoes we eat. “Meat and two veg” is a common approach to a meal; more often than not, potatoes are one of the veg. Removing them from your diet can be challenging. Thankfully, a helpful tuber is here to help. The Sweet Potato/Kumar is a popular Kiwi option that can replace your normal nightshades. You can use them for chips, potato chips, mash, and hash browns; you can even eat them raw.
Northland sweet potato/kumara
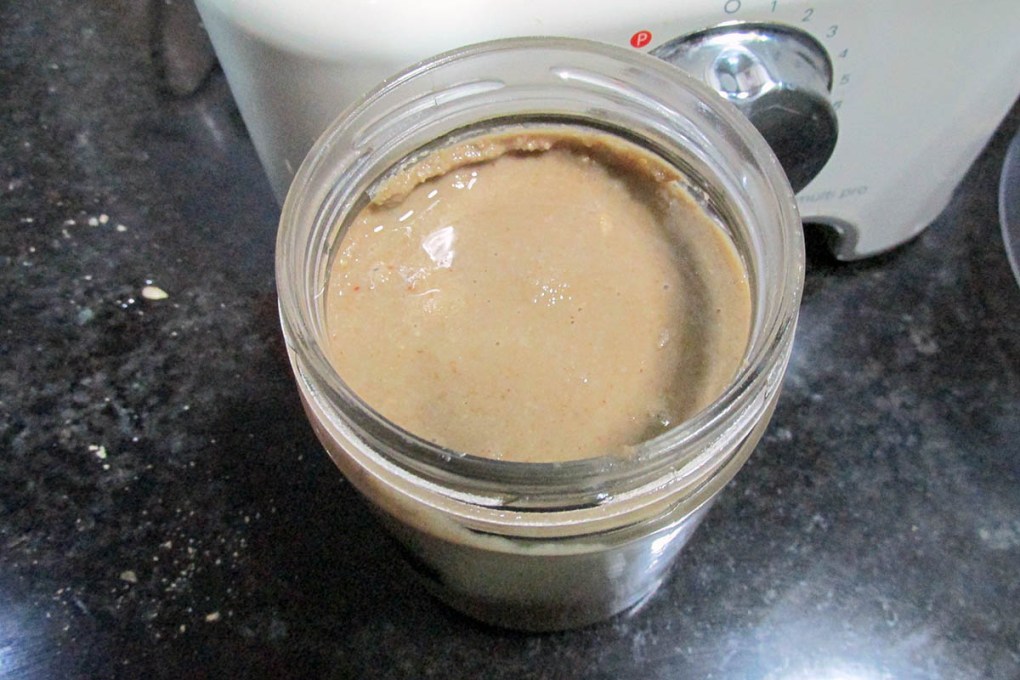
Removing peanut butter – alternative nut and seed butter
Let’s get this straight: peanuts are not nuts. They are legumes (think beans and lentils). You can make your own decision about legumes, but Peanut butter is not an option for me. More people have issues with sensitivities and allergies to things like legumes and nuts, so you may need to find an alternative. Thankfully, there are a few tasty alternatives out there. If you are good with eating nuts, you can replace your peanut butter with Almond or Cashew Butter; for those wanting a nut-free option, try Sunflower or Pumpkin Seed Butter. You can use these butters as one-to-one ratio replacements in recipes or just eat them out of the jar if that is how you like it. Sun Butterrecipe
Homemade sunflower seed butter
Removing store-bought mayo – alternative homemade mayo
You may not realise it, but store-bought mayo isn’t what you think it is; often, it’s made with ingredients you wouldn’t typically put in mayo. Store-bought mayo is increasingly made with soya bean oil and has sugar added. Making mayo is simple (seriously, even kids can do it); the beauty is that you know exactly what is going into your mayo. Here is a simple and foolproof recipe to try
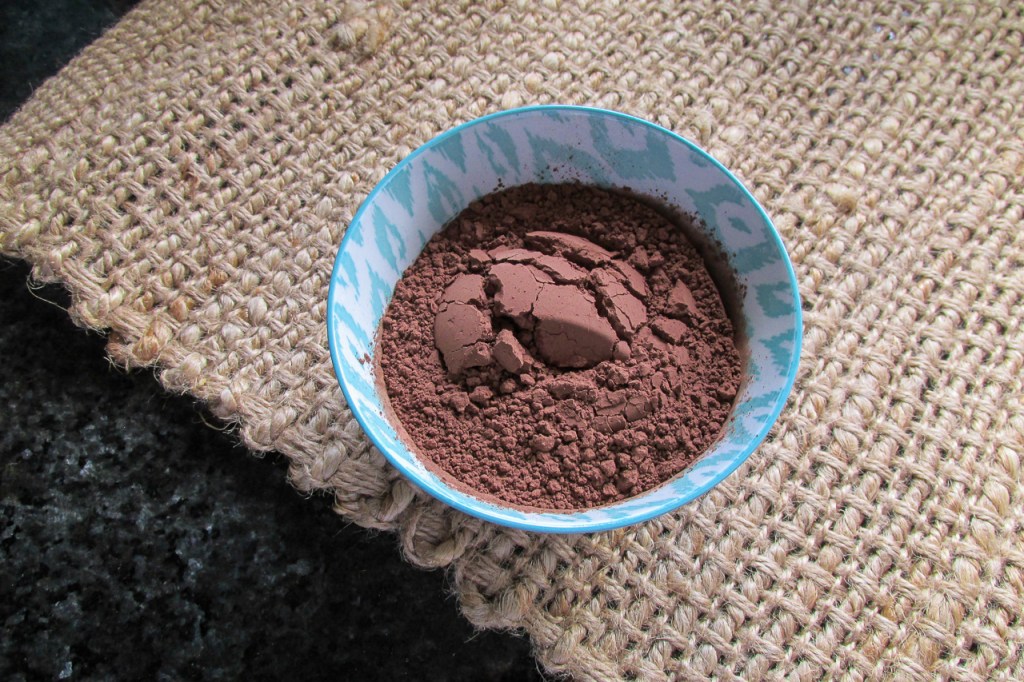
Please don’t hate me. I’m not saying never to have chocolate again. Next time you get a craving, take a look at the back of your chocolate bar before buying it. Milk chocolate is loaded with milk and sugar; most brands also contain extra ingredients like soy. The good news is that chocolate itself is good for you; it has antioxidants that will do you good. Raw cacao is a great replacement; it tastes good, and you can make your own chocolate from it. Making the change means you get all the chocolate goodness without all the added nastiness. See, that was not as bad as you thought.
Raw cacao powder
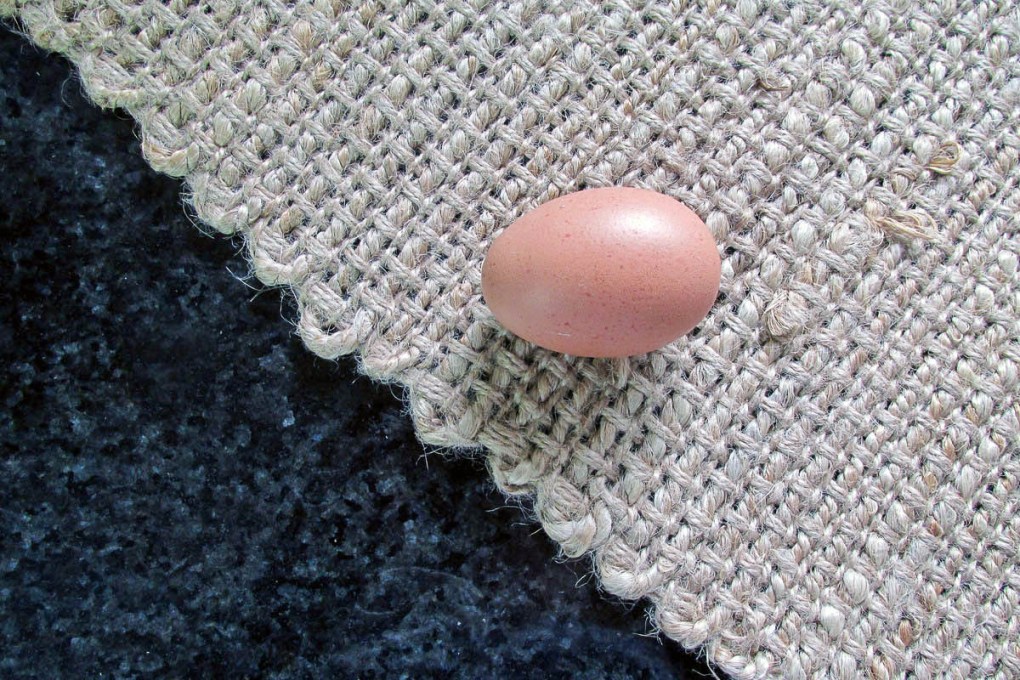
Removing cage eggs for organic free-range eggs
ree-range and organic eggs are better in many ways, not just for us but also for the chickens. Chickens are born to walk around, peck in the grass, eat bugs and plants, and not live in a dark barn without room to move around or, be locked in a cage or eat grains. The quality of organic and free-range eggs is so much better than caged eggs; moving over to free-range eggs is beneficial for you and the chickens; they do cost more, but they are worth the extra cash when you can taste the difference in quality.
Free range egg
Do you have alternatives?
If you have other alternatives that you have found helpful in your diet, let me know in the comments below.
Cards on the table I hate coming home from a busy day and knowing I have to walk into the kitchen at 7 pm, cook a full meal, and then clean up. Don’t get me wrong; I love cooking, and it gives me the joy to create a beautiful meal for my family. After a 10-hour day at work, an hour commute home, and a heavy workout, cooking is not much joy. I am usually borderline hangry at the end of a long day, and I want my food as fast as possible.
This is where having a slow cooker comes into its own; I know that I can walk in and find a meal that is cooked, hot and ready to serve. That means food is served as soon as we are willing to sit down, not 30 to 60 minutes later.
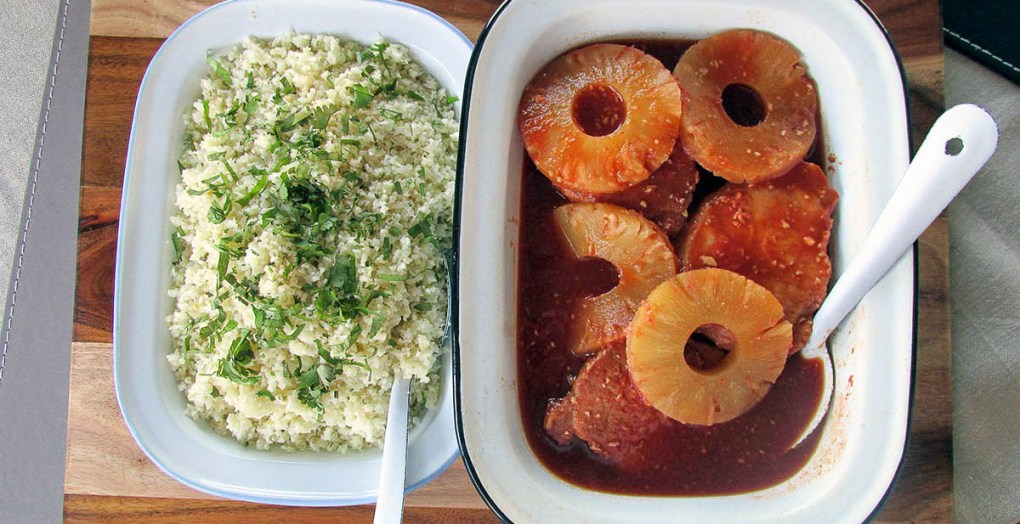
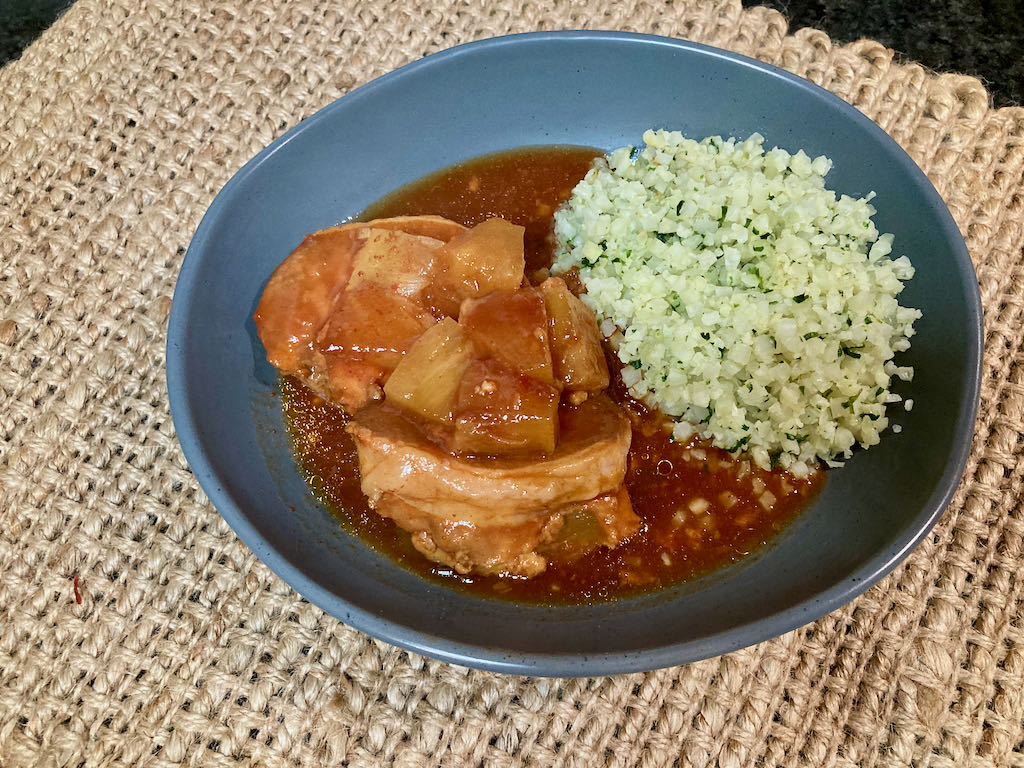
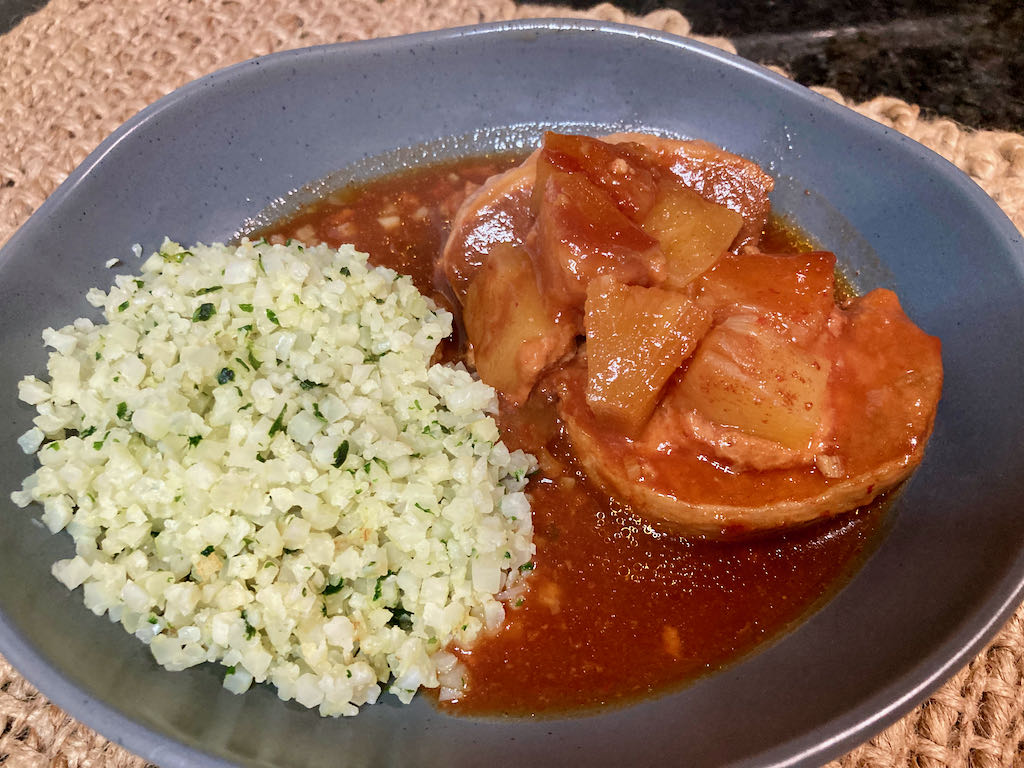
Ready for a comfort meal
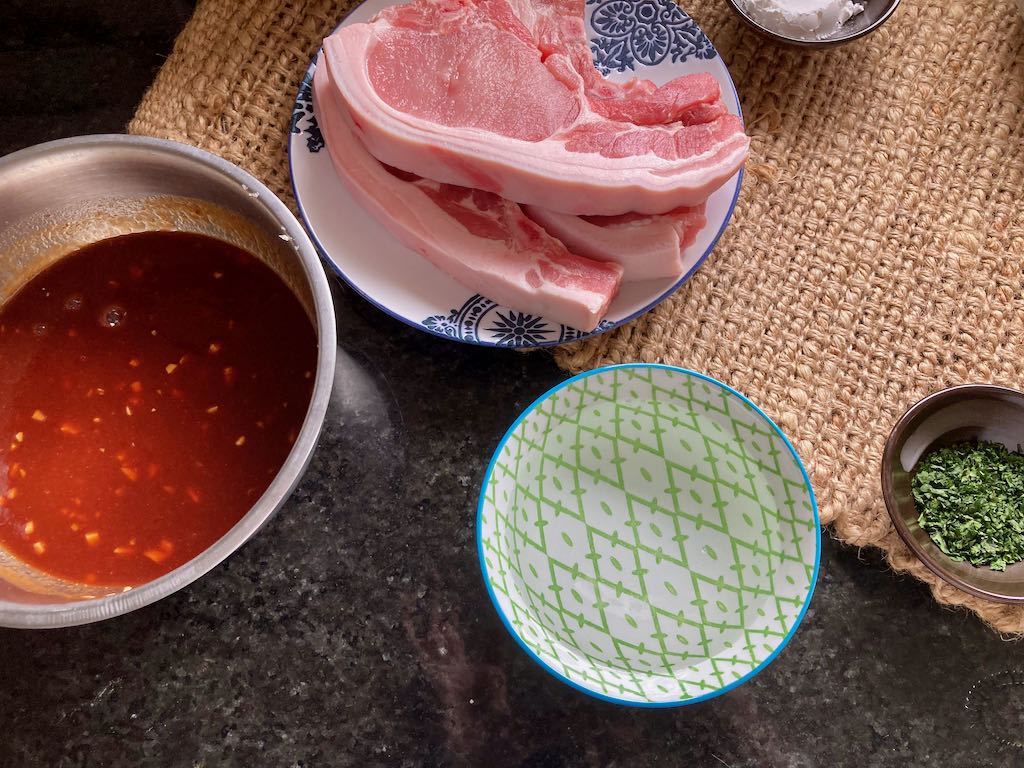
It has been a bit frantic at work of late, I knew that this week was going to be a rough one so I planned something comforting for dinner today to help wind down for the week. Before starting work today I put my pork chops and sauce in the slow cooker and set it up for a long slow cook. Don’t you love the delayed start function on slow cookers? Coming home to perfectly cooked chops ready to serve up was just what was needed.
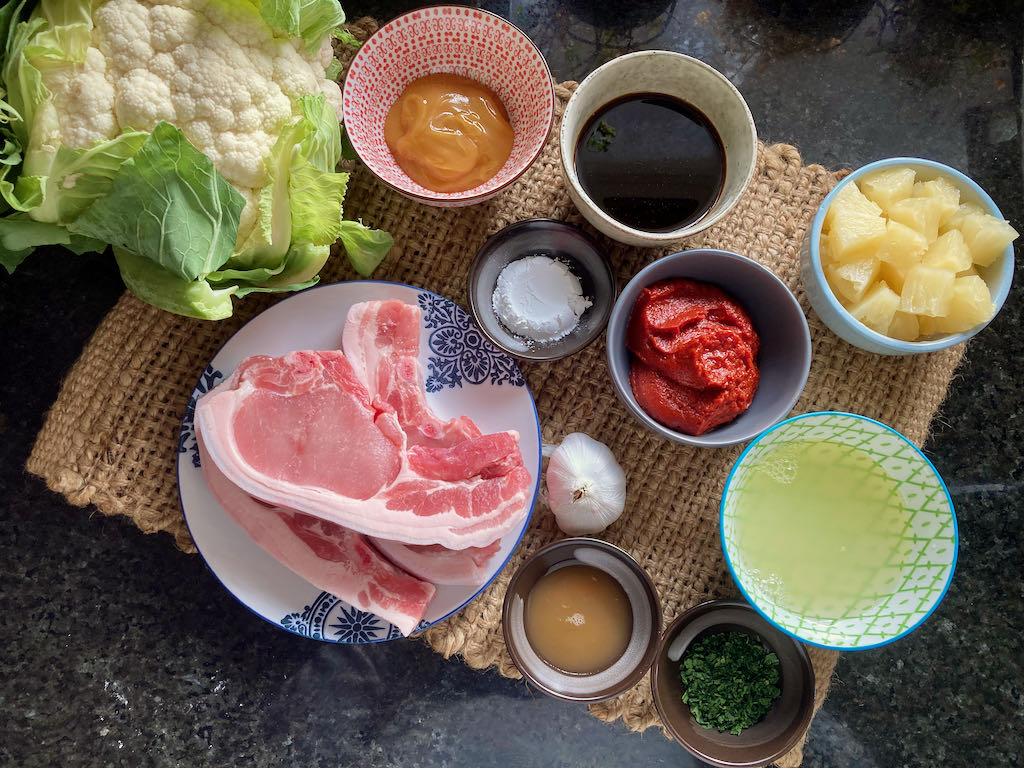
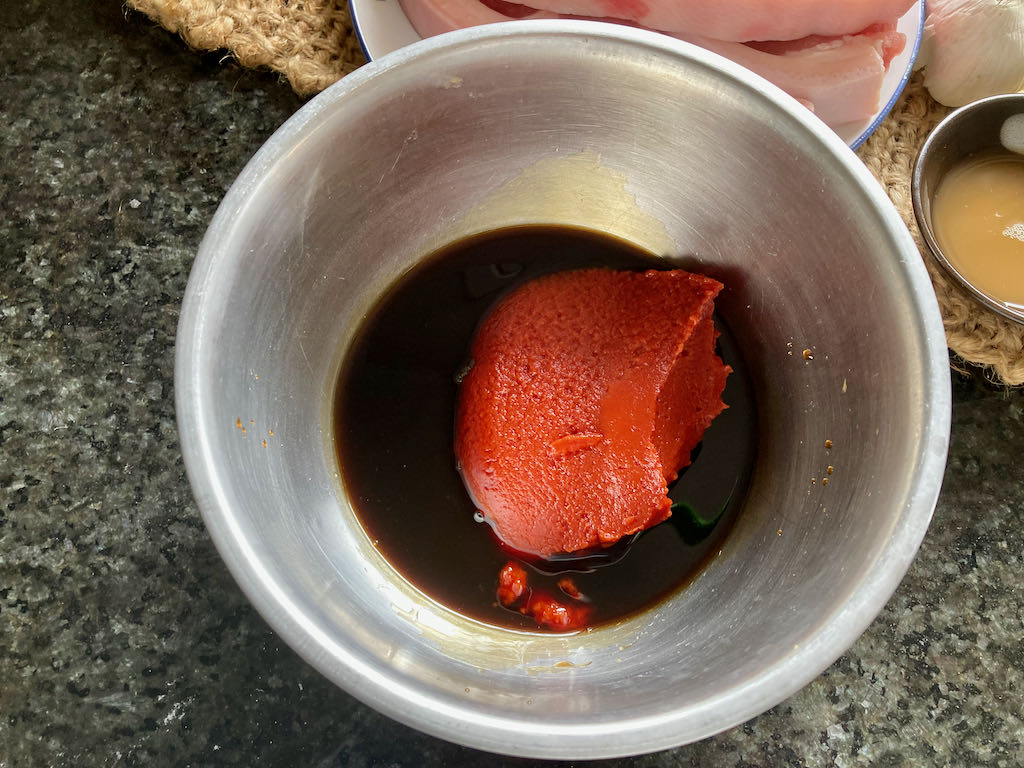
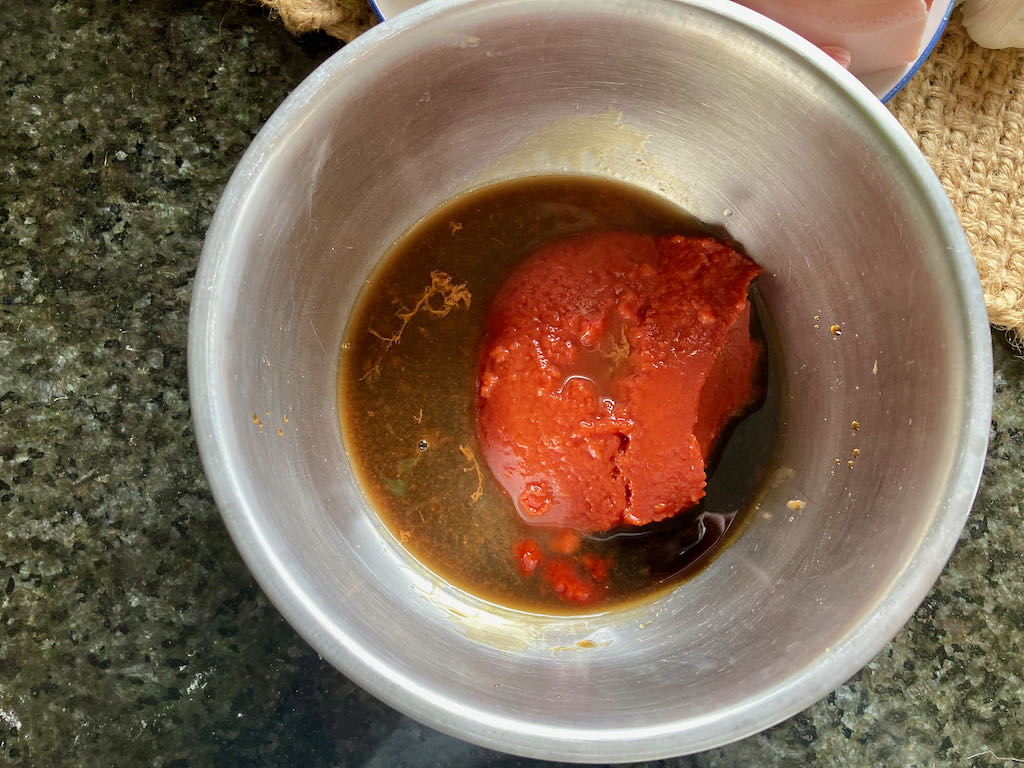
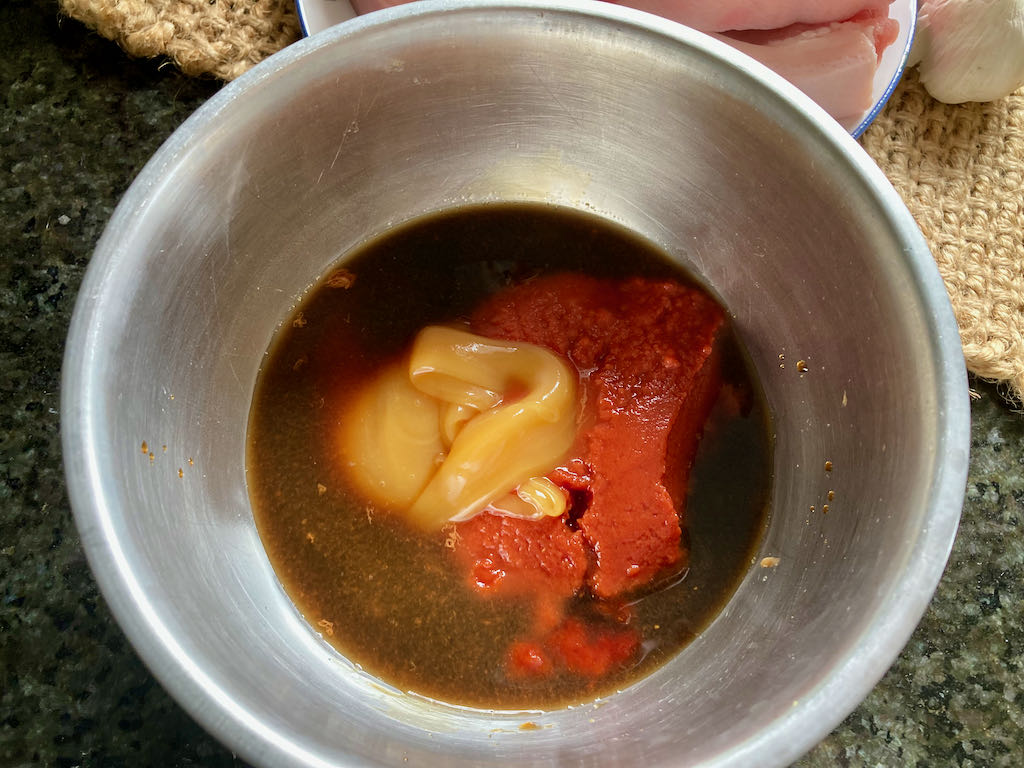
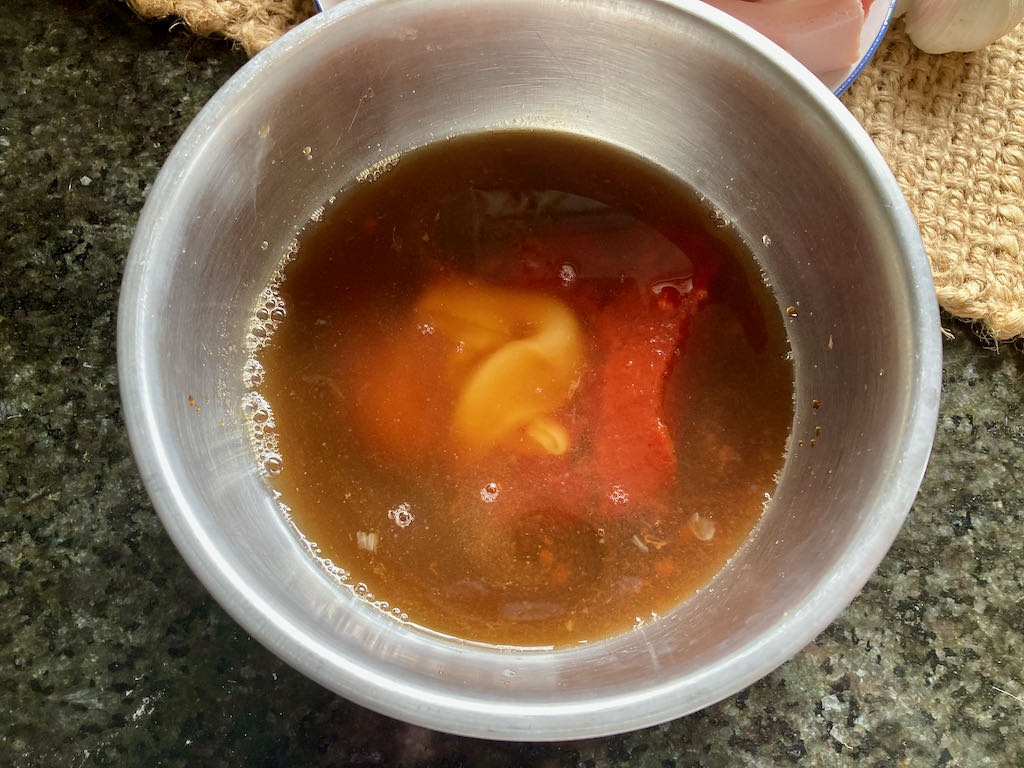
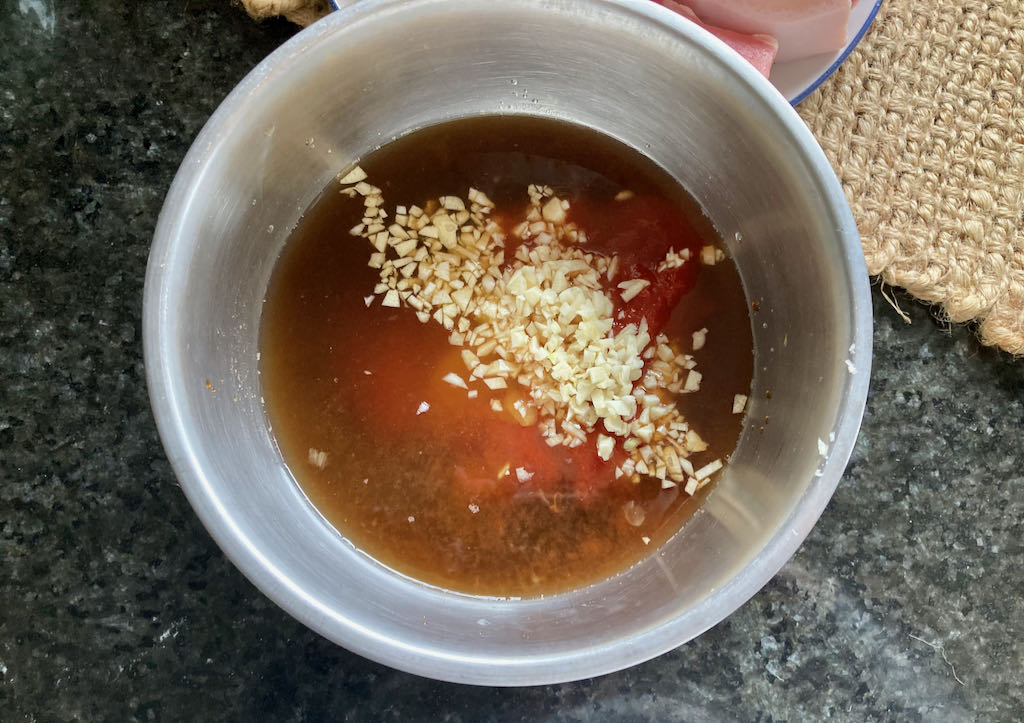
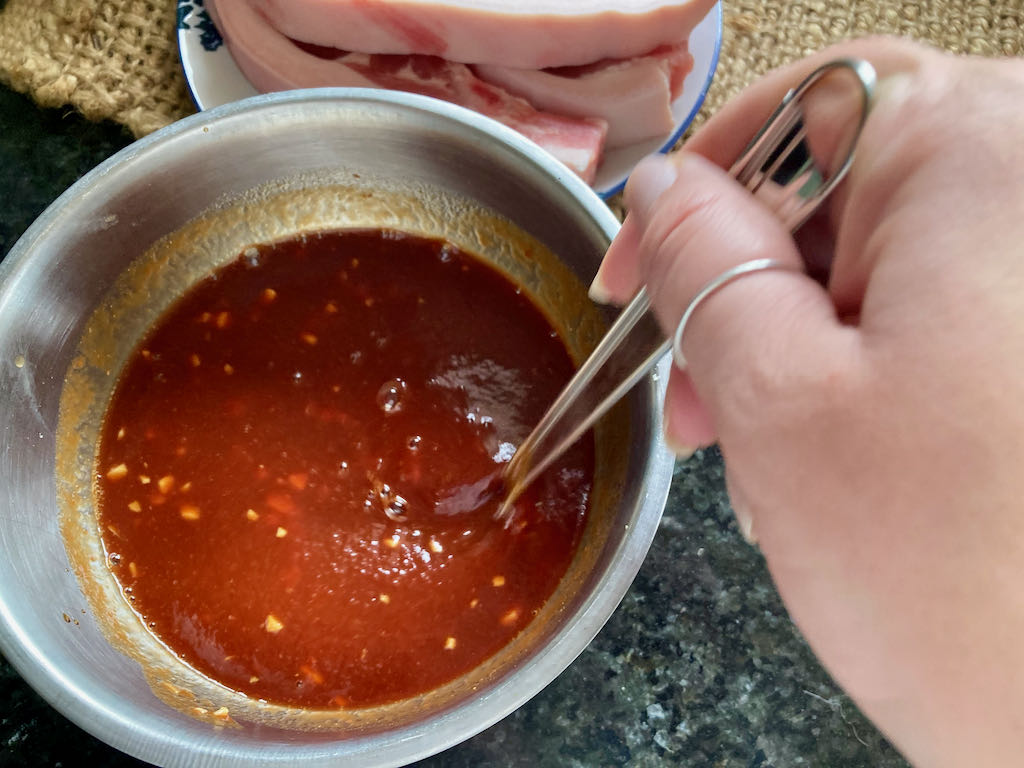
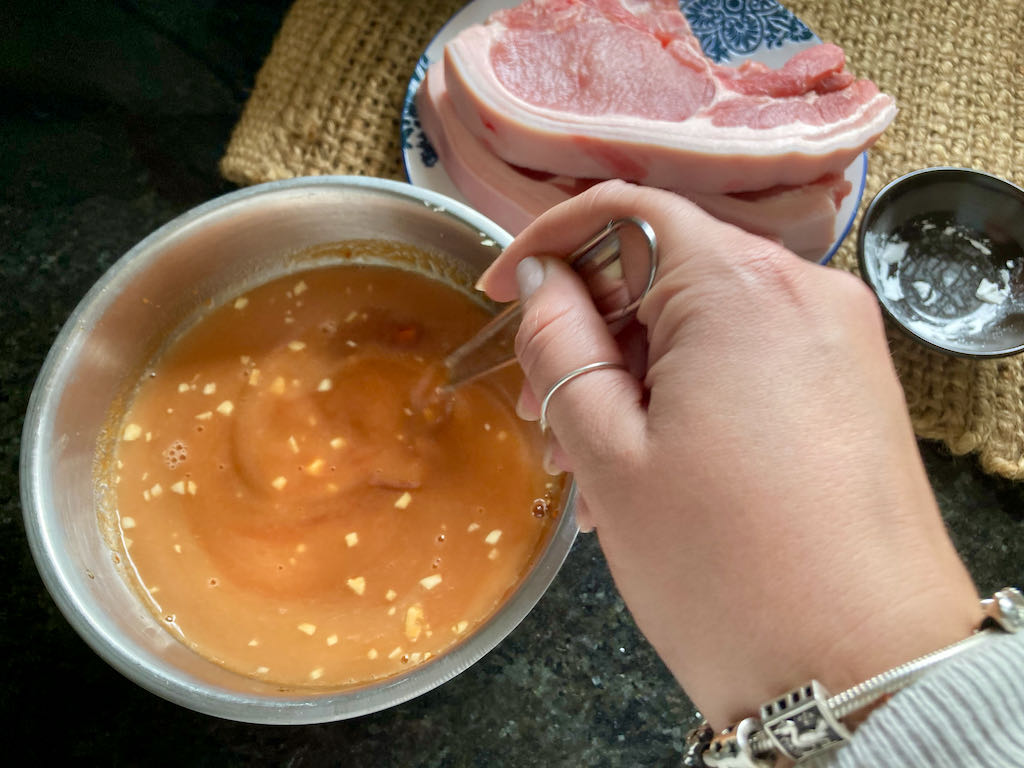
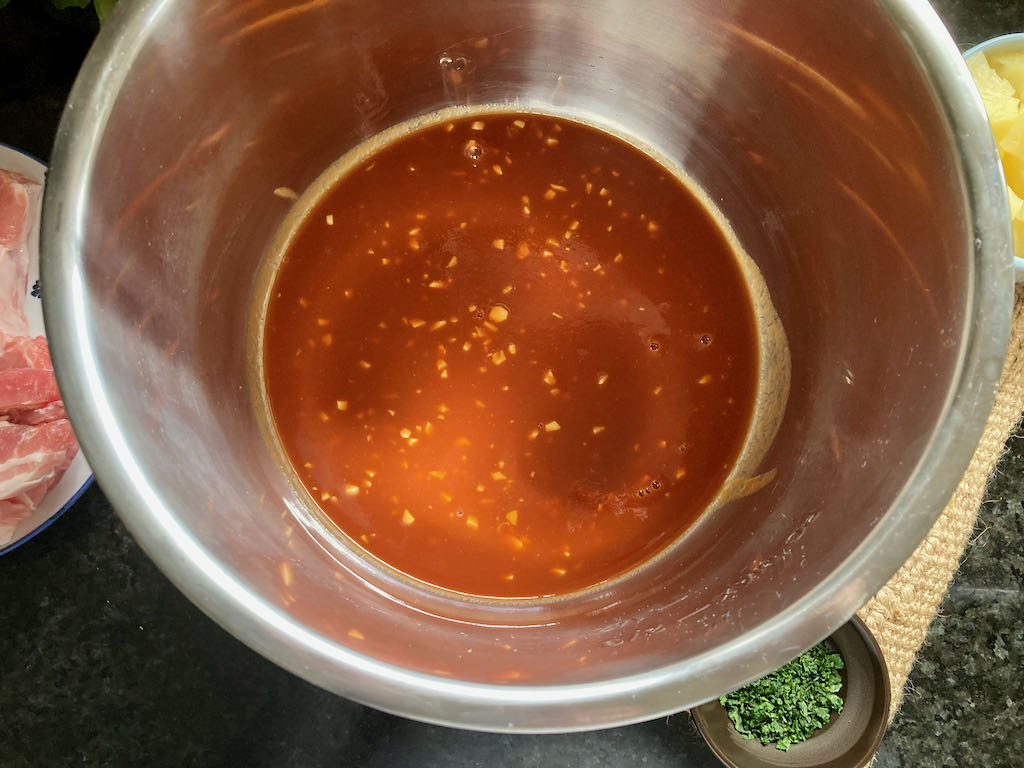
Whisk together the coconut aminos, honey, tomato puree, coconut vinegar, garlic, and pineapple juice.
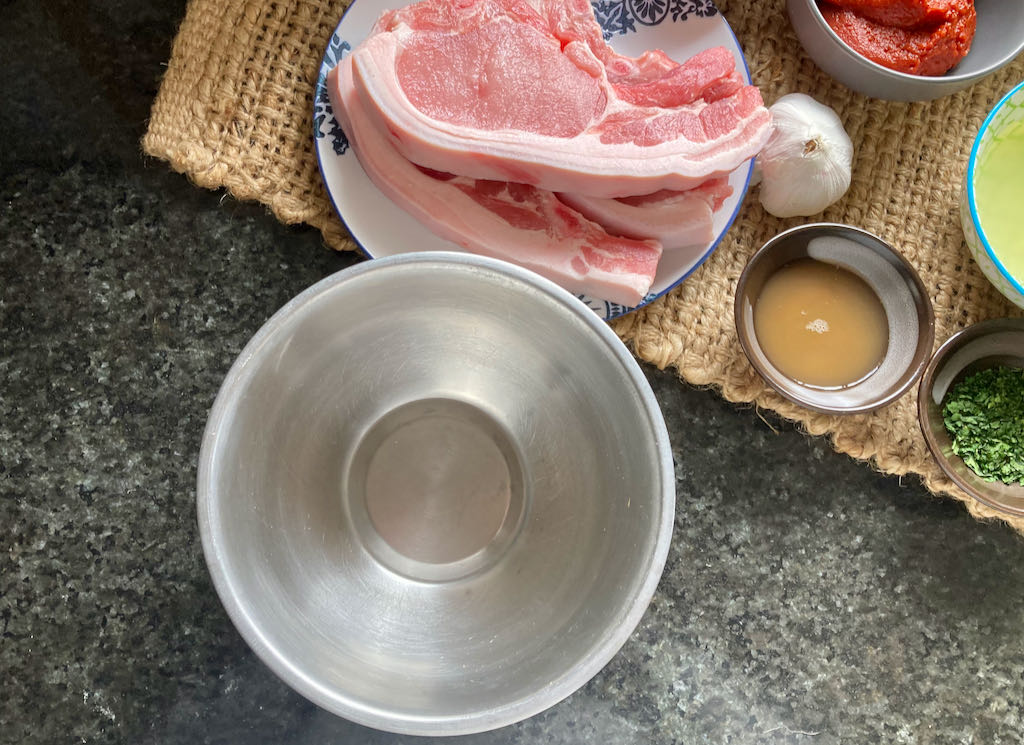
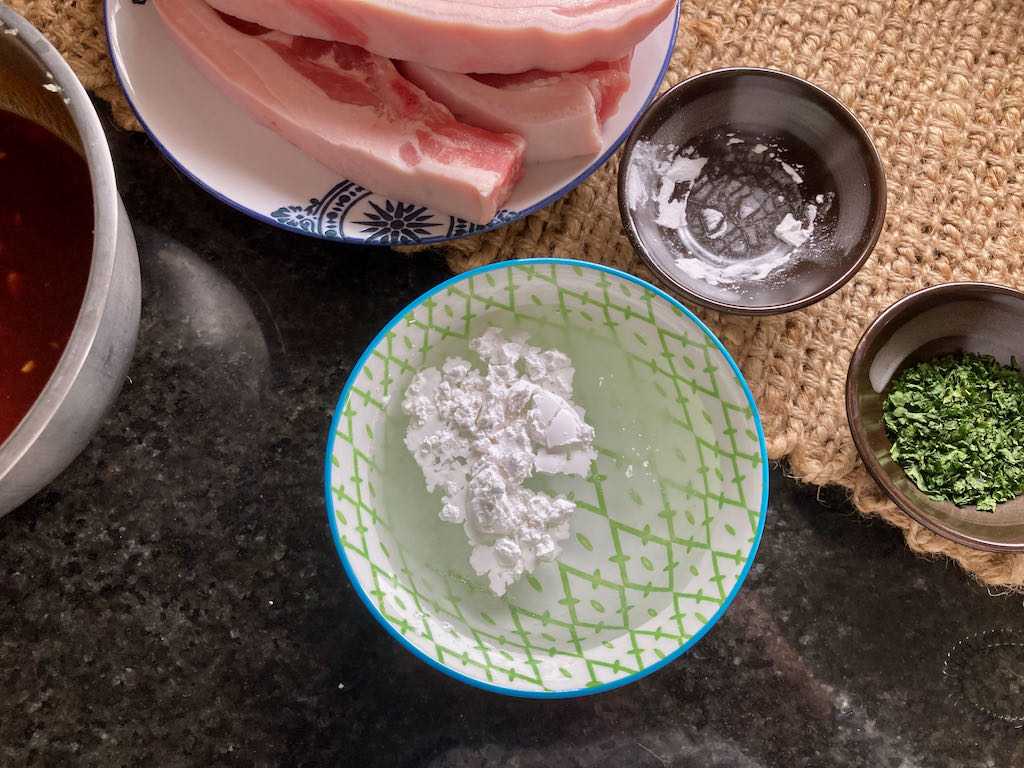
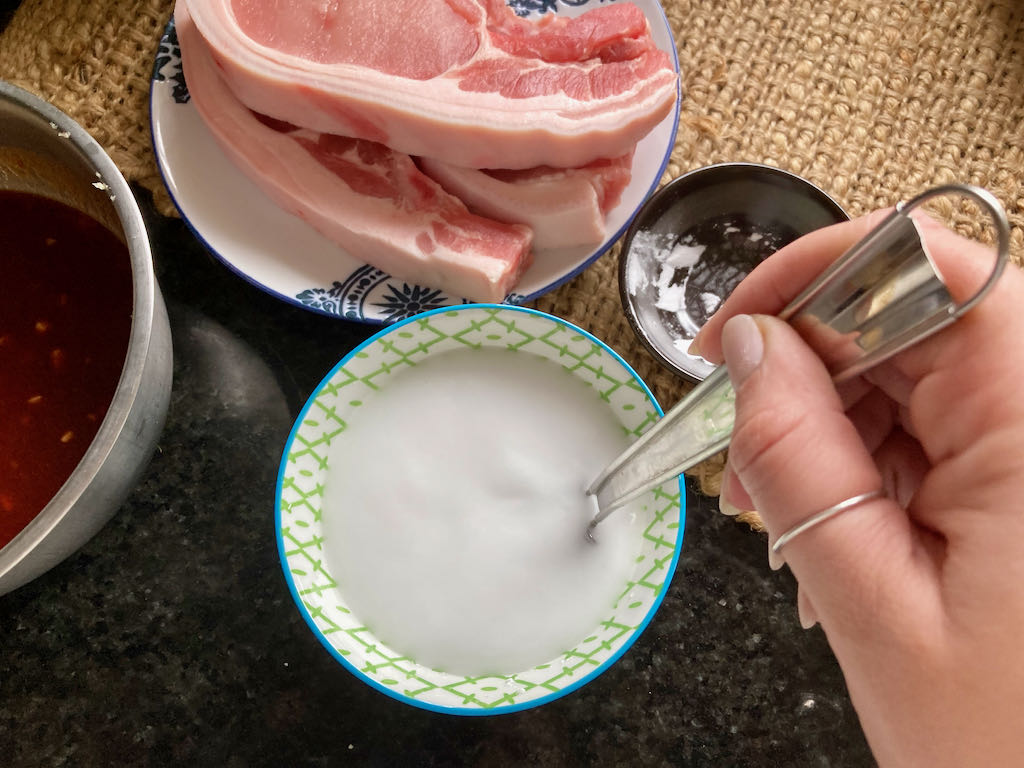
In a separate bowl mix together the tapioca flour and water, whisk well so that there are no lumps in the liquid.
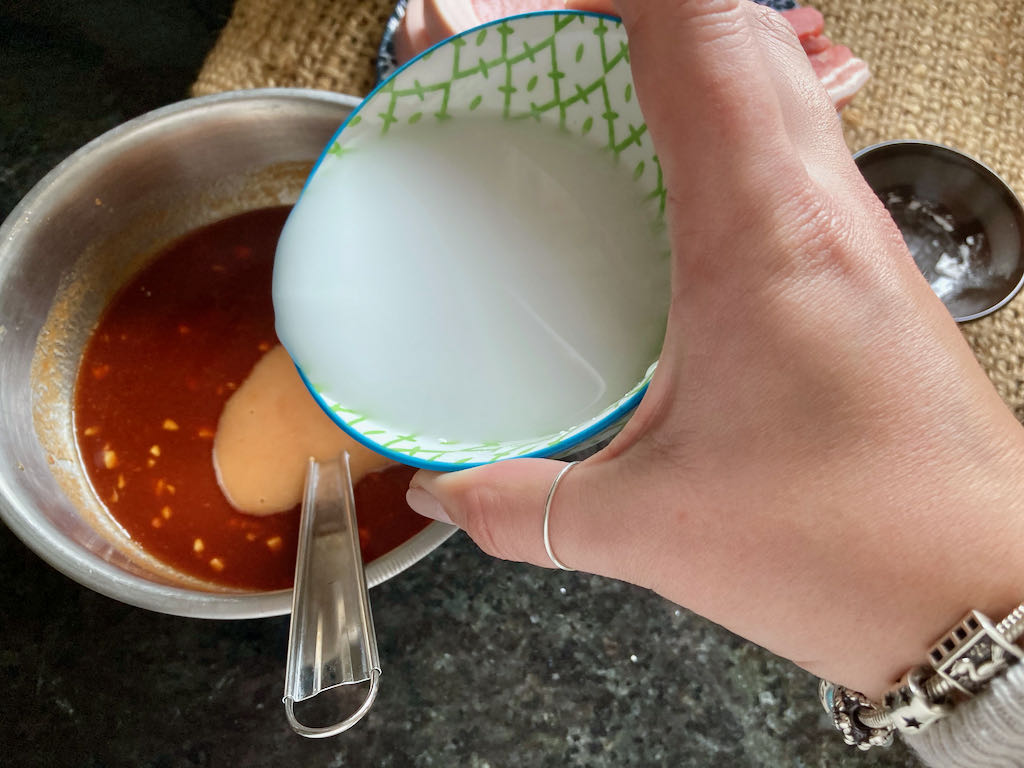
Add the flour mixture to the sauce and whisk well.
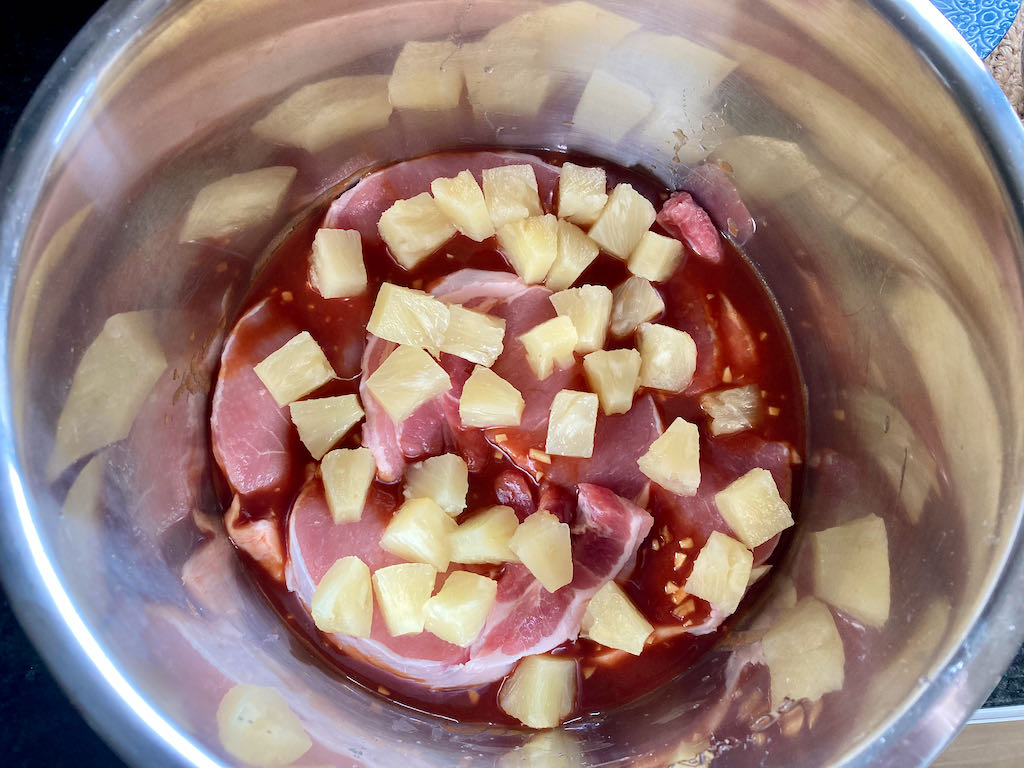
Pour half of the sauce into the bottom of your slow cooker.
Place the pork chops into the sauce and place the pineapple slices on top of the chops.
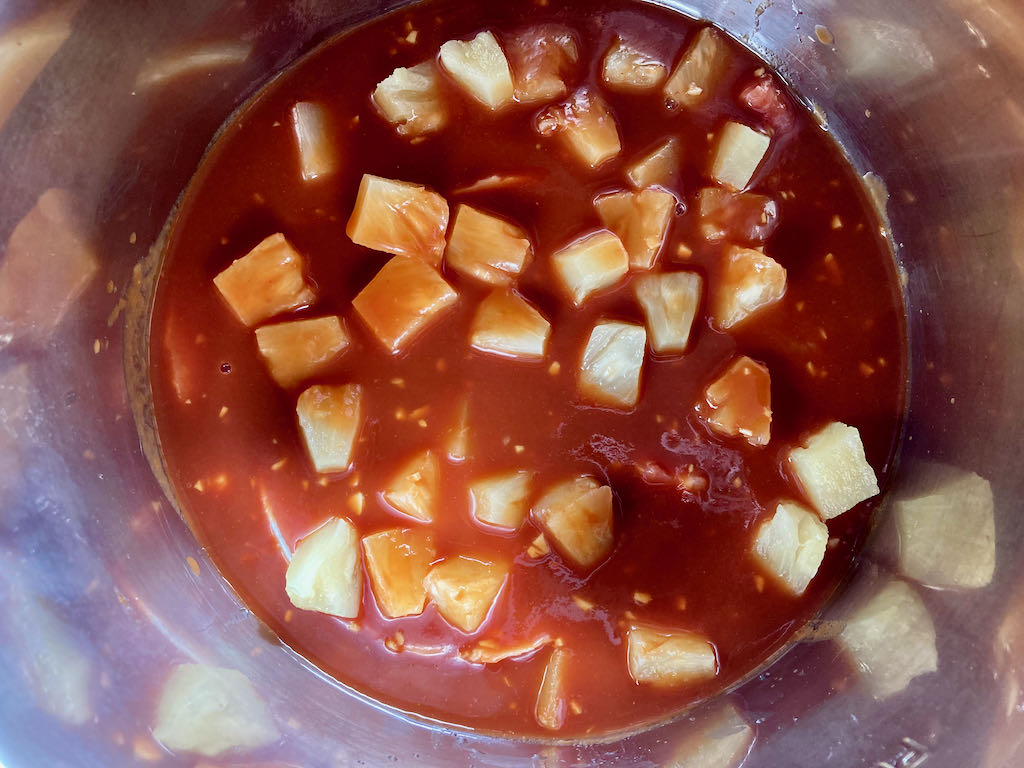
Pour the remaining sauce over the chops and pineapple slices.
Cook the chops for 3-4 hours on high or 6-8 hours on low setting.
Serve hot over the cauliflower rice and garnish with the chopped coriander.
Nutrition
Per Serving:325 calories; 7 g fat; 31 g carbohydrates; 36 g protein
Equipment
Measuring spoons
Measuring cups
Whisk
Mixing bowl
Spoon
Nutritional disclaimer
Nutrition information is provided as an estimate based on the ingredients used and available in my area (New Zealand). The nutritional information is here to help you understand the recipe; I use MyFitnessPal to generate my estimates. For more accurate nutritional information, please use a nutritional calculator with the ingredients in your area.
I’d like to think that I’ve moved along my cooking learning curve enough to offer some advice on what a good kitchen should have in it.
For the most part, I started by doing things the hard way and then justified to myself the need to buy individual items for my kitchen. This is a list of all of the things in my kitchen I now know I couldn’t (and wouldn’t) live without if you want to make real food a part of your life these items are must haves.
Good tools
One thing to keep in mind is that good tools make all the difference when it comes to buying things for your kitchen always look at it as an investment and buy the best you can afford.
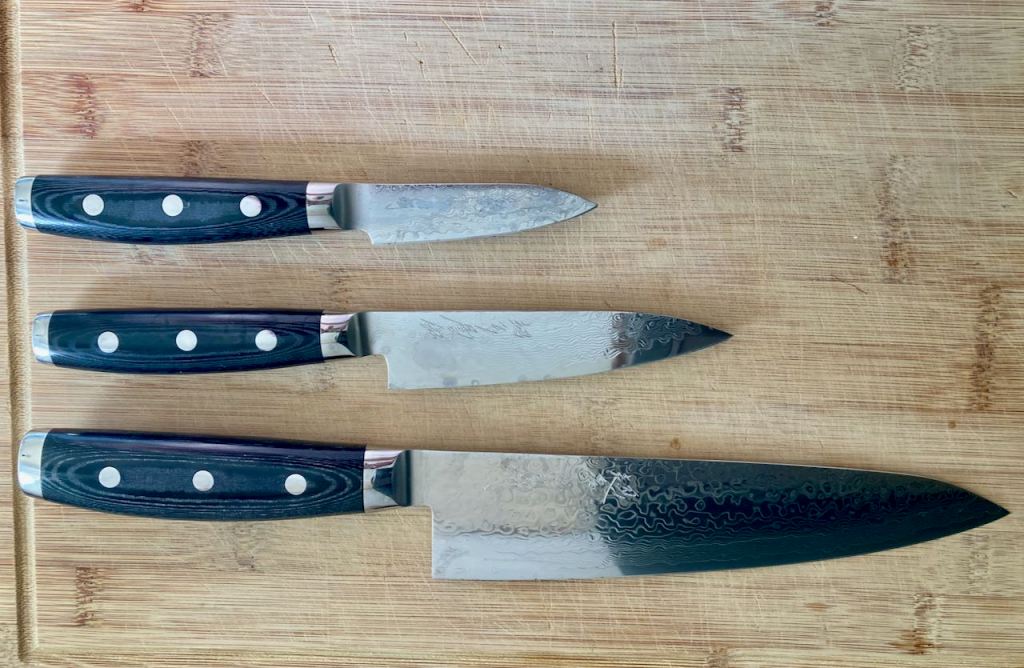
Good knives
Trust me when I say that having good knives is a must, a good and sharp knife makes preparation work simple and fast. Start out with a simple set of knives and add to them as you go. Essential knives I would recommend are;
a paring knife, this is a small knife you can use for peeling, coring and slicing fruits and vegetables. The knife is small and versatile; it will likely become one of your favourite tools in the kitchen.
a utility knife, similar looking to a paring knife but with a larger blade, I tend to use my utility knife for cutting cheeses and meat, you can get utility knives with serrated edges that can be utilised for cutting things like crusty bread.
a Chef’s knife, this knife has a much larger blade and is evenly proportioned, I use my chef’s knife for most things, and it is my go-to tool in the kitchen, the shape of the blade makes chopping, mincing and slicing easy and efficient
If you have no other knives in your kitchen, these three are a must.
The right fit
The way the knife feels in your hand is crucial, don’t buy a knife until you have held it, make sure the knife sits comfortably in your hand and feels right, the balance of and weight of the knife should feel good for you. Remember that the handle is going to be just as important as the blade.
Sharp is safe
When it comes to knives, it is important to keep in mind that sharp is safe, no I haven’t lost my mind if your knife is sharp it will cut as it should. A blunted knife is more likely to slip and cut you instead of your food. Buying a sharpener for your knives is also an investment (otherwise, you may need to invest in medical insurance), I would recommend getting a sharpener that suits your needs and comfort level with knives. I bought a 3-grain stone sharpener, it allows you to sharpen most knives with minimal effort, but there are plenty of other sharpeners out there.
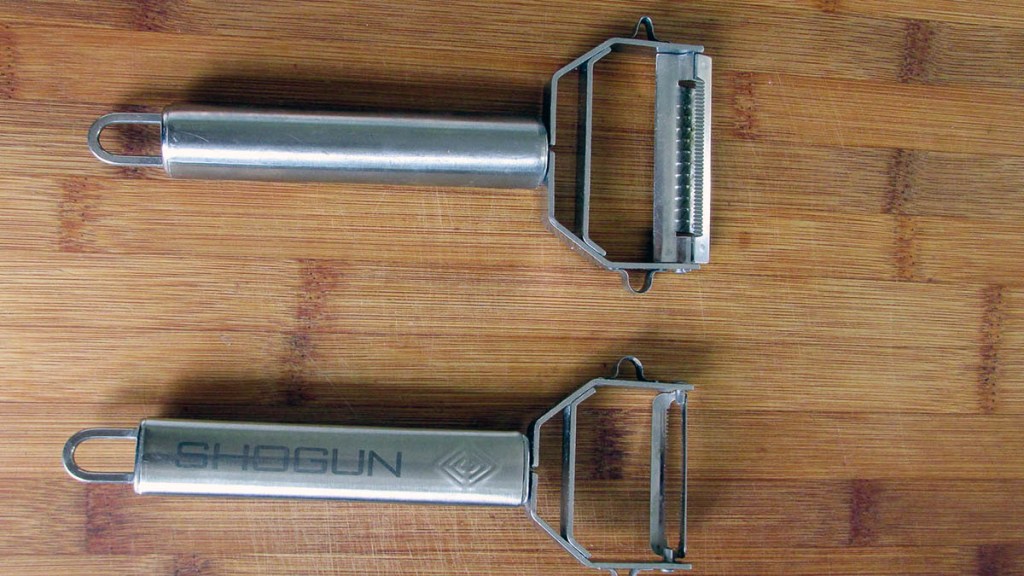
Vegetable peeler
I’ve had a few unimpressive vegetable peelers in my time, so I appreciate the presence of a good peeler in my kitchen draw. I cannot claim any credit for the great peeler that I have, I got mine as a gift about two years ago and have loved it every day since. Mine is called the Shogun Power Peeler, and it is from South Africa, and I can highly recommend it.
If you cannot get your hands on one, do not worry there will be a peeler out there that is right for you. I find that the Y-shaped peeler is better than the traditional potato peeler; each has pros and cons. The range of Y-shaped peelers available should make it easy to find one you like if you are a fan of the more traditional potato peeler, I can recommend the Good Grips peeler.
Mixing bowl
A big mixing bowl is everything; this is serious when looking for a bowl, find the biggest one you can get your hands on when it comes to mixing bowls bigger is always better. I would recommend finding a stainless-steel bowl as they are easier to clean and don’t discolour the way plastic ones do and will not react with food.
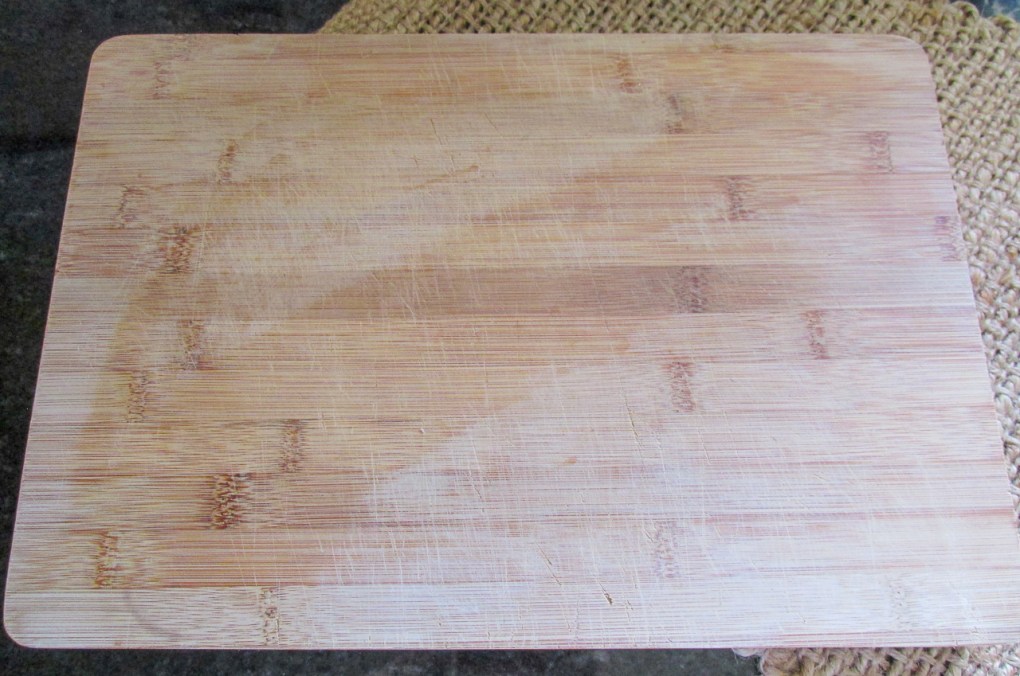
Chopping board
Easy to clean and a great way to protect your knives, I recommend you stay away from ones made of marble and glass as they will make your knives dull. Wooden chopping boards come in a range of materials and sizes, bamboo boards are generally a good choice and reasonably priced. Always be sure to clean your board after each use and store it away from moisture and heat to prolong its life.
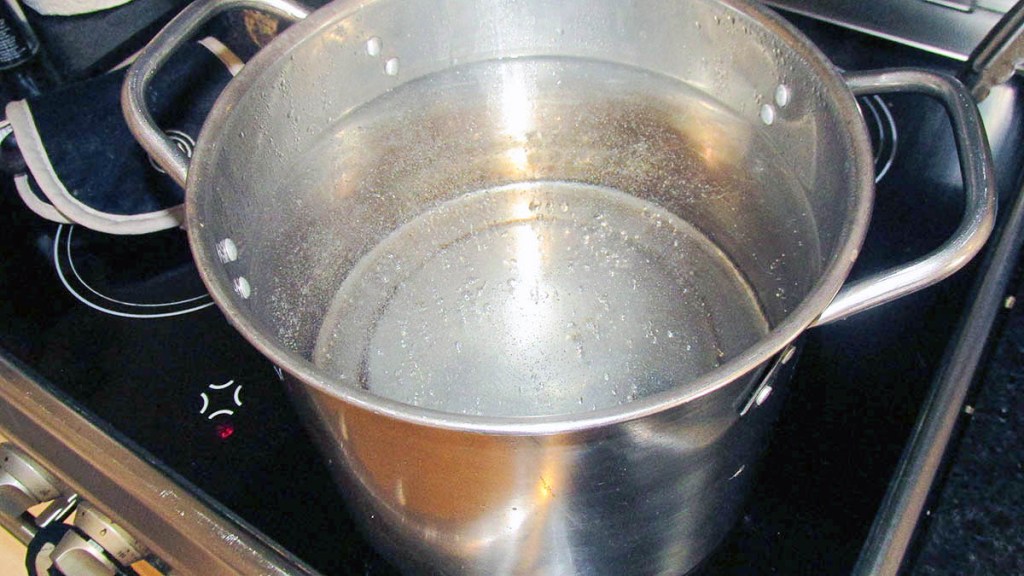
Stockpot and saucepans
A good-sized stockpot and good quality pans are great additions to the kitchen cupboard. Stockpots are very useful for making stocks, soups and broths, I also use mine for making large batches of tomato sauces. I have two saucepans, one large and one small, these are ideal for making sauces, cooking coodles or warming soups. There are lots of different kinds of pans available, stainless steel is usually a pretty good option and one of the cheaper options, depending on your budget and needs you can also choose from aluminium clad stainless steel, copper, bonded copper, non-stick cookware, anodised aluminium and enamelled cast iron.
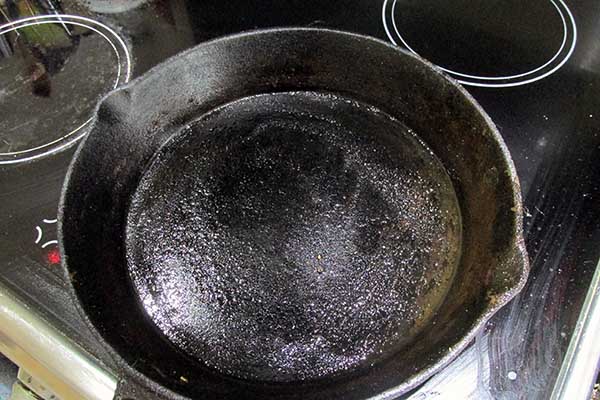
Frying pan
Much like your saucepans, there are lots of options out there, your budget and needs will play a huge part in picking your pan. I find that having two pans, one large and one small is useful, at least one being non-stick is an excellent idea. I’ve recently started using a large cast iron pan as my frying pan, cast iron is great but takes some getting used to and some serious seasoning before it is non-stick enough to use for some foods.
Food Processor
I know it may not seem like a kitchen essential, but trust me when I say this one piece of equipment can change your life when it comes to preparation. I only added a food processor to my kitchen a year ago, I got a small one so that I could make my own seed and coconut butter. It is now my most used piece of kitchen equipment, and I’m saving to upgrade to a larger model. Investing in a food processor with some grating and shredding attachments will save you time and skin (yes you read that right). Grating heads of cauliflower takes minutes not hours, shredding cabbage for coleslaw, making mayo and pancake batter all done with minimal effort. If you only buy one kitchen gadget make it this one, I would not be able live without mine now….. well I would, but I would be missing most of the skin on my right hand and have one arm that would make Popeye jealous.
Slow Cooker
Anyone that has to juggle a job, family, gym and real food will both love and appreciate the excellent addition of a slow cooker to their kitchen. Load in the morning with your meal, turn it on, and then come home to a lovely meal ready for eating. Soups, stews, curries, ribs, pulled pork and steaks are just some of the things I have come home to. It is a great tool that allows for safe unattended cooking.
Other essential items to have in your kitchen include
a good size Pyrex jug, try to get 500ml at least it comes in useful for measuring liquids like stocks and milk
a set of measuring spoons usually required for measuring ingredients for baking or sauces
good kitchen scissors, I like the ones that are good for cutting everything from meat to food bags
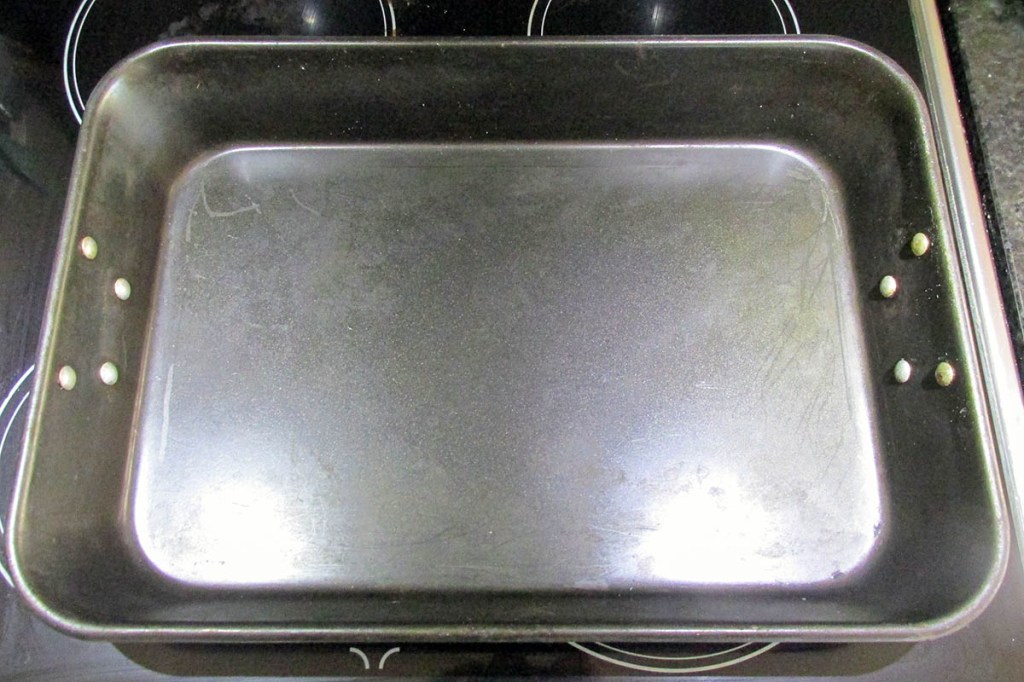
a large size baking sheet one with a lip will serve you well, look for one that is the perfect size for cooking bacon
a muffin pan in this instance a silicone one is usually preferable, I find mine comes in very useful for baking snacks but also good for cakes
a large wooden rolling pin, well sometimes it’s good to beat the crap out of something, I like to use mine to flatten out chicken
slotted spoon, a must for poached egg goodness
solid spoon, ideal for serving meals
wooden spoon, always better than metal spoons as they are less likely to scratch your pans
ladle, perfect for serving curries and soups
spatulas, I have a few silicone spatulas that I find are ideal for working with batters and protect the non-stick coating on frying pans
potato masher, not just good for potatoes
tongs
balloon whisk
colander
and a sieve.
It may seem like a lot, but these are the key items that I use all the time, trust me when I say you can start to fill your kitchen up with a much wider range of tools and toys as you get more interested and excited by cooking.
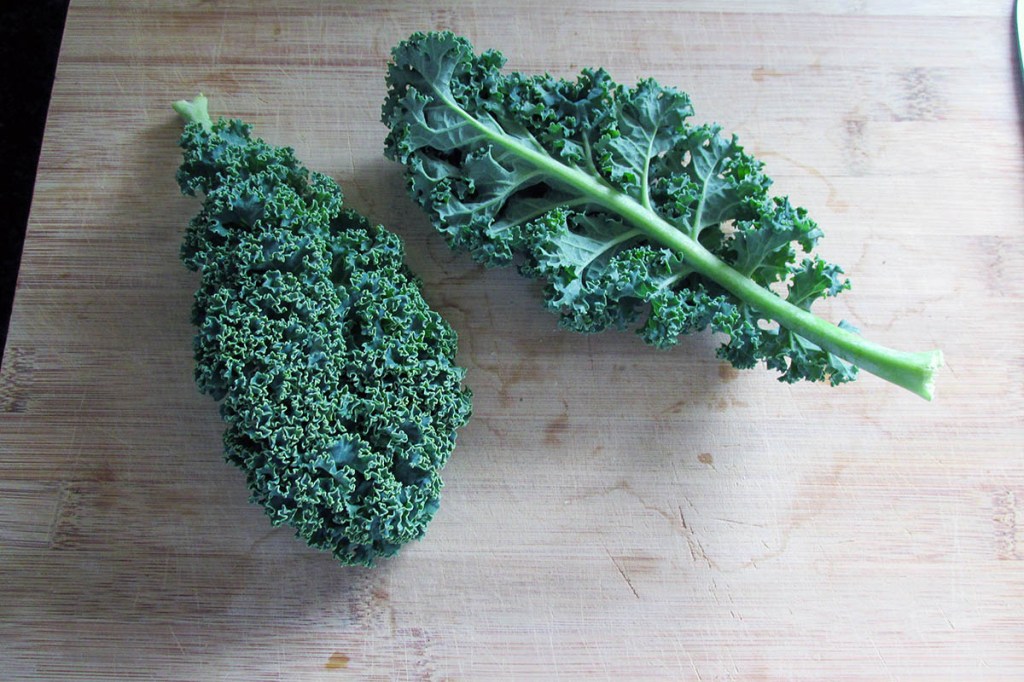
Kale is very popular at the moment which is a good thing as it is packed with beneficial nutrients. Kale is easy to grow and a versatile leaf, it grows year-round in Auckland and is available in many varieties.
Preparing kale is easy enough you just need to follow some simple steps
Wash the kale before you use it, make sure you get rid of all the slugs. Use cold running water to clean the kale then let it sit on some kitchen towel to get rid of any excess water
Place the kale onto a chopping board flat.
Place the leaf flat
Using a sharp knife slice along the stem of the leaf.
Repeat with the other side of the leaf.
Slice along the stem
This will remove the stem and give you two kale leaves
Repeat with the other side of the leaf
You now have the option of using the leaves as they are or cutting them up into strips.
Roll the leaf
If you are cutting the leaves up further, you can roll the leaves up into a cigar before slicing them.
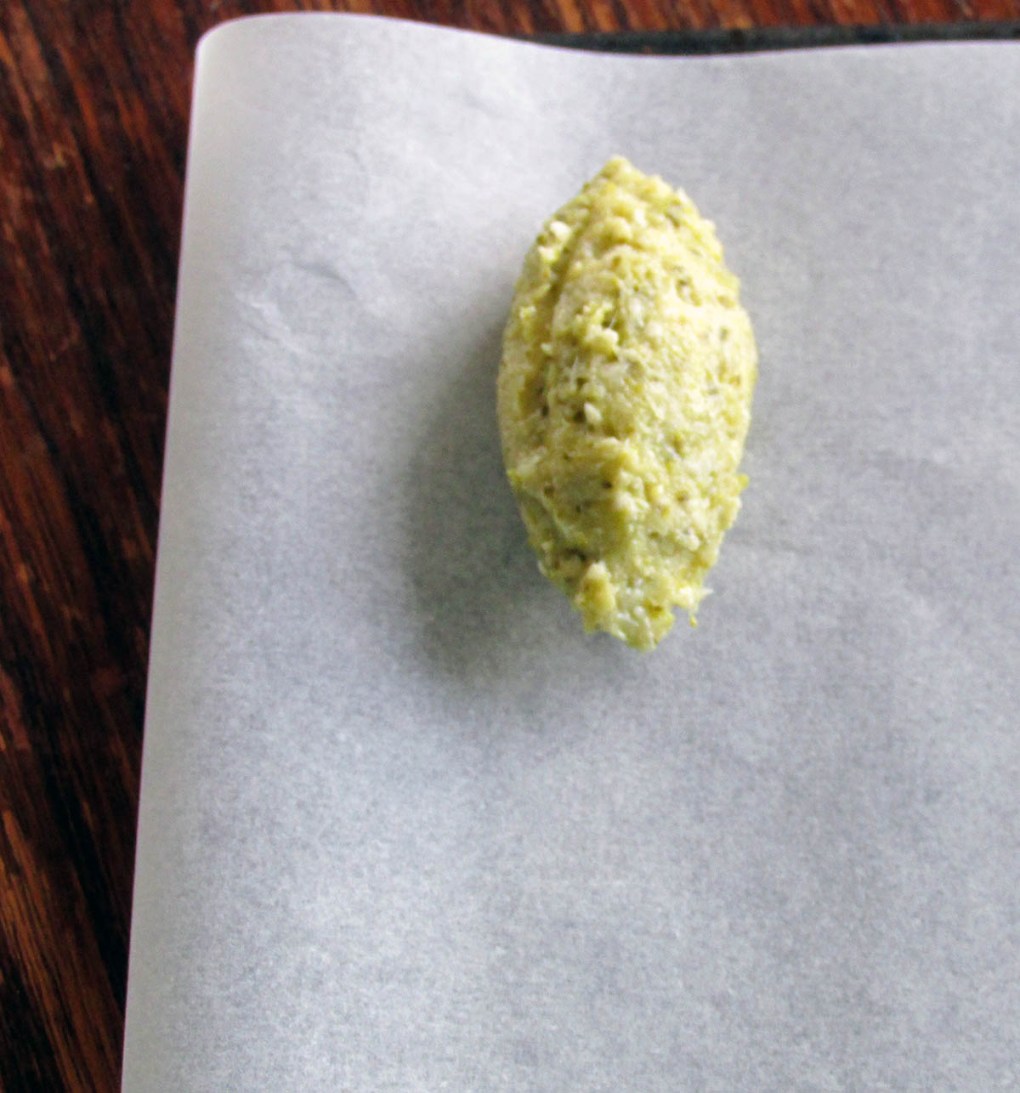
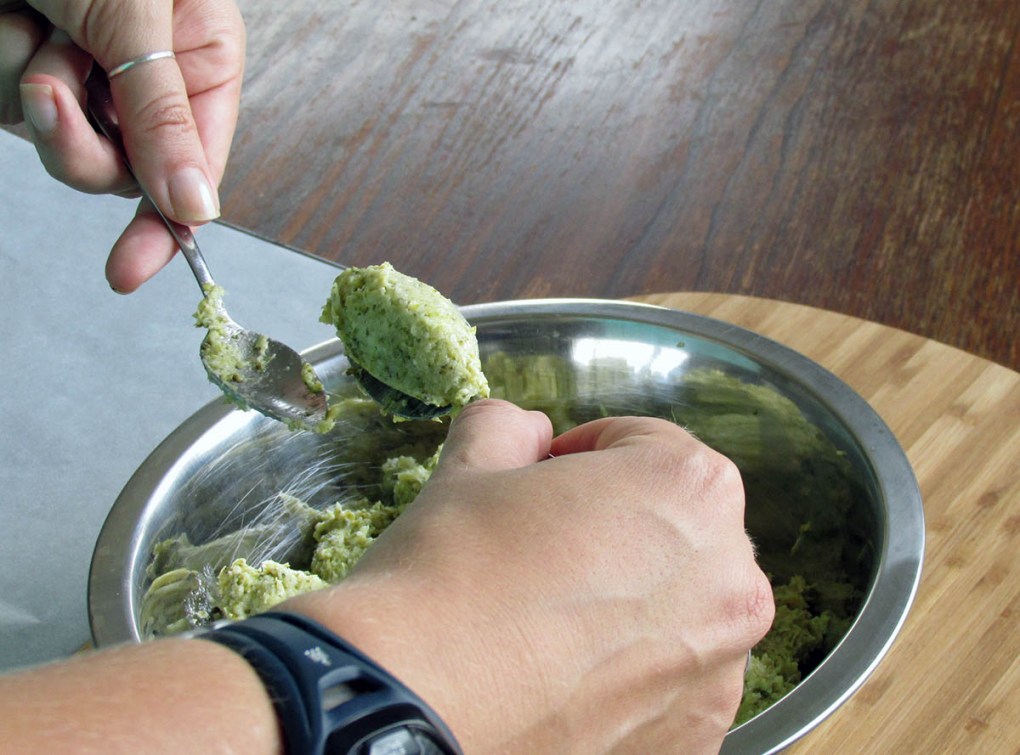
Quenelle- The term is also used to describe the beautiful shape of the portions a neat, three-sided oval (resembling a mini rugby ball) that is formed by gently smoothing the mixture between two dessert spoons. A quenelle shape can also be formed from other foods such as chocolate mousse.
Simple steps to create a Quenelle
Follow the simple steps below to create a perfect Quenelle
Simple oval
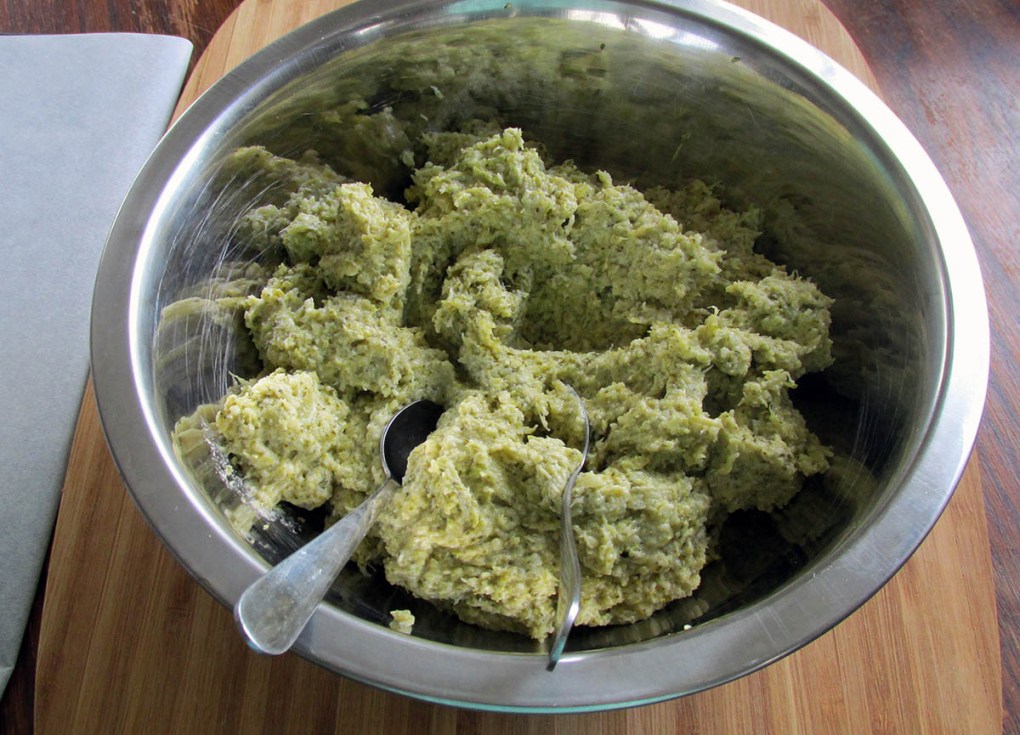
Take a tablespoon and scoop a heaped spoon portion of the mixture.
Roll the mixture into an oval using your hands.
If the mixture sticks to your hands, you can use a little water to help.
Quenelle
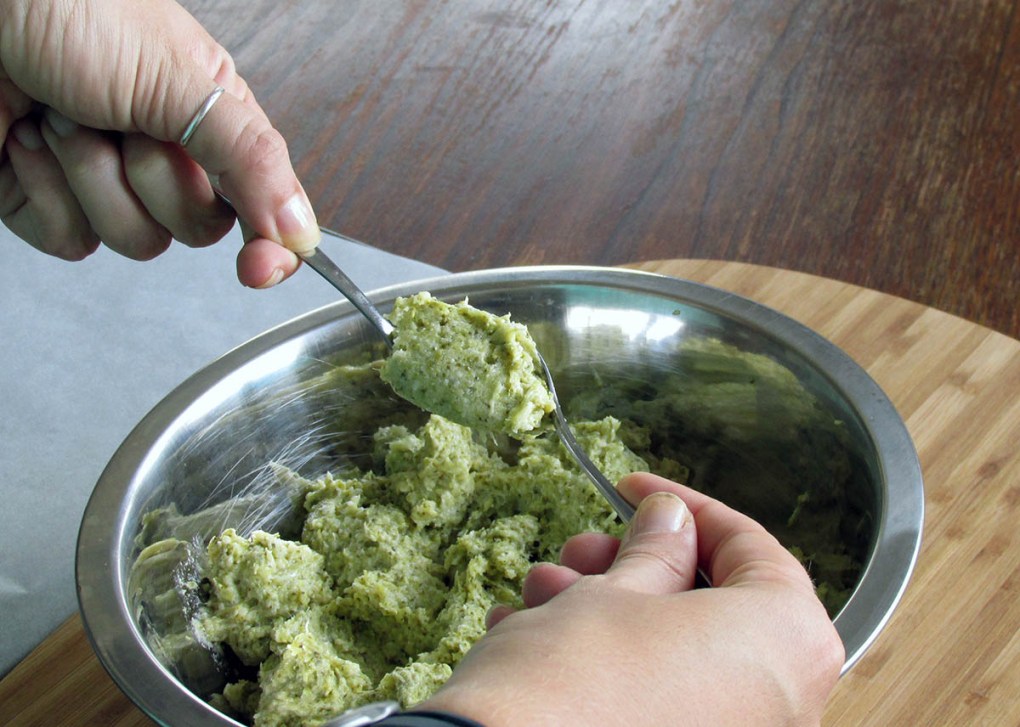
Take two teaspoons.
Take two teaspoons.
With one of the teaspoons scoop up a heaping portion of the mixture.
With one of the teaspoons scoop up a heaping portion of the mixture.
Taking the second spoon, push the portion off the first spoon.
Taking the second spoon, push the portion off the first spoon.
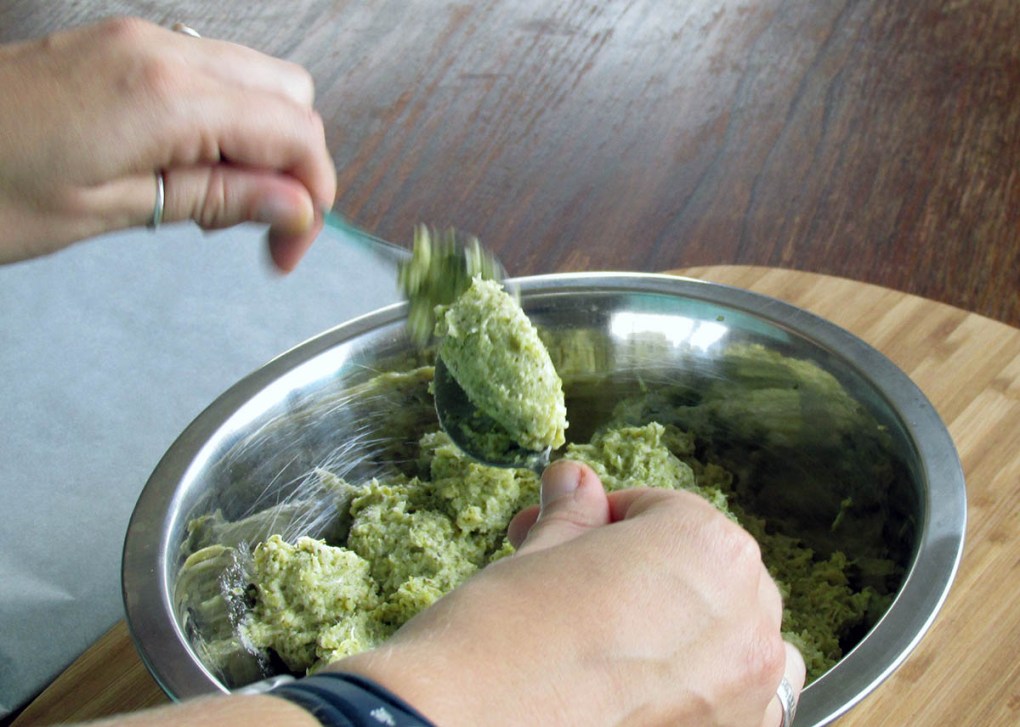
Repeat the transfer of the portion from one spoon to the other gently smoothing the mixture into an oval shape.
Repeat the transfer of the portion from one spoon to the other gently smoothing the mixture into an oval shape.Quenelle
Take two teaspoons.
With one of the teaspoons scoop up a heaping portion of the mixture.
Taking the second spoon, push the portion off the first spoon.
Repeat the transfer of the portion from one spoon to the other gently smoothing the mixture into an oval shape.
Strong seems to be the new skinny; actually, I think that lean is the new skinny, but strong is in the mix so woo hoo!
Getting lean doesn’t happen because you get strong, being lean has very little to do with what you are doing in the gym, it is about what you do in the kitchen. Getting lean means eating clean, step away from the pizza and beer and head towards the broccoli and chicken. Here are some simple steps to get you on the right track for being lean.
Cut out the crap
Processed foods contain a lot of crap; added sugars, oil, flavours, preservatives and fillers. Most of the things you find in processed foods are there to pad out the ‘food’ or make it last in the packet; these are things that are not items you want to include in your diet. A simple rule to live by when buying anything a packet or can is if it has more than 3 ingredients on the label leave it alone.
Watch out for that meal in a cup
We often get caught out with what we drink now what we eat, that cup of coffee has calories in it than you might think. That medium flat white is the equivalent of eating a salad, and that mocha is the same as eating a portion of French fries. Before you order up that milk laden coffee remember it is a meal and adjust what you eat around it.
Eat real meat, fruit and vegetables
Eating whole food is the best approach to eating clean and getting lean. Picking foods that have not been processed means you minimise the chemicals you expose your body to and you are fuelling it with foods that it knows how to handle.
Eat little and often
Eating 3 big meals in a day may work for some people, but for most of us, it is not ideal. Eating 4 to 6 smaller meals across the day is much better. Having more meals will help keep your metabolism humming, and the small portions will help you not to overeat because you should never be starving hungry/hangry.
So remember when you are looking to get lean and eat clean
Here is another quick, easy and practical post to add to your kitchen skill toolbox.
Meatballs are an easy weeknight option, they are easy to make, and each one can be made into a little flavour bomb.
Making meatballs is easy, a little messy but easy. You can follow these key steps to make tender meatballs every time no matter what flavours you put in the mix. Remember that meatballs are comfort food, so it is ok to keep it simple.
Homemade meatballs
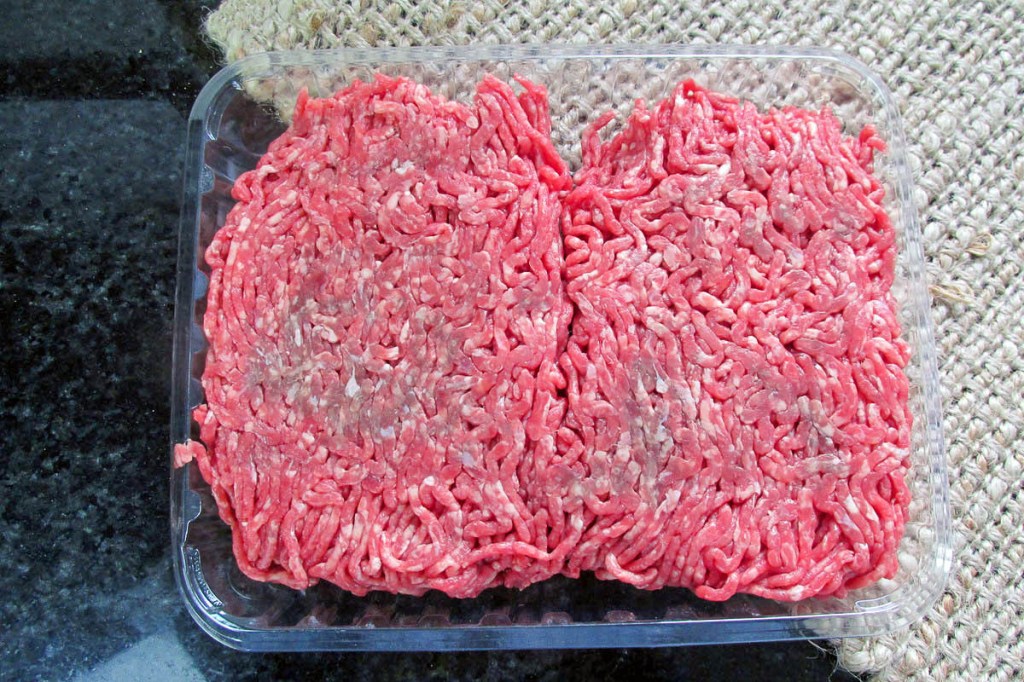
Picking the right meat
The most important thing about your meatballs is the meat (obviously). It doesn’t matter what meat you want to use for your meatballs, what is important is fat. The fat content of the meat is what will give you tender meatballs; if you use lean meat make sure you keep an eye on the meatballs while they cook. Without fat, you get dry, chewy meatballs.
Remember that you can mix and match your meat.
Beef mince
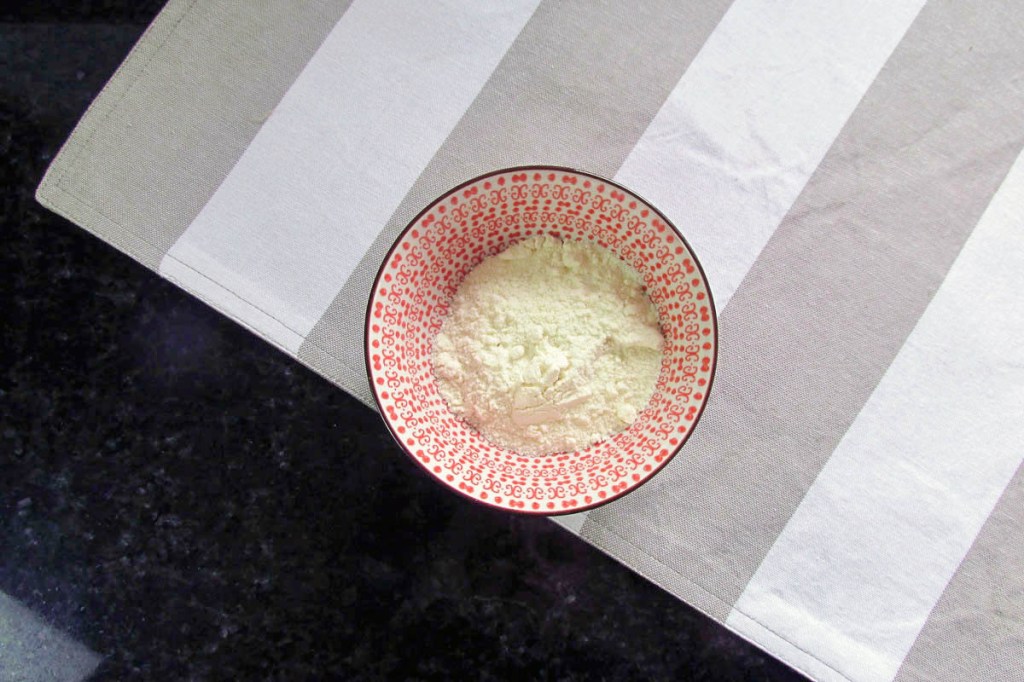
Do you need to bind it?
Traditionally people add eggs and breadcrumbs to meatballs; I have never actually seen the need to add a binder to meatballs. Depending on what meat you use will generally dictate if you need to add anything to keep the meatballs together. I often find that sticker meats (sausage meat, chicken mince, or turkey) benefit from having something added to keep in some of the moisture. If you are looking to add a binder, look at adding coconut flour and egg. Just remember a little coconut flour goes a long way.
Coconut flourEgg
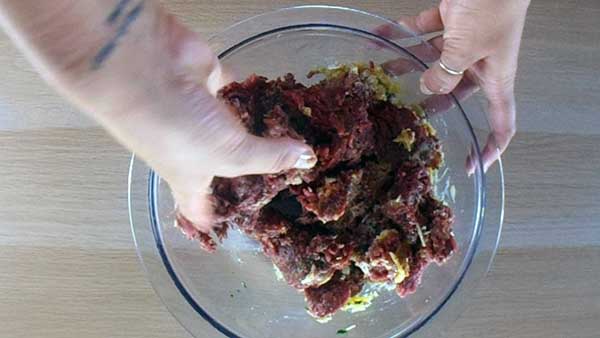
Don’t handle the meat too much
Another key thing to remember is not to overwork the meat. You want to work the meat as little as possible. The best tool you have for mixing ingredients in your hands, and this makes it easier to feel when everything is combined well. I know that working meat with your hands can feel a little gross, but your hands are the best tools for mixing and rolling.
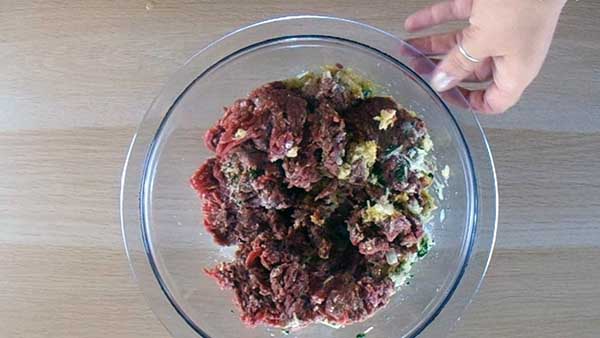
Making meatballs
Add the dry ingredients to the bowlAdd the herbs and egg if you are using lean meat.Add the meat to the bowlUse your hands to mix together the meat.Don’t overwork the meatMake sure everything is well combinedDivide the meat mix into portionsRoll the portions into balls
Add the dry ingredients to the bowl.
Add the herbs and egg if you are using lean meat.
Add the meat to the bowl.
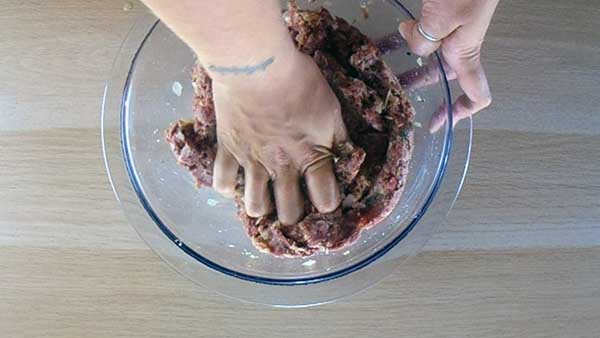
Use your hands to mix together the meat.
Don’t overwork the meat.
Make sure everything is well combined
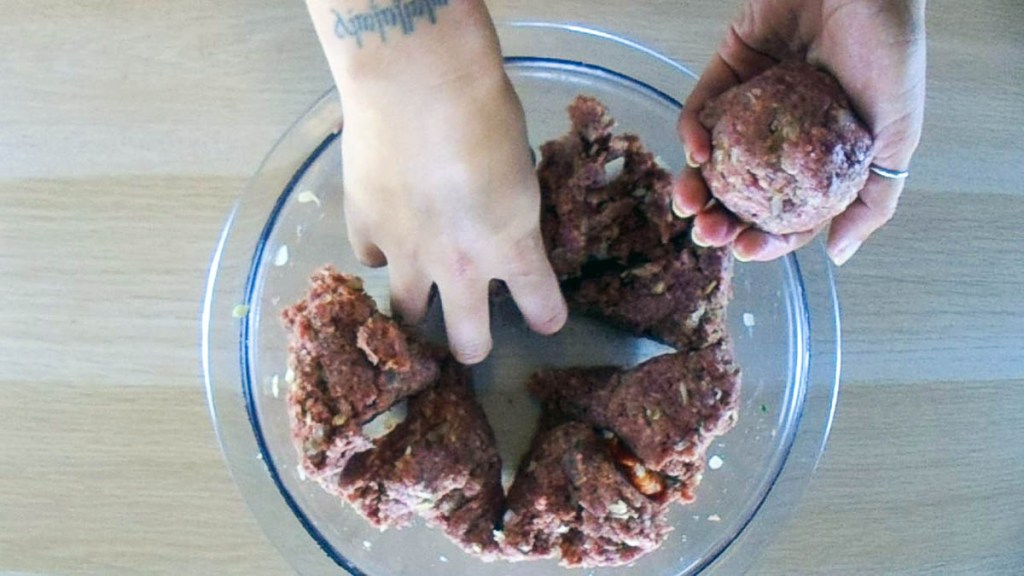
Divide the meat mix into portions
Roll the portions into balls
How should you cook them?
There are two options for cooking meatballs, roast them or cook them in a sauce.
If you intend to freeze the meatballs or to serve them without sauce roasting is the best option. You can grill or roast the meatballs, make sure you let them cool before freezing.
If your meatballs are going to be served with sauce, the best option is to cook the meatballs in the sauce, which will add flavour to the meat and keep it tender.