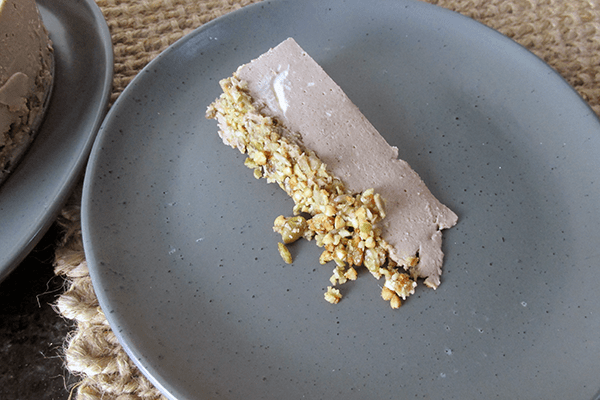
Ready for a snack
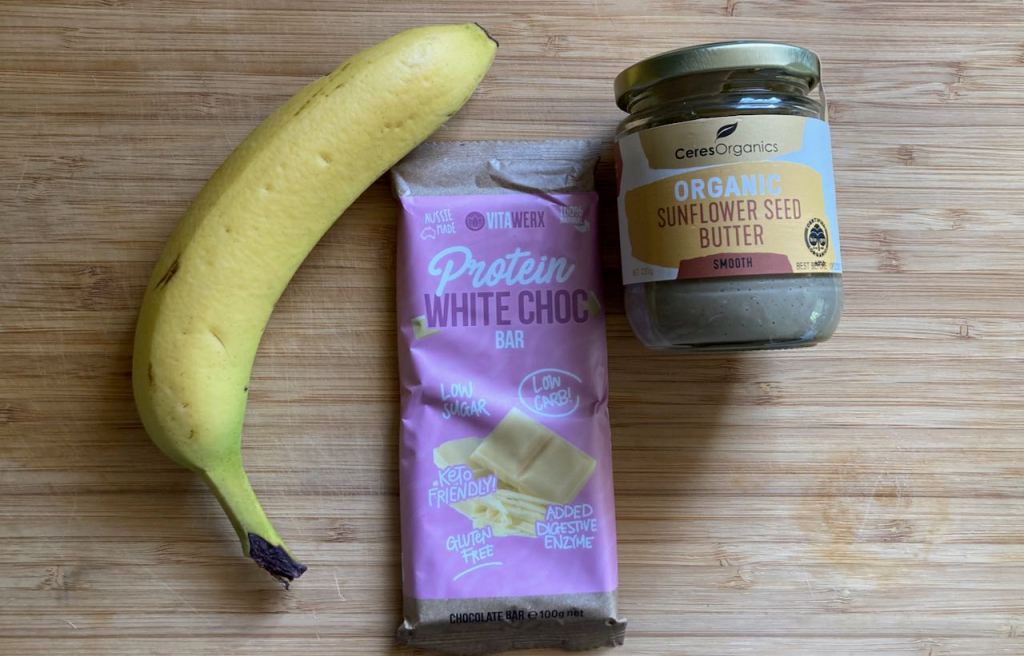
I’m trying different things as snacks at the moment; I had been munching on yoghurt and fruit for a while, so I needed to switch things up a bit. I had a stack of bananas and some protein white chocolate in the cupboard, so I thought I would have a go at making my own banana bites.
No peanut butter, thanks
I am one of those unfortunate people who is allergic to not only peanuts but also tree nuts. When it comes to food options, not having nuts on the menu can be challenging at times and frustrating at others. Not eating nuts doesn’t have to be the end of the world; there are always replacements and alternatives that give you a nut-free option. I’ve seen peanut butter banana bites all over the internet, but it was not an option for me. This recipe is my attempt to create a nut-free version of a usually nut-packed recipe.
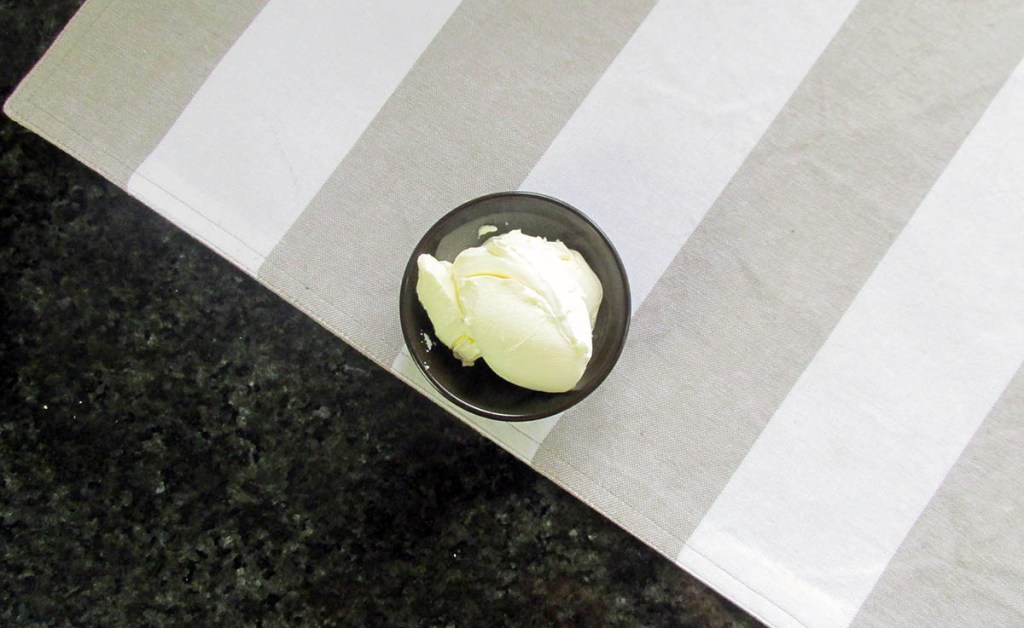
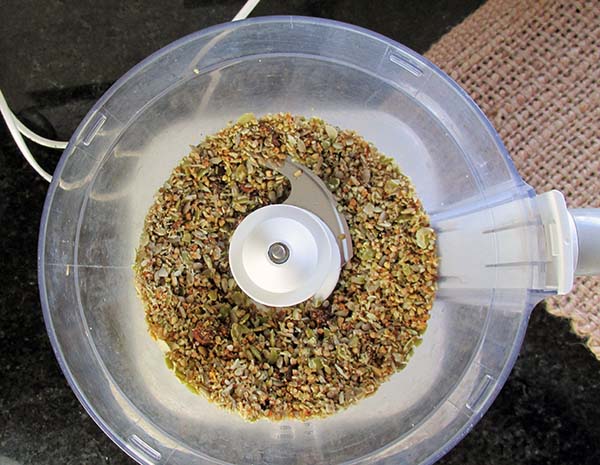
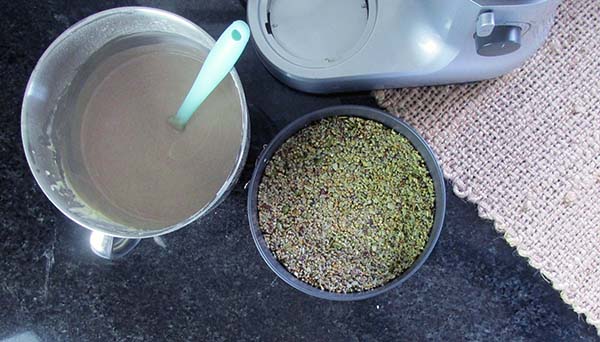
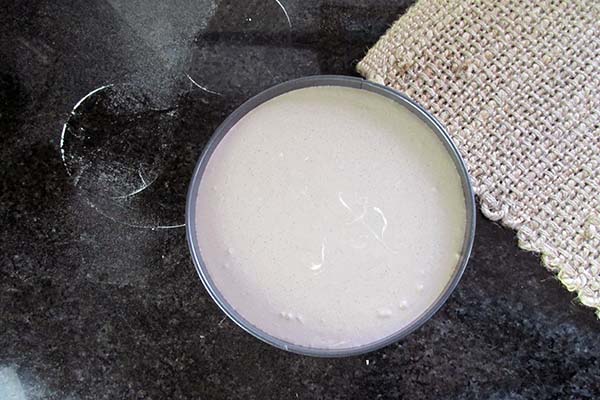
Sunflower seed butter
Instead of using peanut butter, I decided to use my homemade sun butter as the alternative filling on my banana bites. As I am not a milk or dark chocolate fan, I decided to use my white chocolate for a perfect coating.
Banana bites recipe
Ingredients
- 1 banana
- 1/4 cup sun butter
- 1 bar protein white chocolate
Instructions
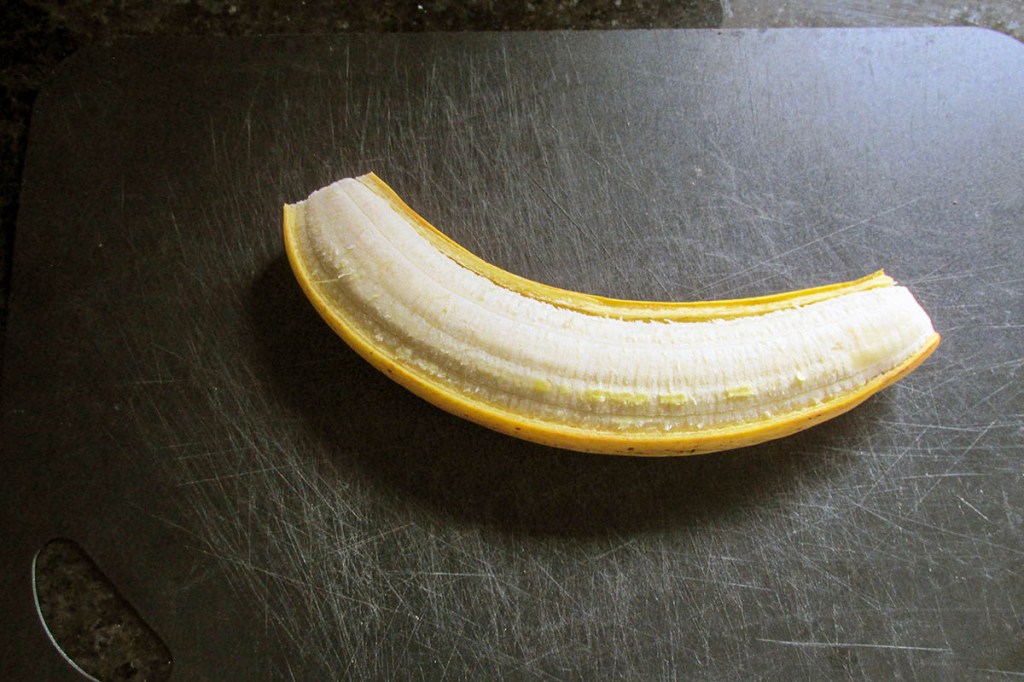
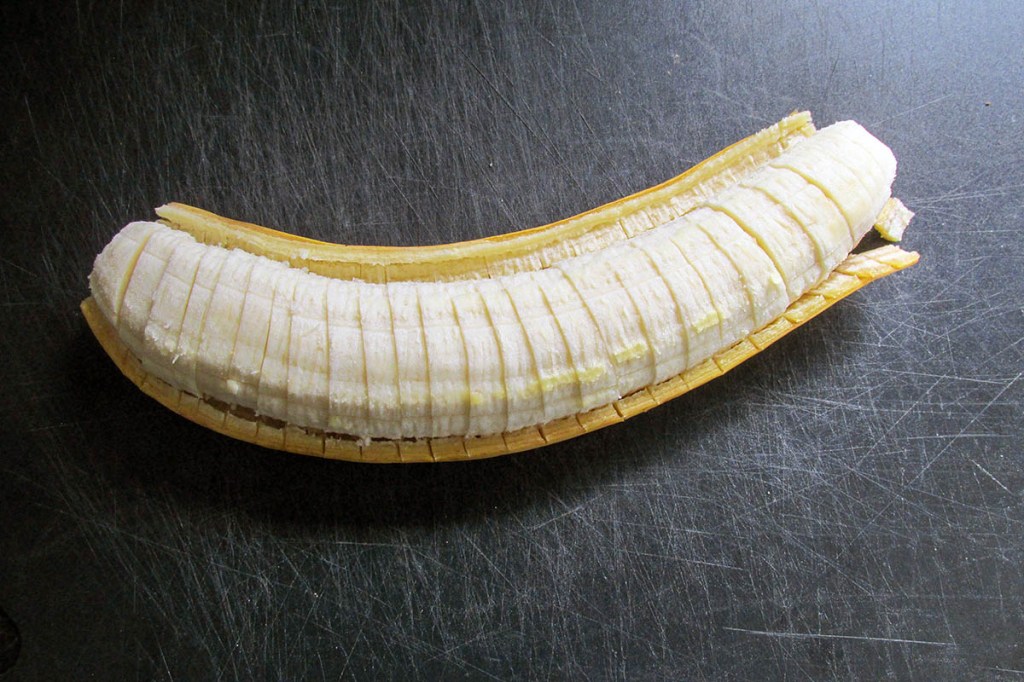
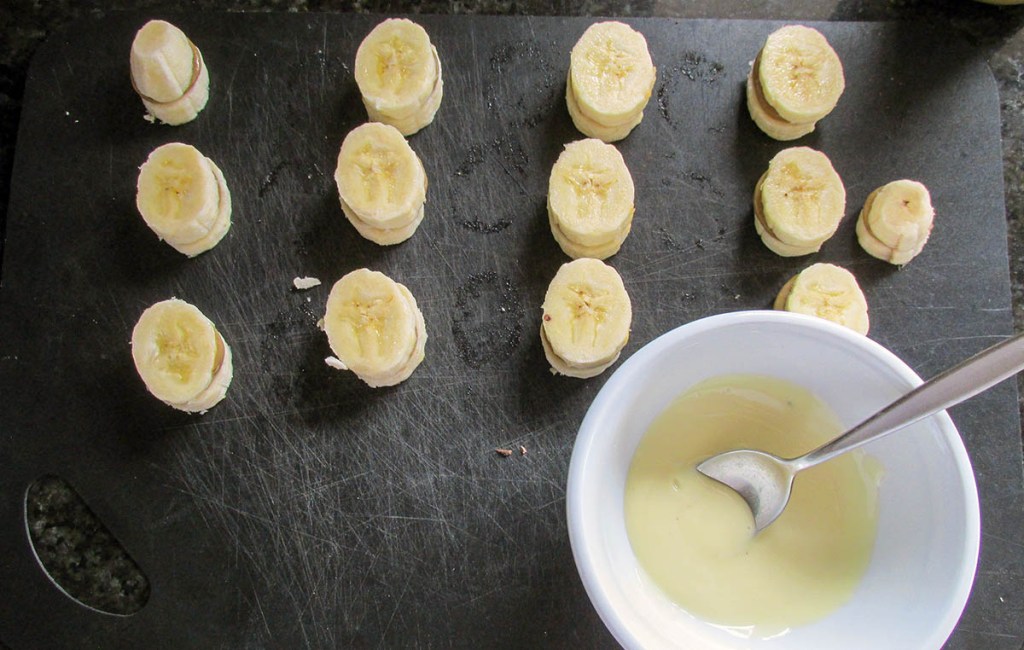
Peel the banana and slice it into 26 pieces.
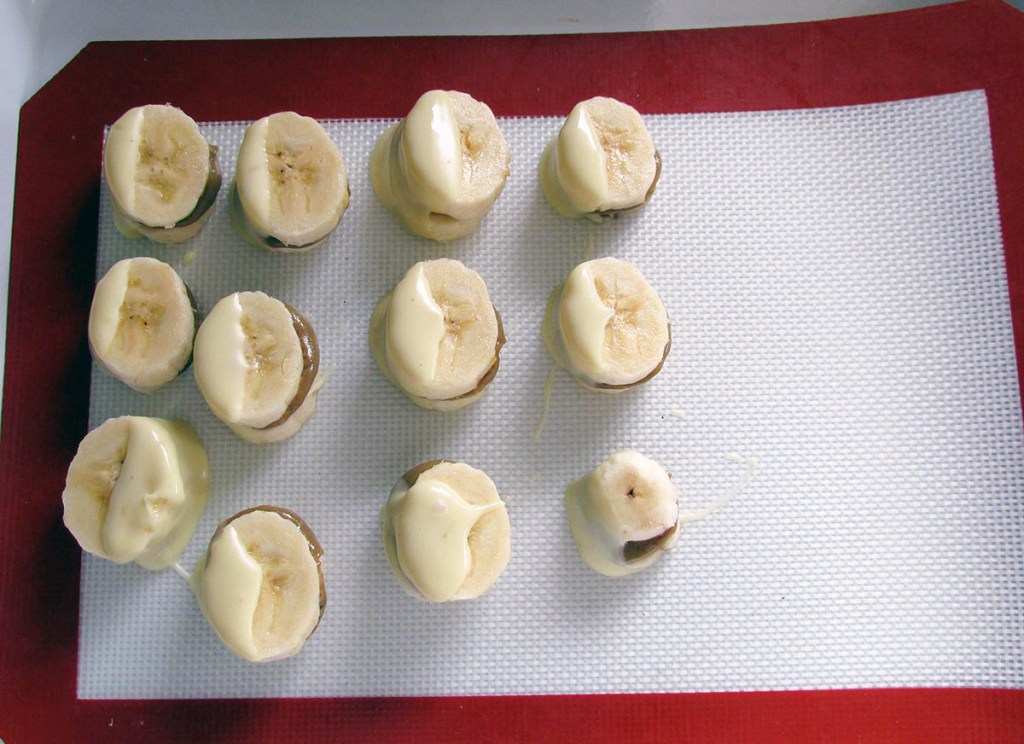
Line a baking sheet or flat plate with a silicone liner.

On half of the banana pieces, add a small dollop of the sun butter.
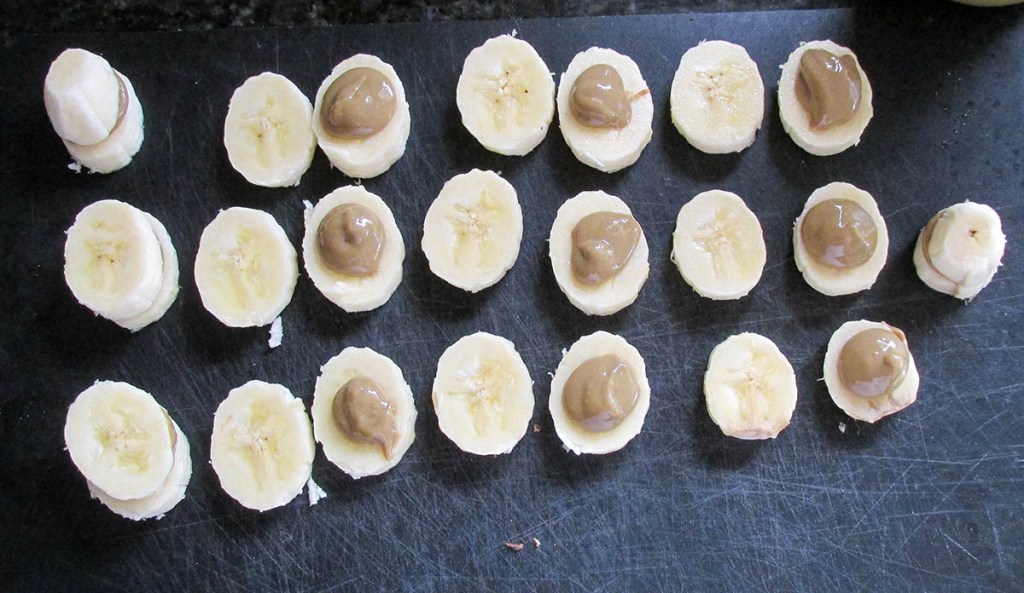
Top each piece that has sun butter on it with another piece of banana.
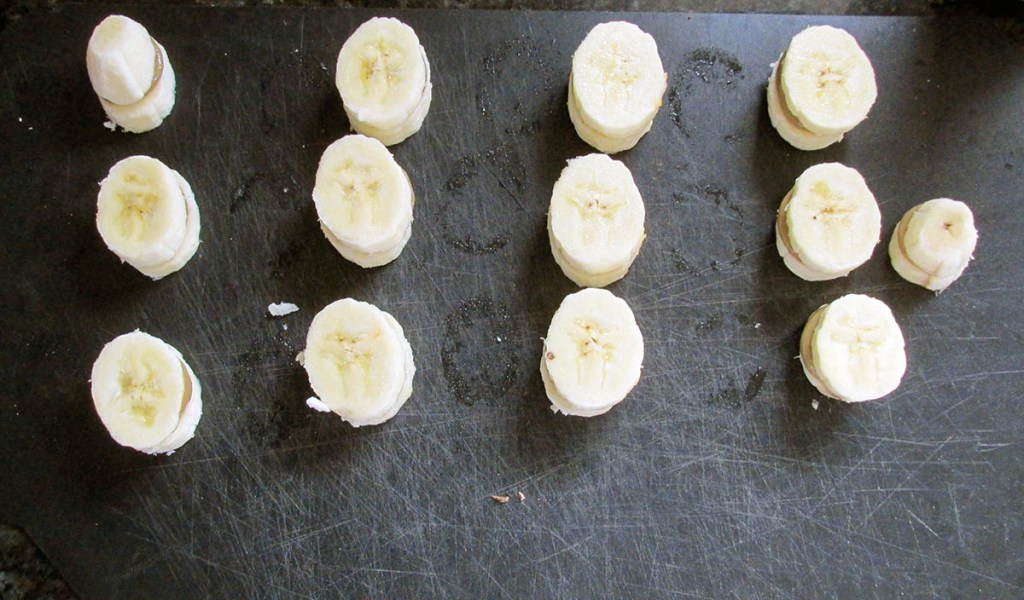
Place the banana in the freezer to harden the sun butter for about 15 minutes.
Before taking the banana bites from the fridge, melt the chocolate.
Take a small microwave-safe bowl and break up the chocolate.
Microwave the chocolate for 30 seconds at a time and mix between.
Repeat until the chocolate is melted and runny.
Take the banana bites from the freezer.
Dip half of each bite into the melted chocolate and place it back on the lined baking sheet.
Return the bites to the freezer for another 15 minutes.
Transfer the set bites to an airtight container and stop in the fridge for up to 3 days.
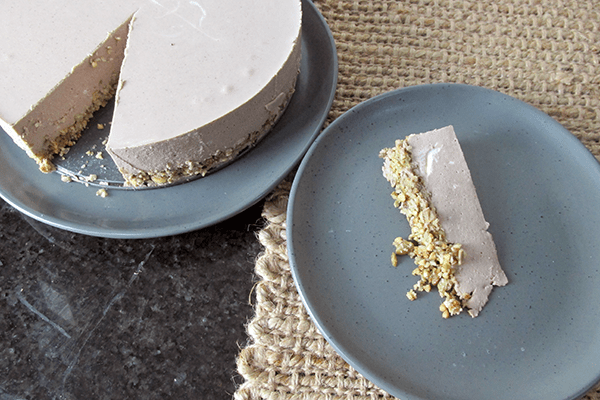
“Banana
Credit: Cath @ easycleaneats
Ingredients
- 1 banana
- 1/4 cup sun butter
- 1 bar protein white chocolate
Directions
Peel the banana and slice it into 26 pieces. Line a baking sheet or flat plate with a silicone liner. On half of the banana pieces, add a small dollop of the sun butter. Top each piece that has sun butter on it with another piece of banana. Place the banana in the freezer to harden the sun butter for about 15 minutes. Before taking the banana bites from the fridge, melt the chocolate. Take a small microwave-safe bowl and break up the chocolate. Microwave the chocolate for 30 seconds at a time and mix between. Repeat until the chocolate is melted and runny. Take the banana bites from the freezer. Dip half of each bite into the melted chocolate and place it back on the lined baking sheet. Return the bites to the freezer for another 15 minutes. Transfer the set bites to an airtight container and stop in the fridge for up to 3 days.Nutrition
Per Serving: 156 calories; 11g fat; 11g carbohydrates; 5g proteinEquipment
- Knife
- Chopping board
- Spoon
- Small microwave-safe bowl
- Fork
- Baking sheet
- Silicone liner or baking paper
Nutritional disclaimer
Nutrition information is provided as an estimate based on the ingredients used and available in my area (New Zealand). The nutritional information is here to help you understand the recipe; I use MyFitnessPal to generate my estimates. For more accurate nutritional information, please use a nutritional calculator with the ingredients in your area.