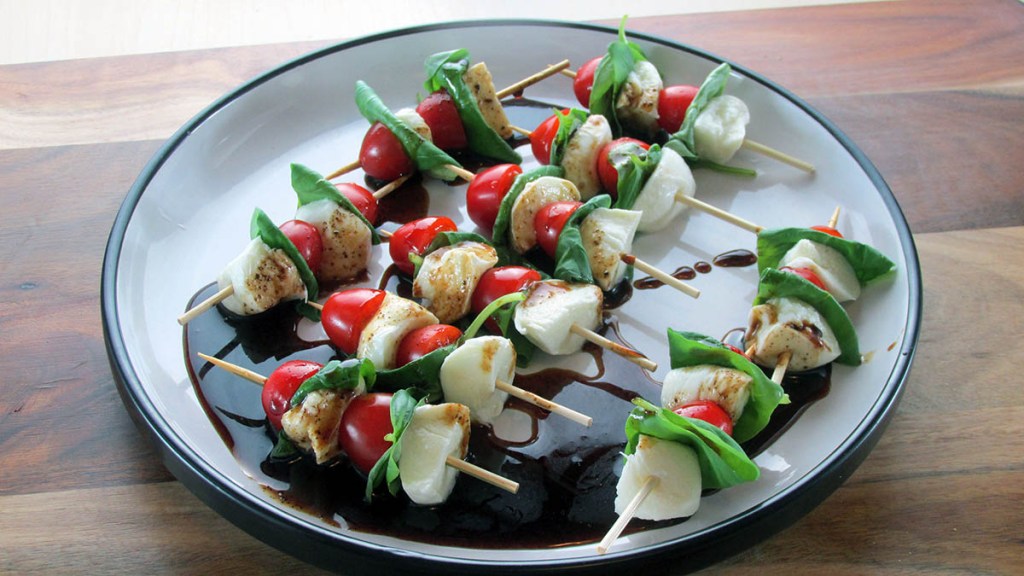
Starting the year with a bowl
Last Christmas, I spent some quality time with friends playing Unstable Unicorns, Settlers of Catan and Exploding Kittens. To go with all of the fun games, there were a lot of drinks and good food to keep us going. One of my favourite dishes was the trusty Reuben bowl. It is always a crowd pleaser, and on long, hot summer days, it is perfect for grazing between fun activities.

Switching up the traditional Reuben
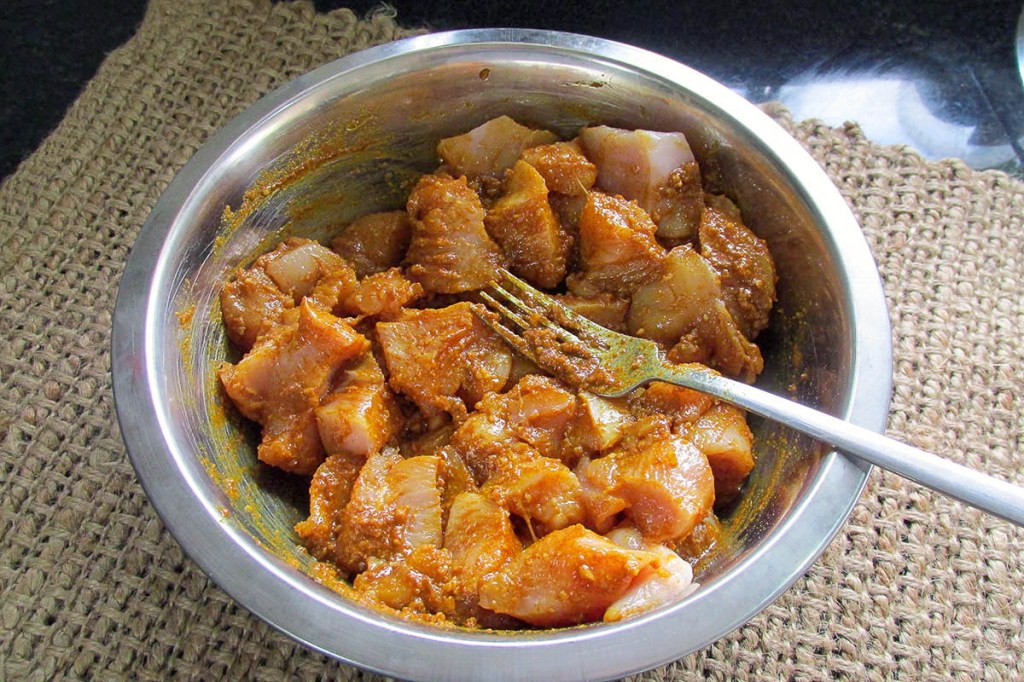
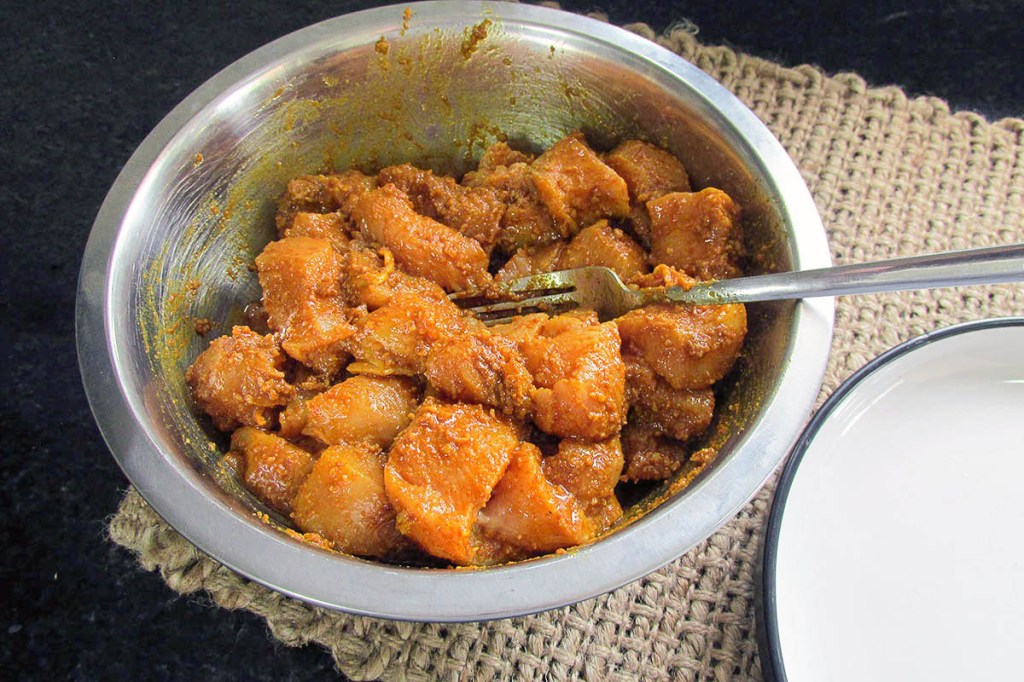
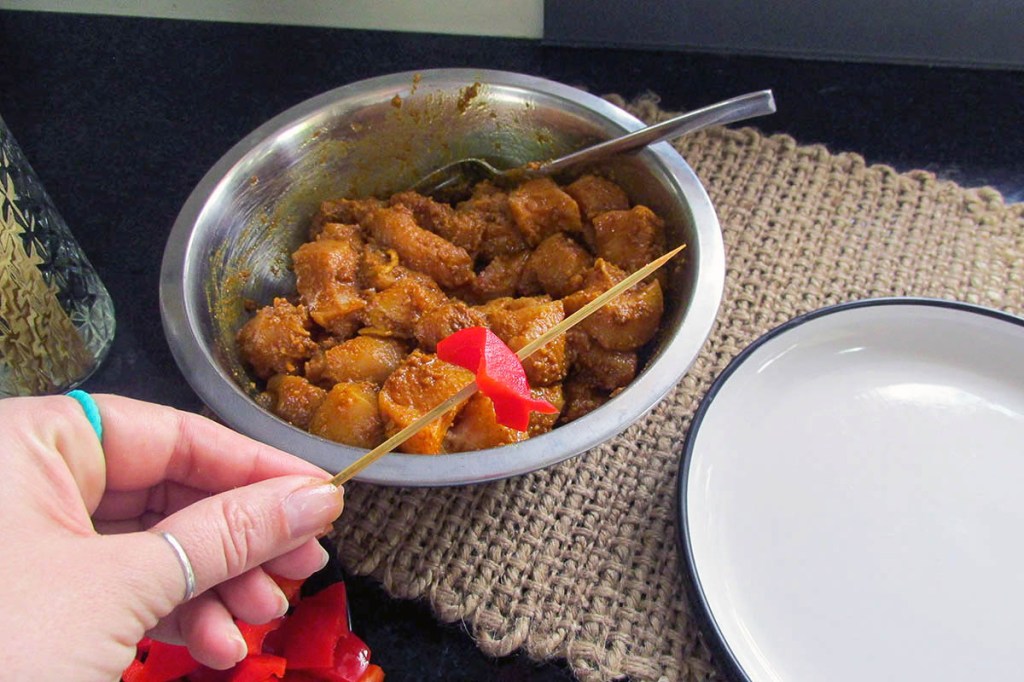
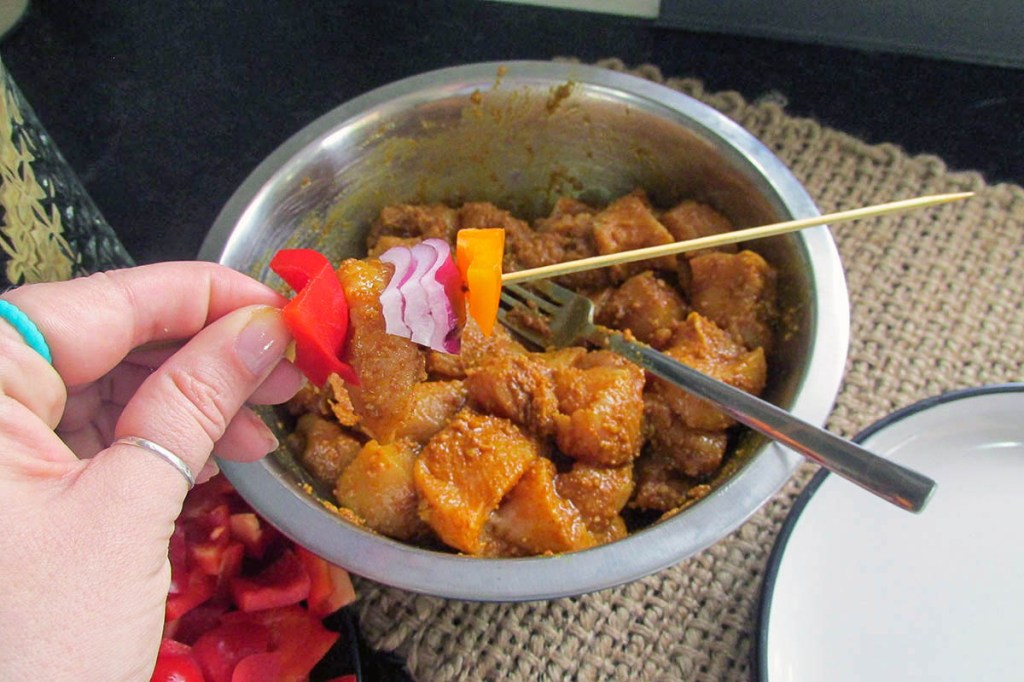
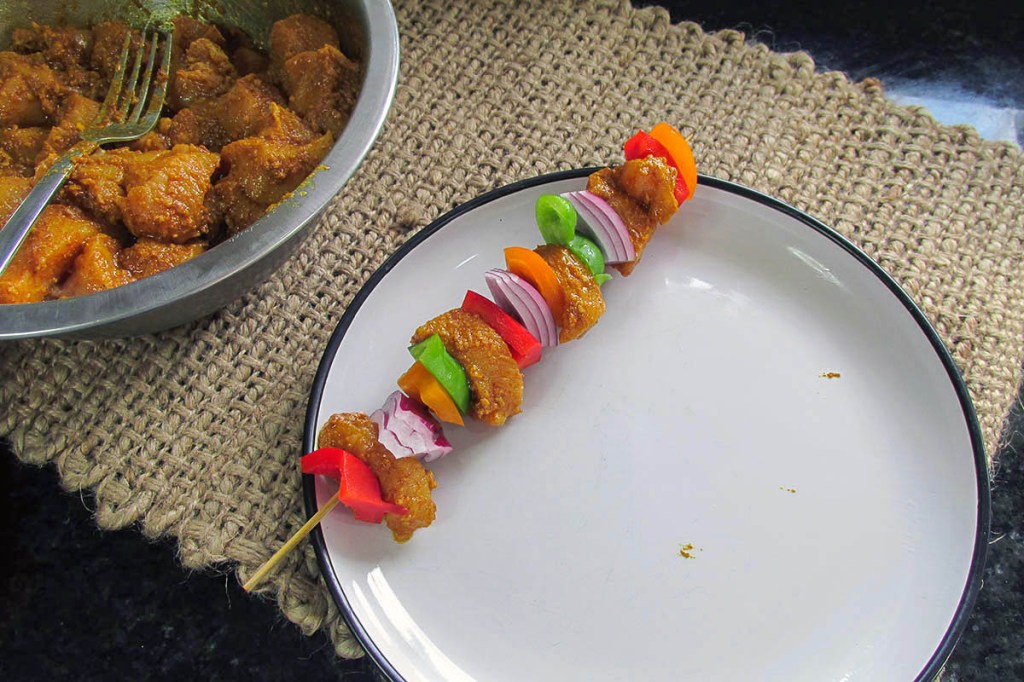
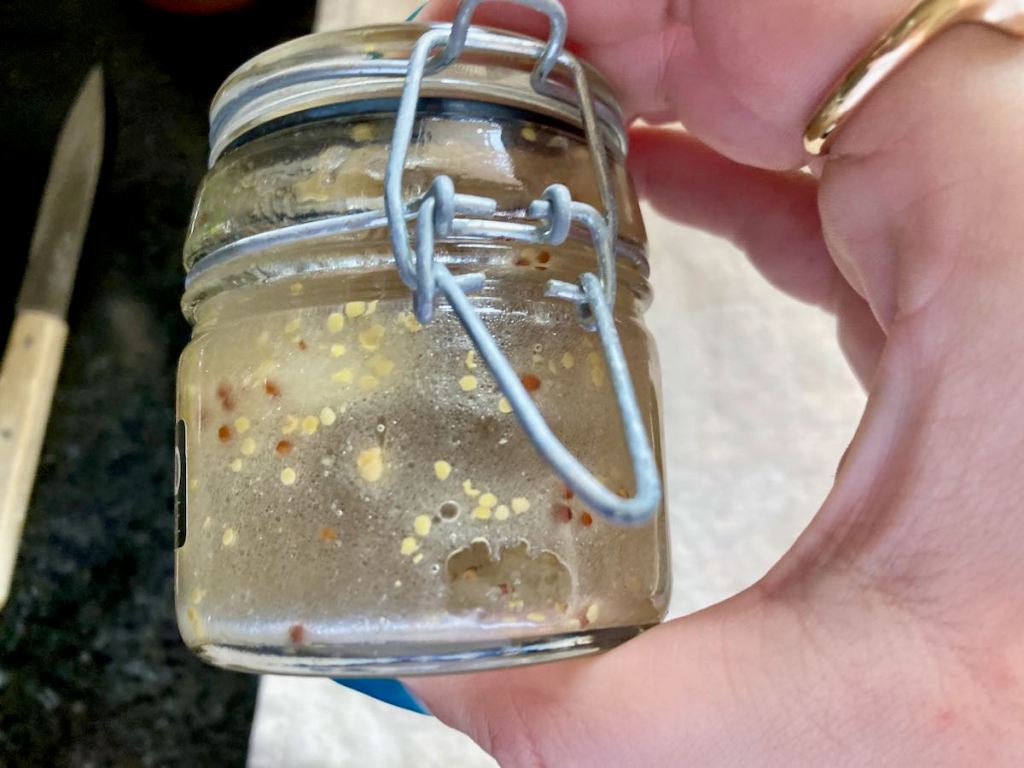
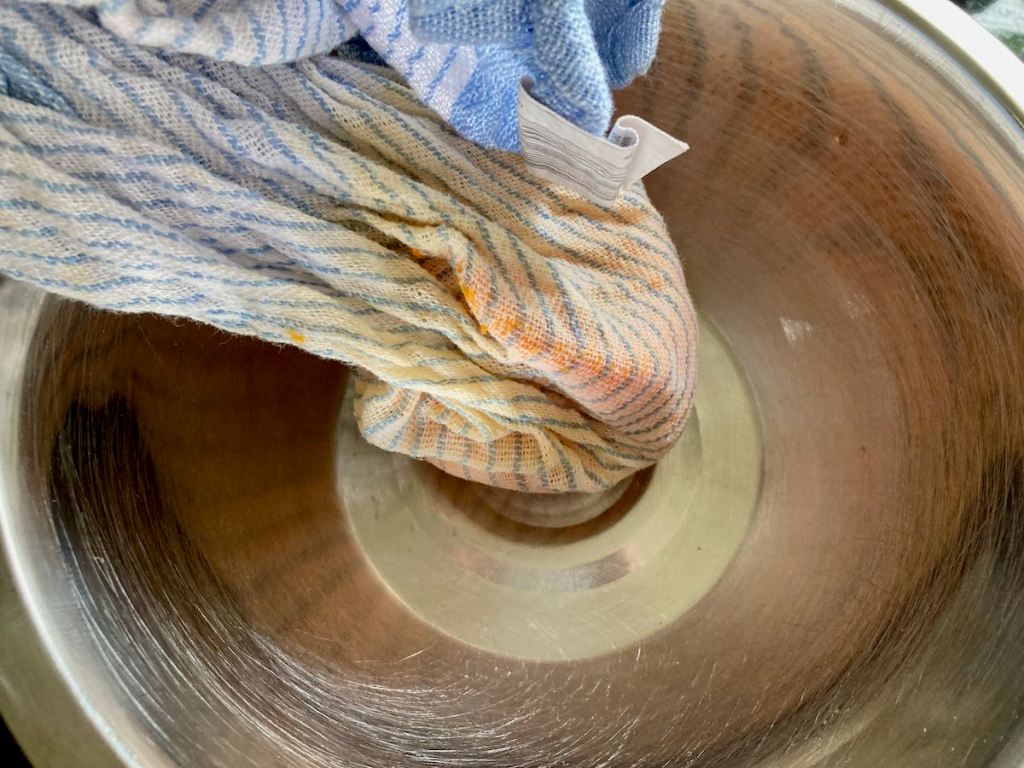
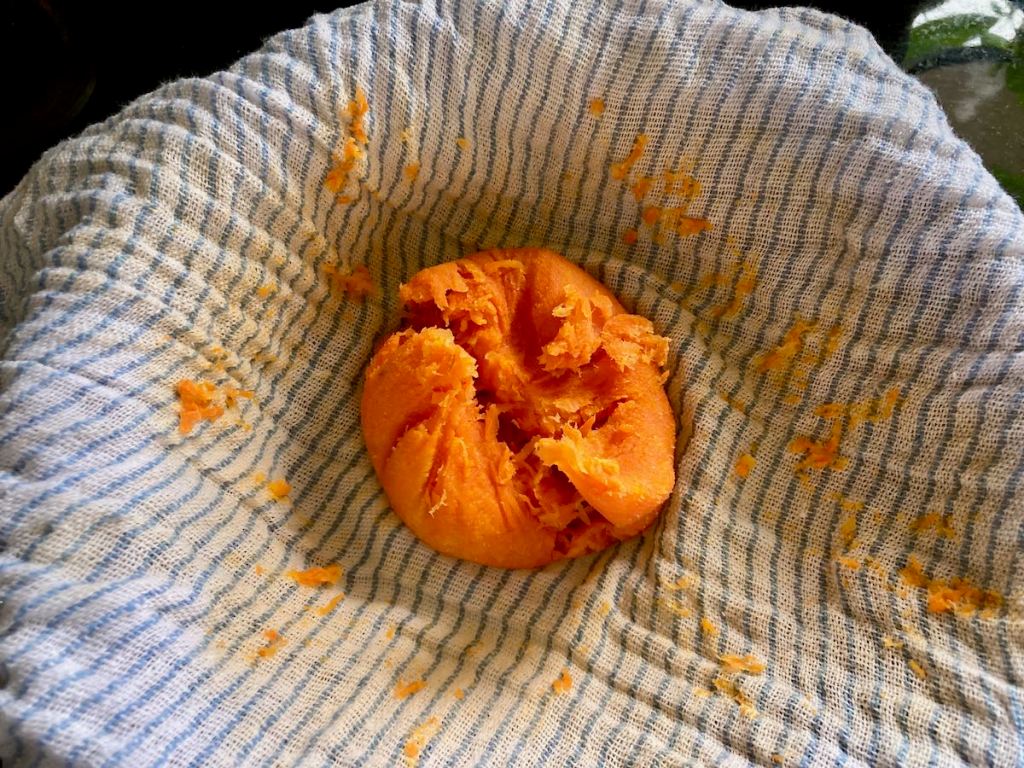
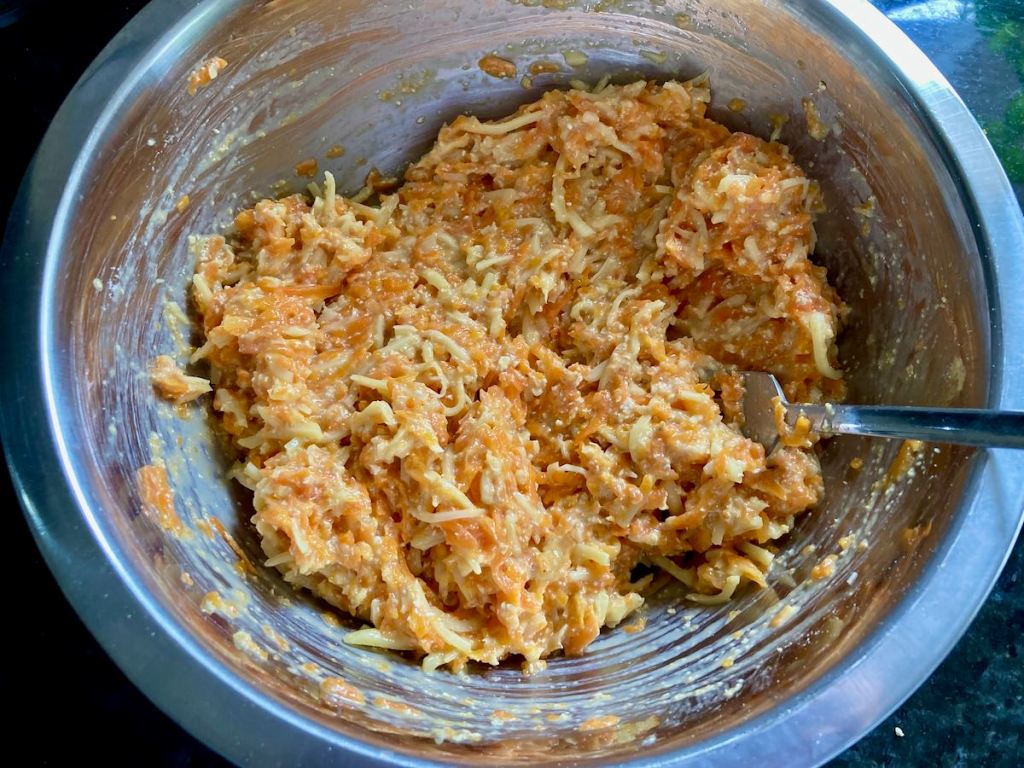
I’m a big fan of the Reuben sandwich, the combination of pastrami, sauerkraut and dressing is always a winner in my book. While I love the traditional flavours, I swear there is something wrong with my brain; it always looks for ways to adapt recipes to make them more interesting or change them up in some way. This recipe is an excellent example of my brain doing what it does best. My corned beef has a great crust and flavour, thanks to the seared outside and brine. It is a worthy replacement for pastrami and is much easier to get than brisket. To switch out sauerkraut was easy. I know from experience that corned beef and cabbage go together perfectly, so that was a no-brainer. The challenge was finding a flavour that could replace the tang of the sauerkraut without overpowering the corned beef. It took a few tries before I landed on sesame seed oil; it may appear to be an odd flavour to go with, but trust me, it works. The sesame seed oil adds a rich, nutty flavour to the cabbage that complements the other flavours without being overpowering. While this recipe doesn’t look anything like the traditional Reuben, I promise that if you give it a try, you won’t be disappointed.
Reuben bowl recipe

Ingredients
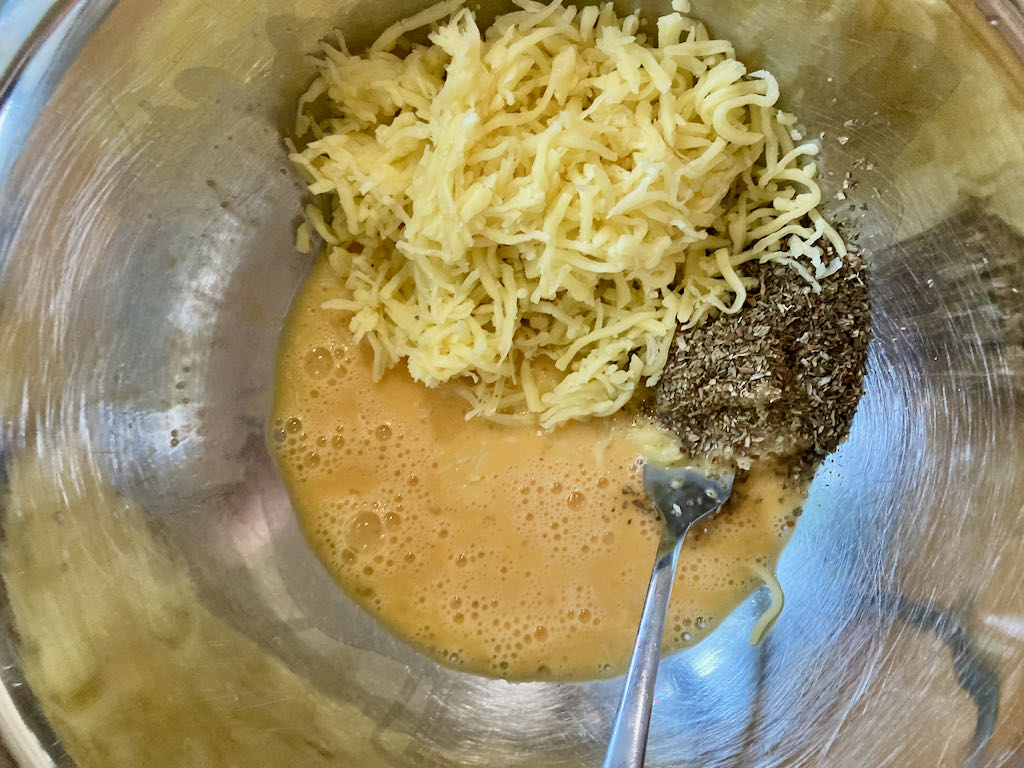
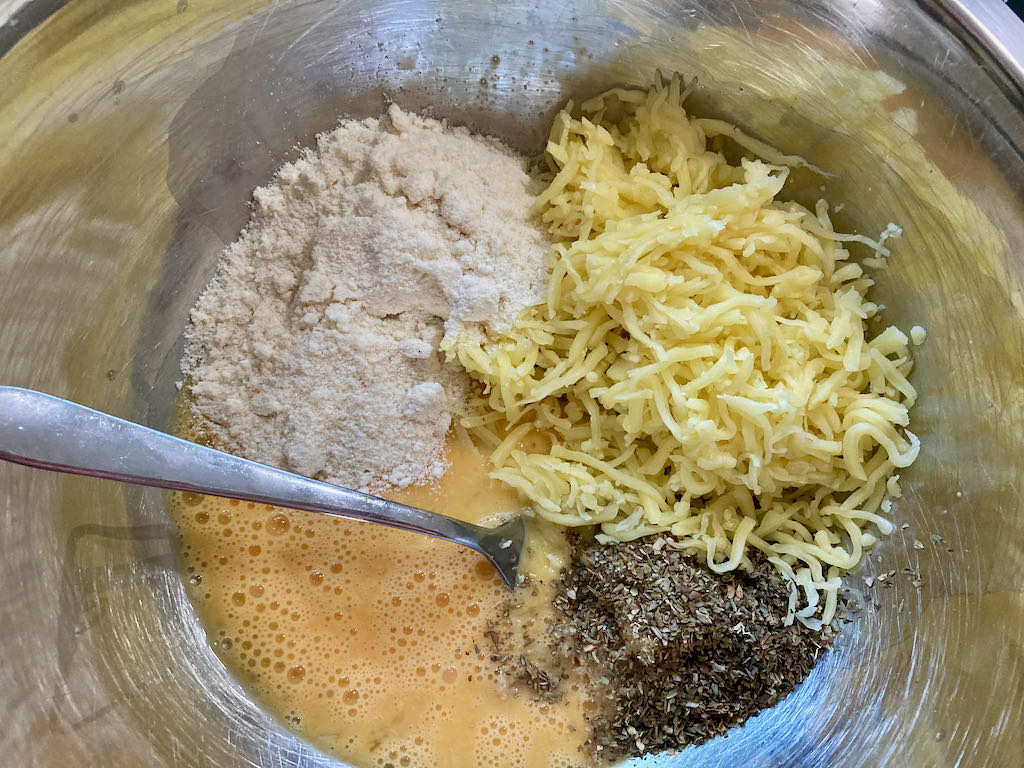
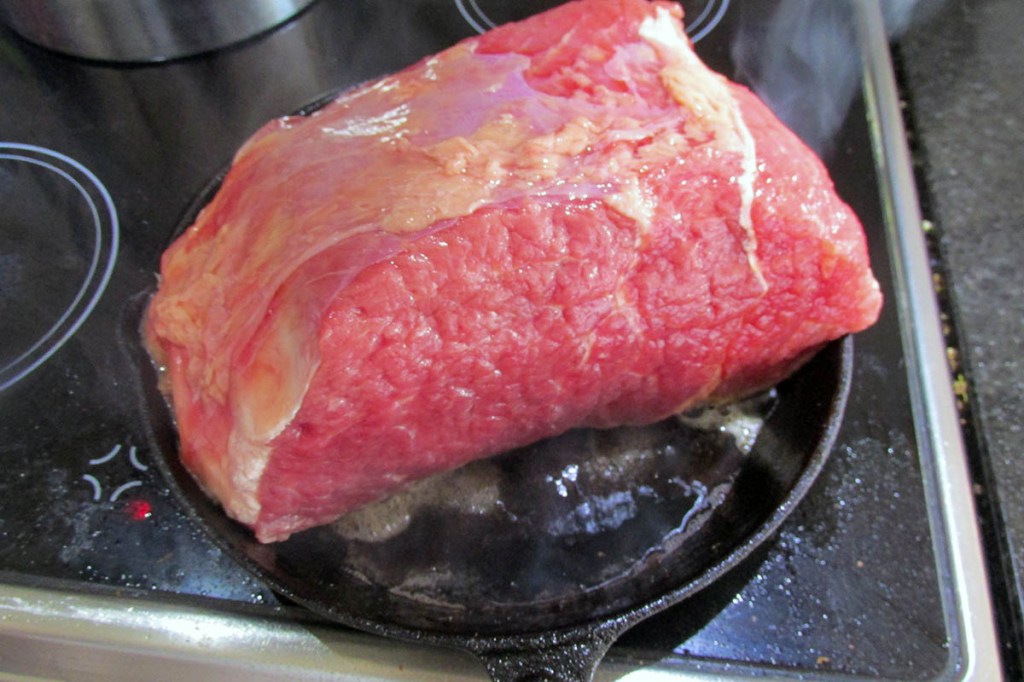
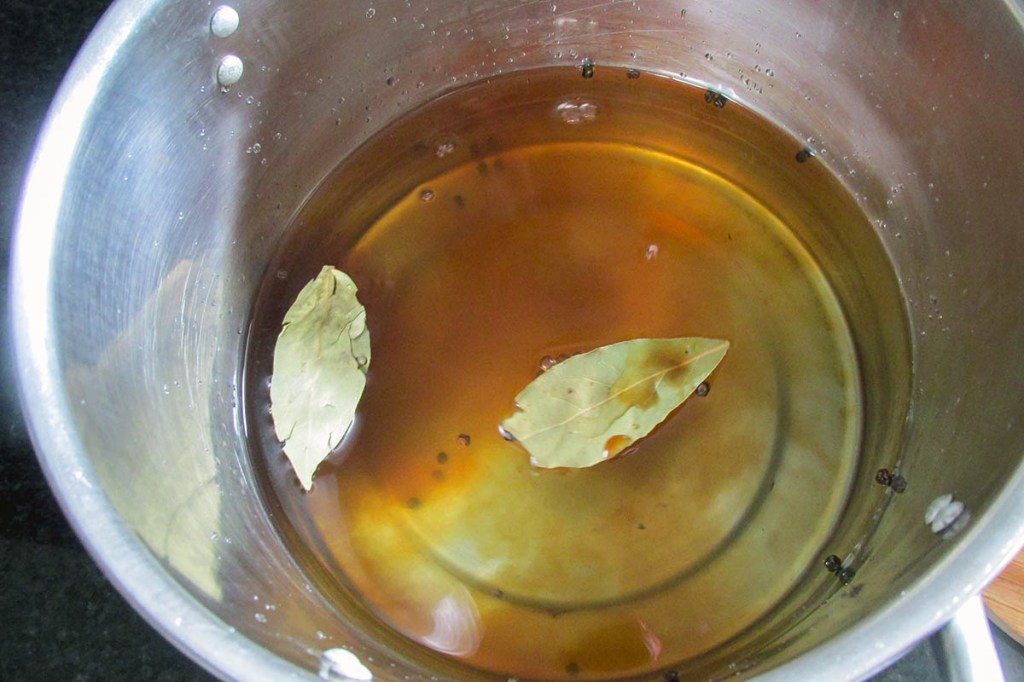
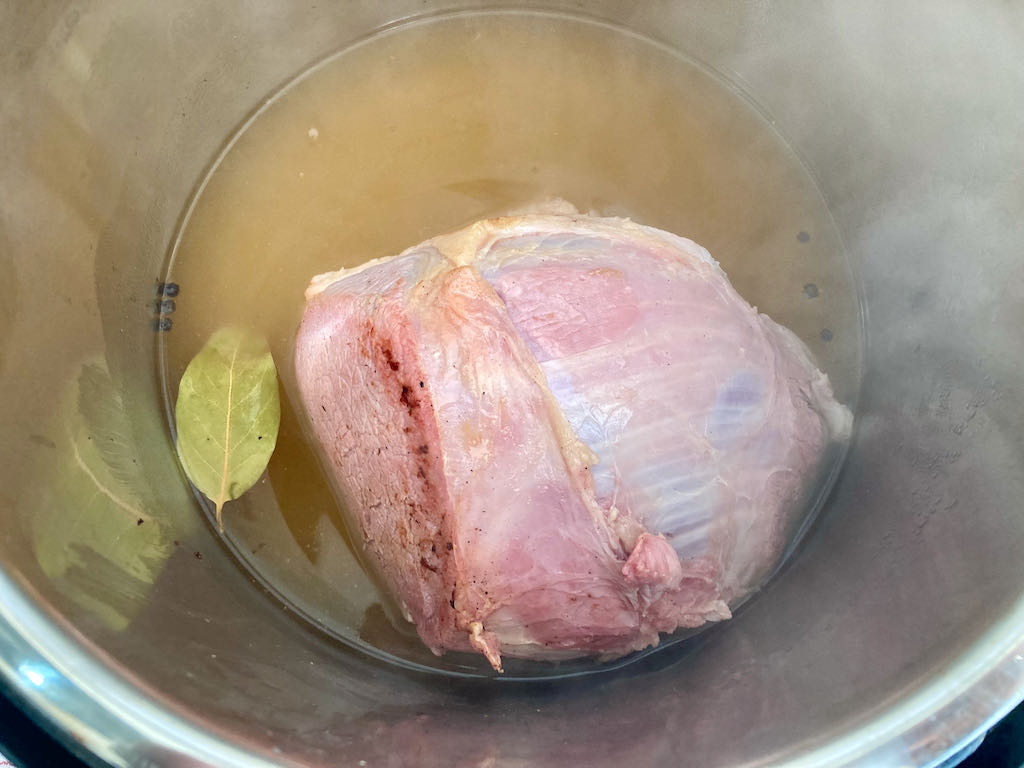
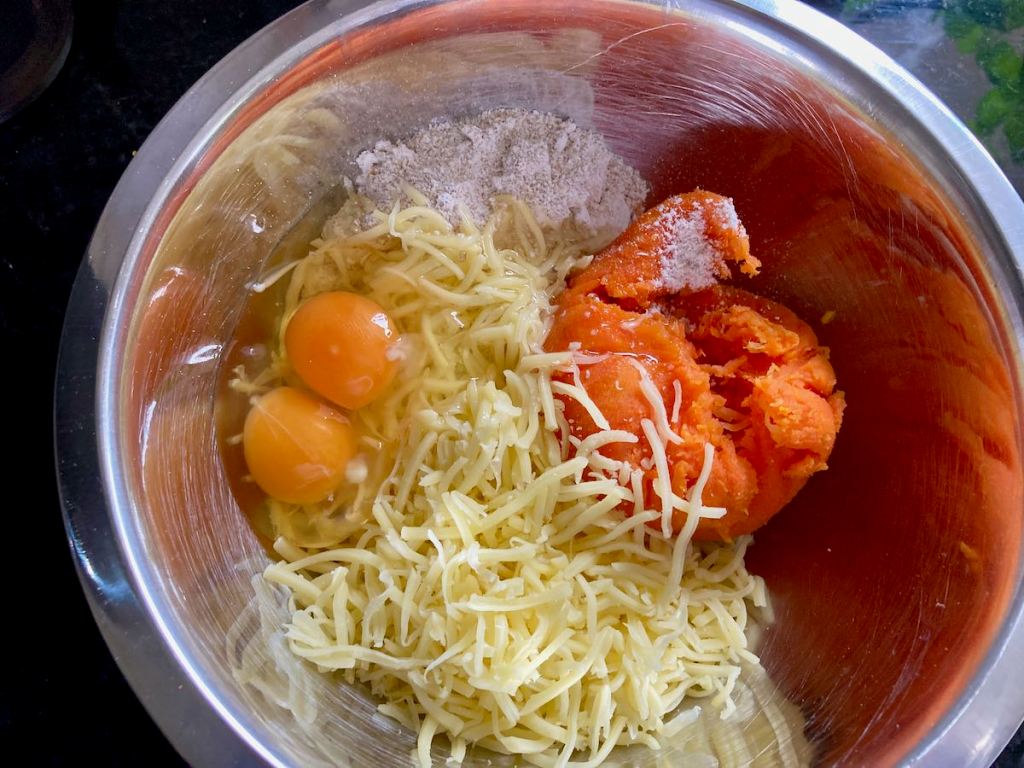
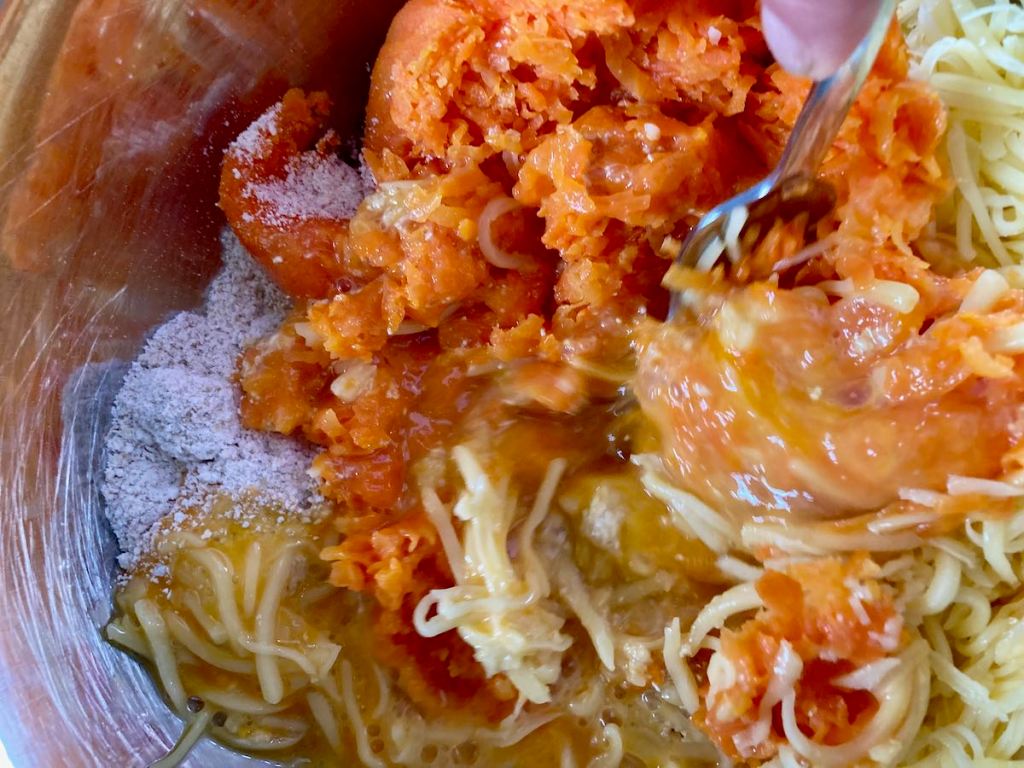
- 1kg corned beef, cooked
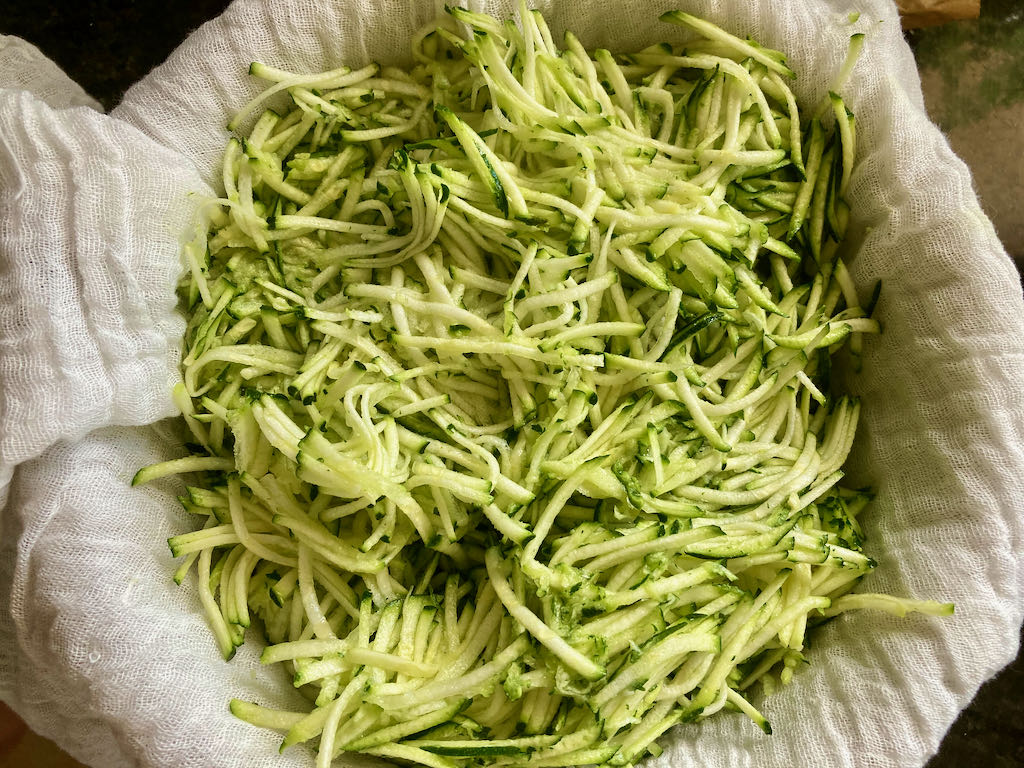
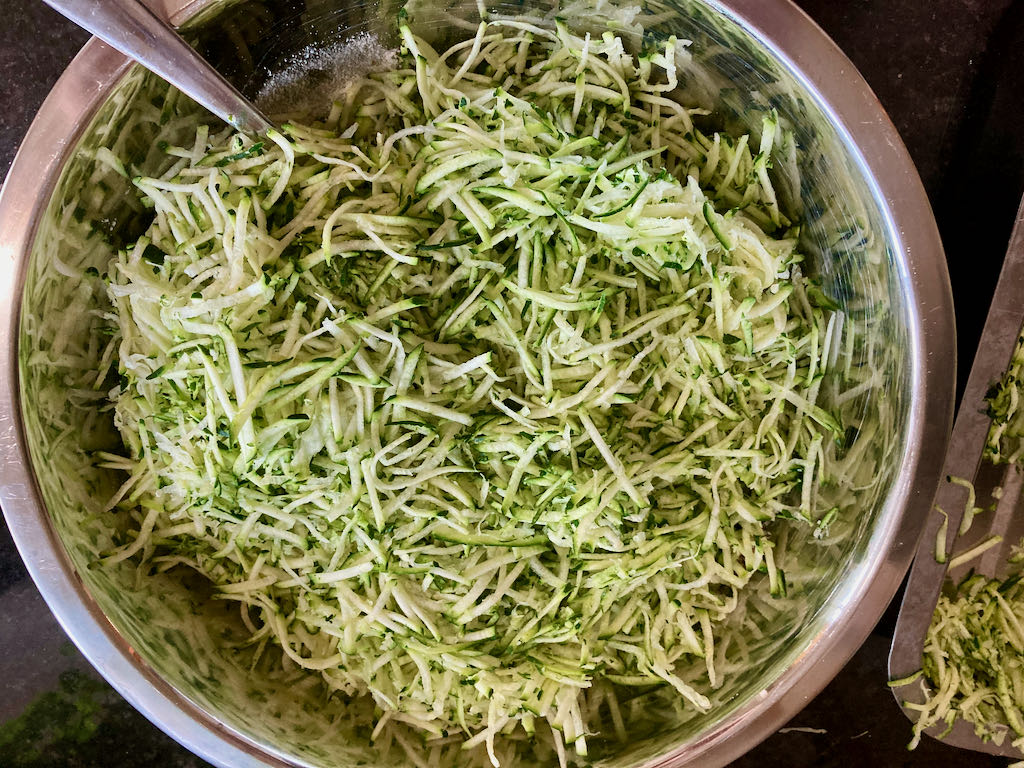
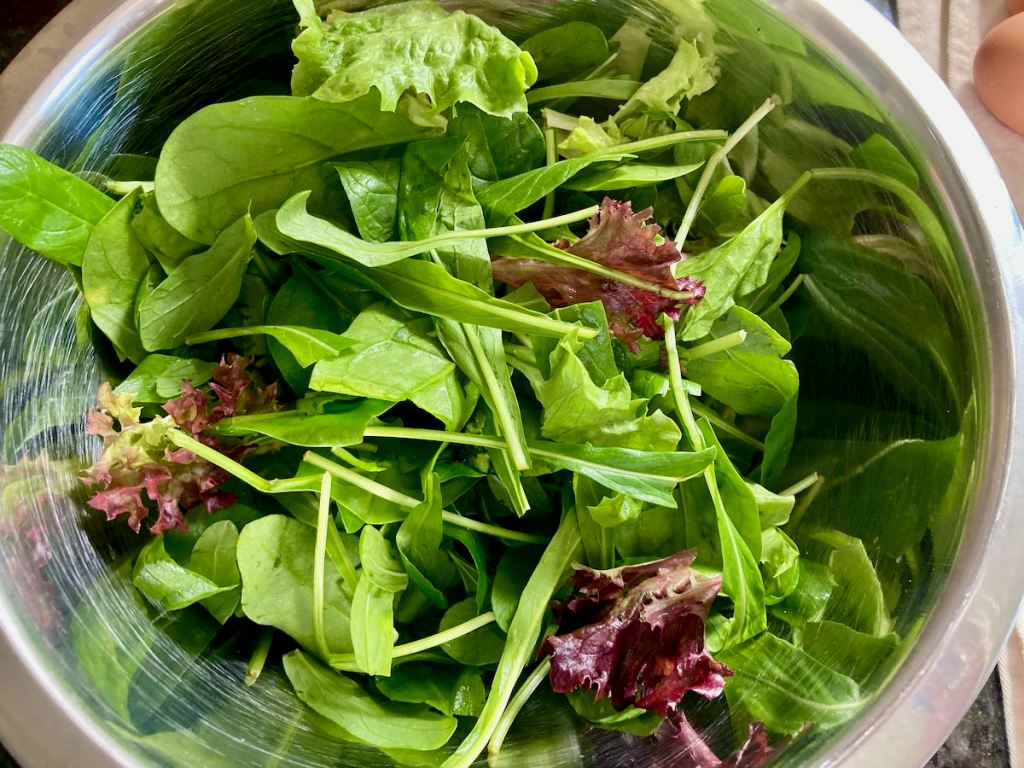
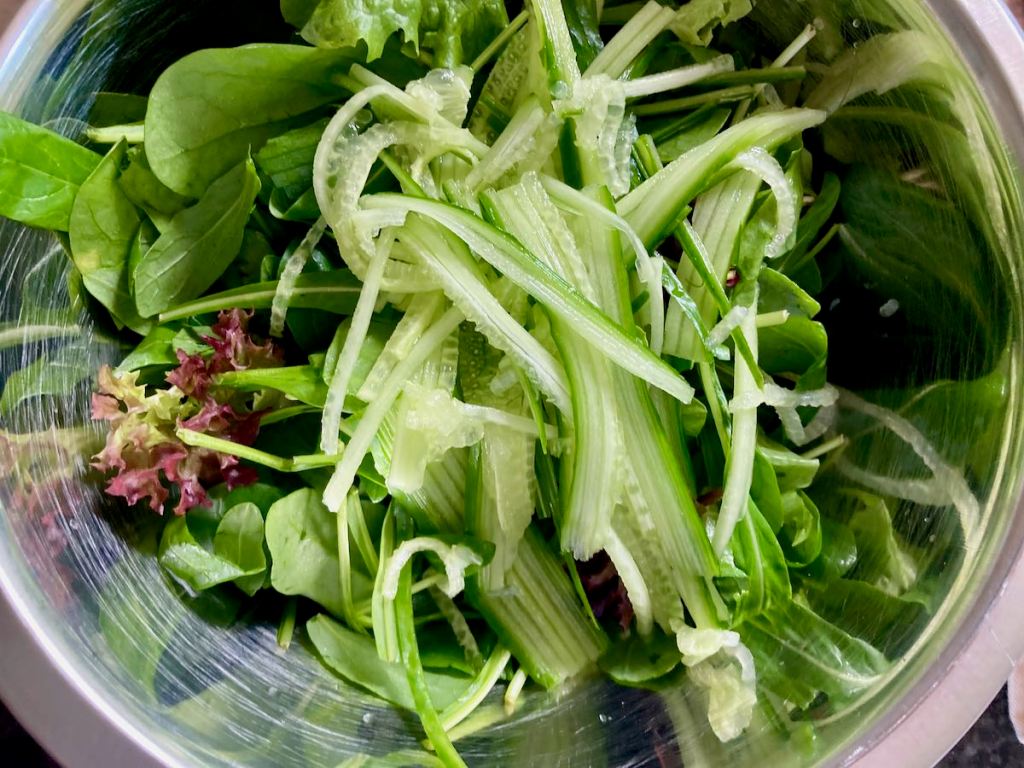
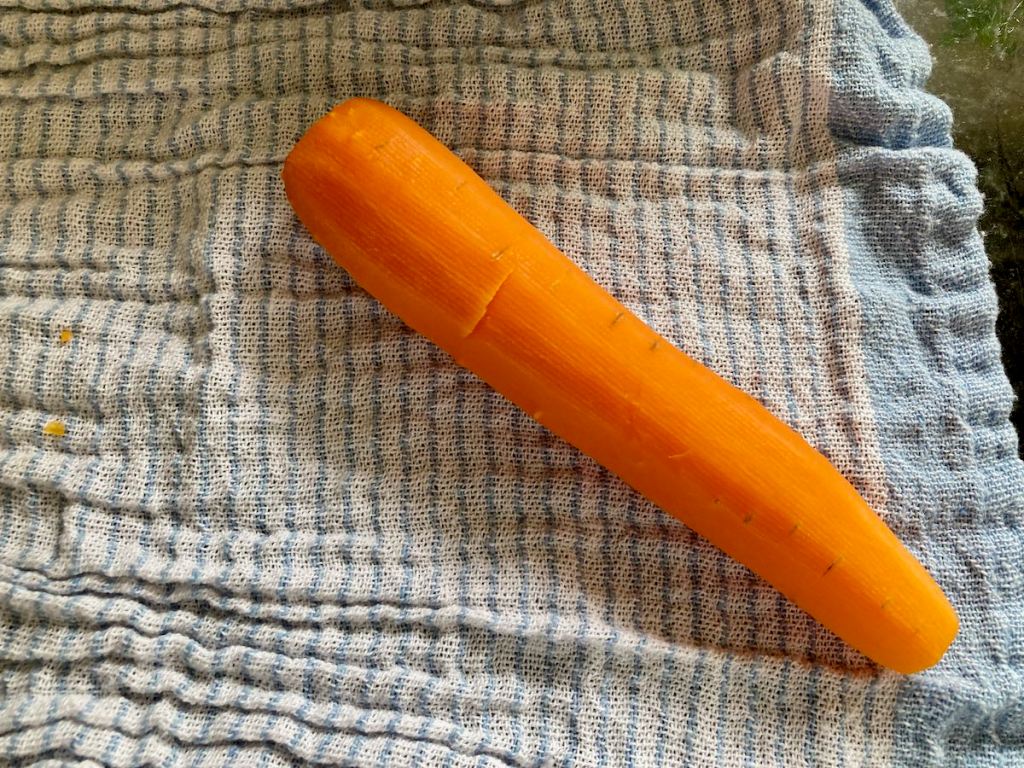
- 1 head cabbage, cut into strips
- 3 tbsp. Sesame oil
- salt and pepper
- 2 garlic cloves, minced
- 250g mozzarella cheese
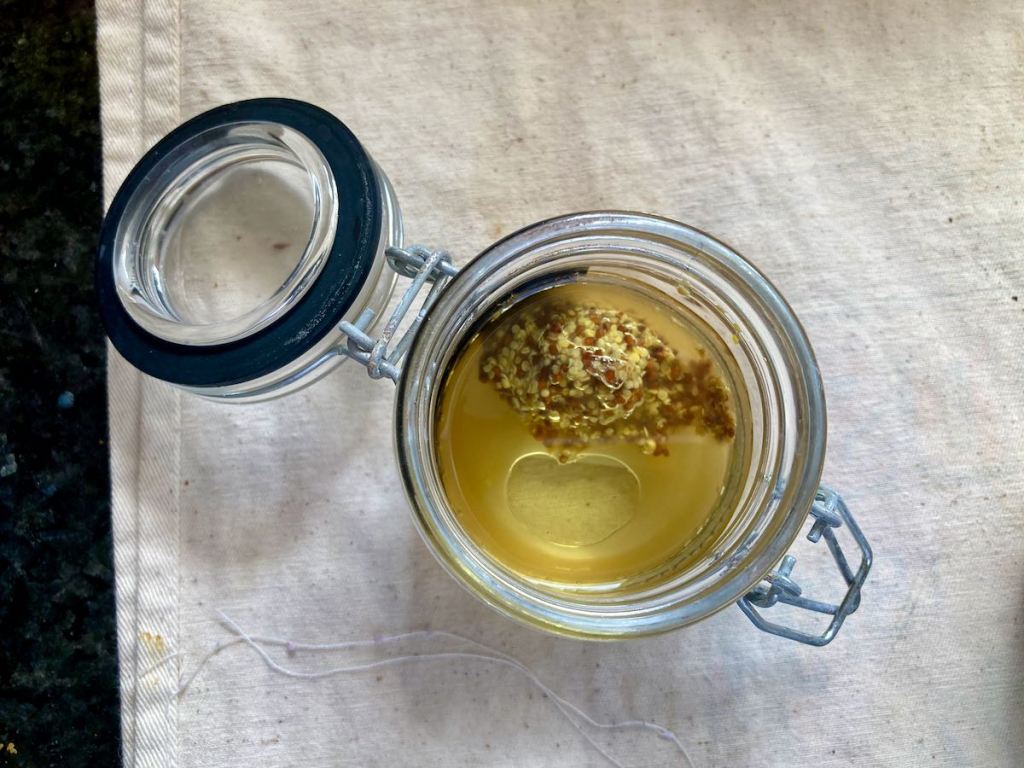
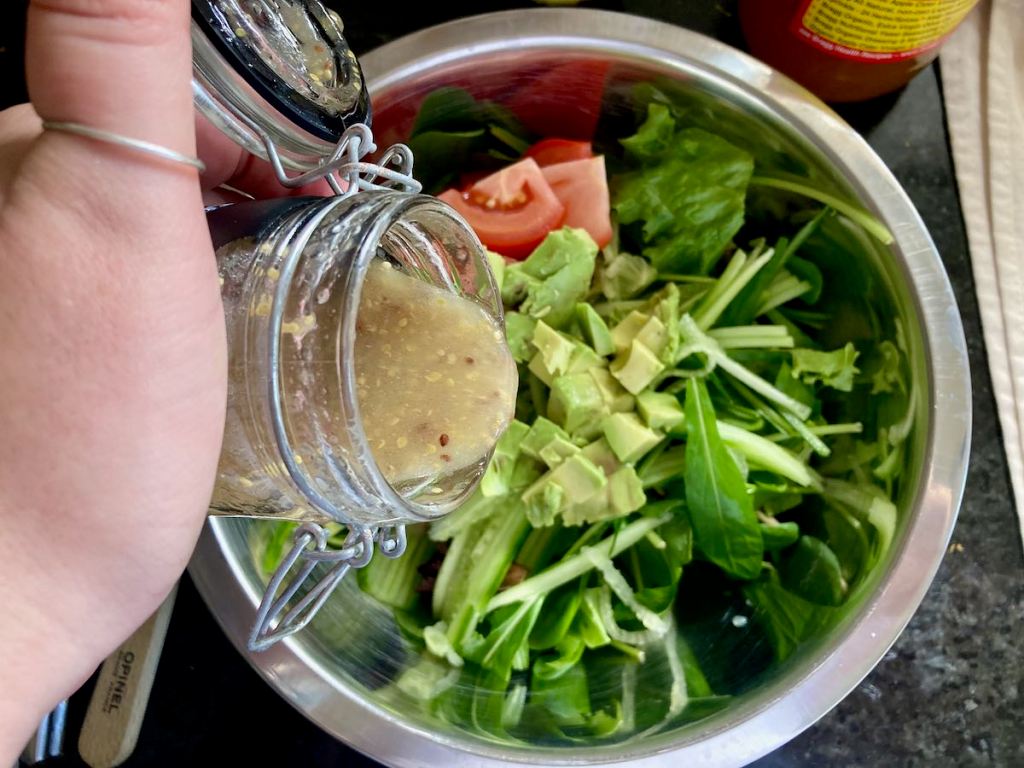
- 3/4 cup thousand Island dressing
Instructions
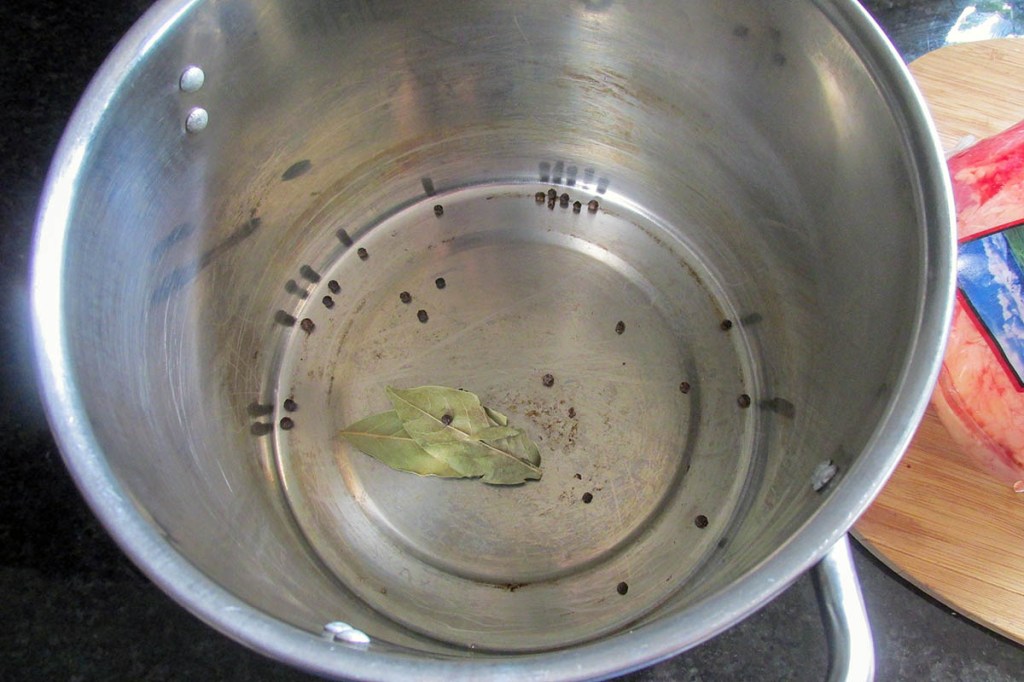
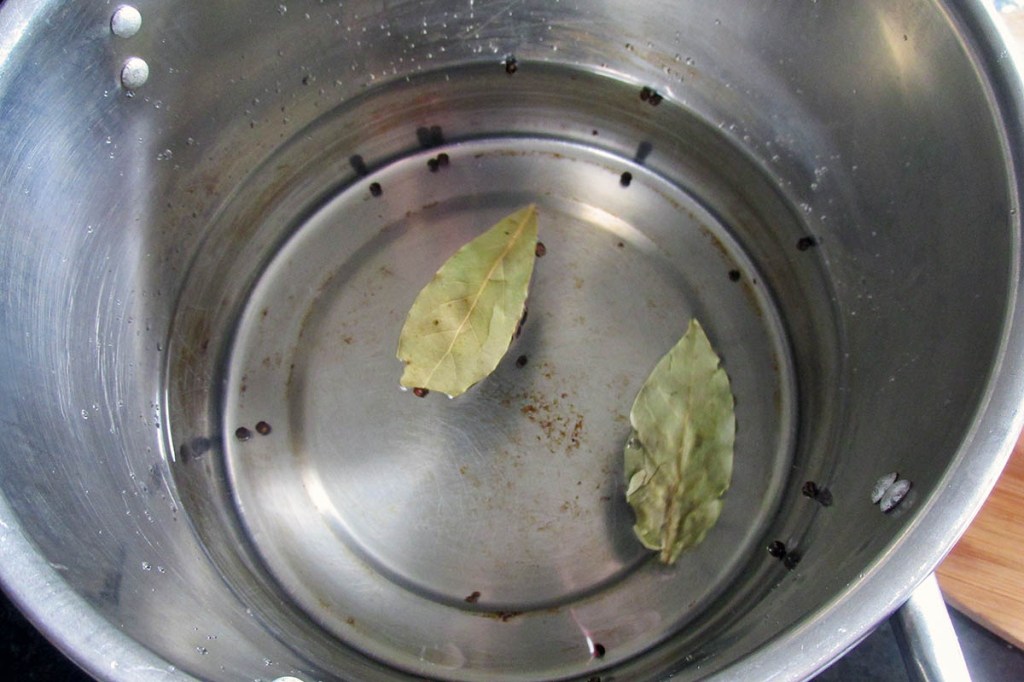
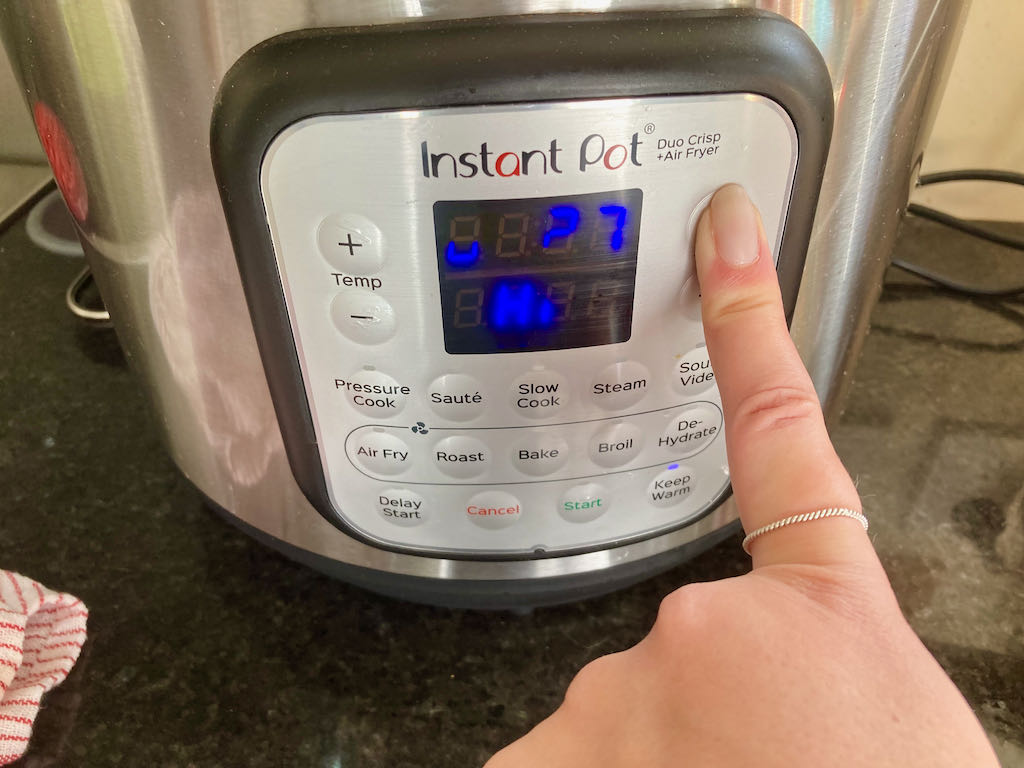
Cook your corned beef, you can check out my recipe for corned beef.


Take a large pot and place it over a medium heat.
Heat a little of the sesame oil and sauté the cabbage in batches with some of the garlic.


Take care not to burn the garlic while the cabbage is cooking.

Season the cabbage as it is cooking.
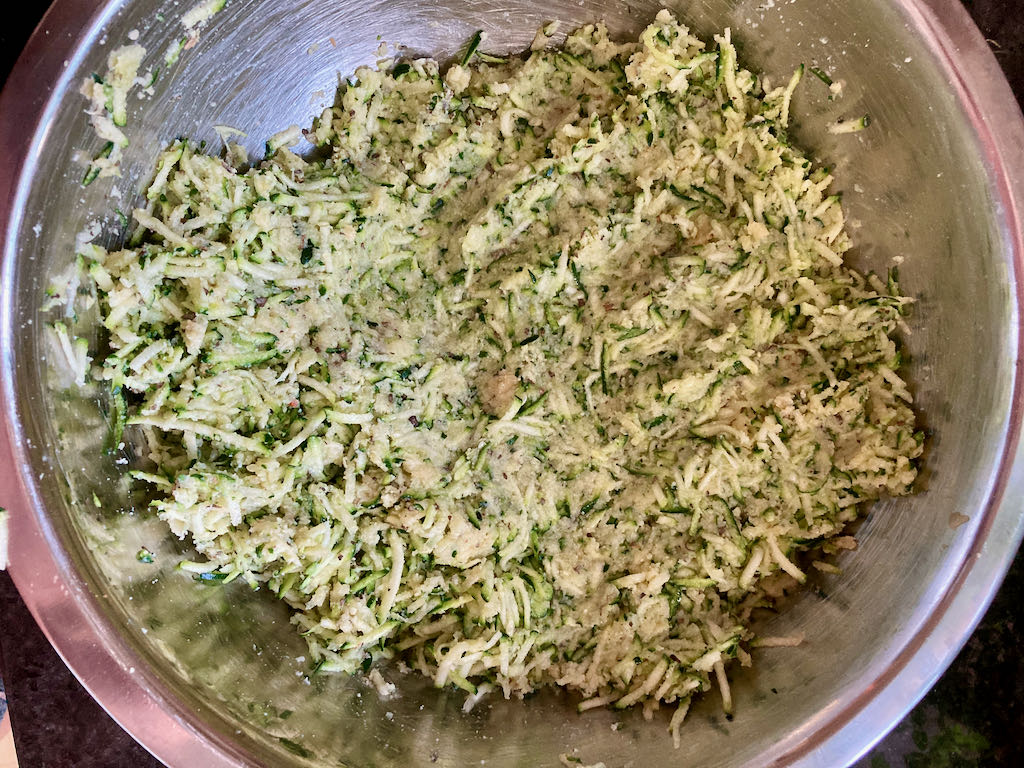
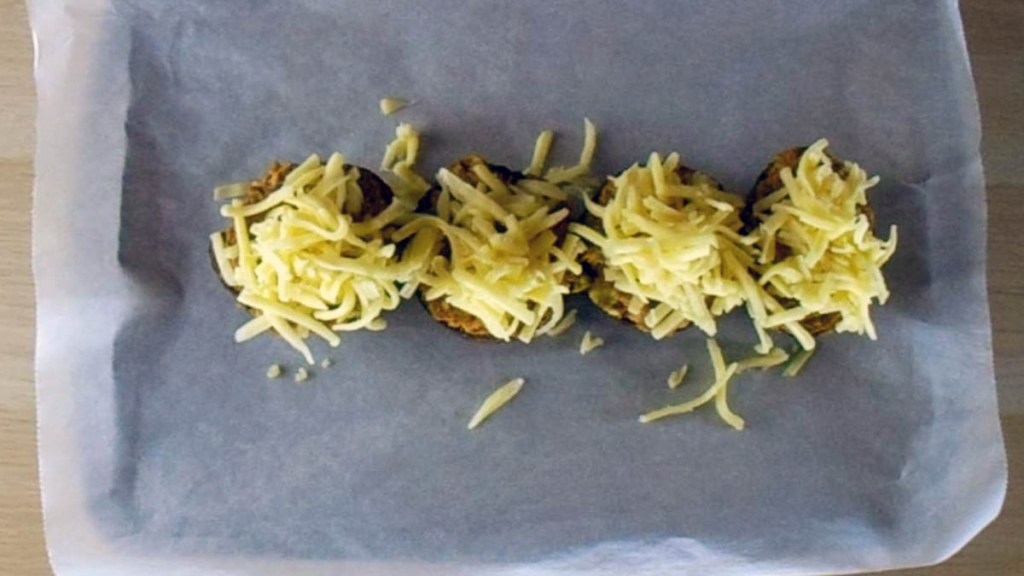
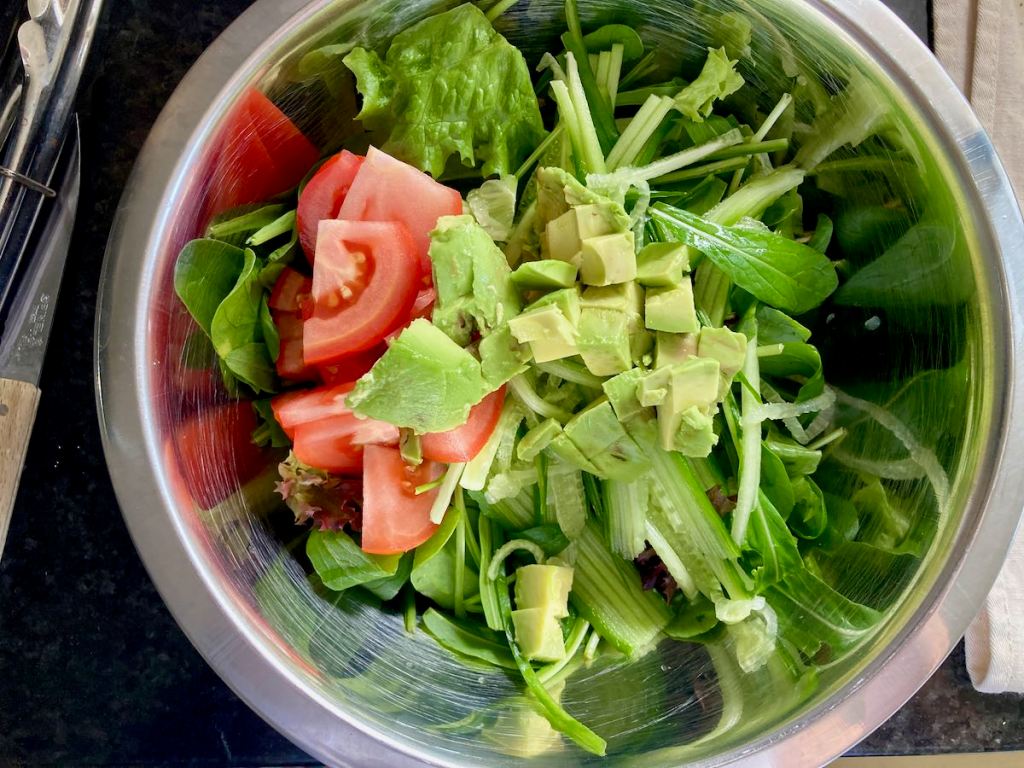
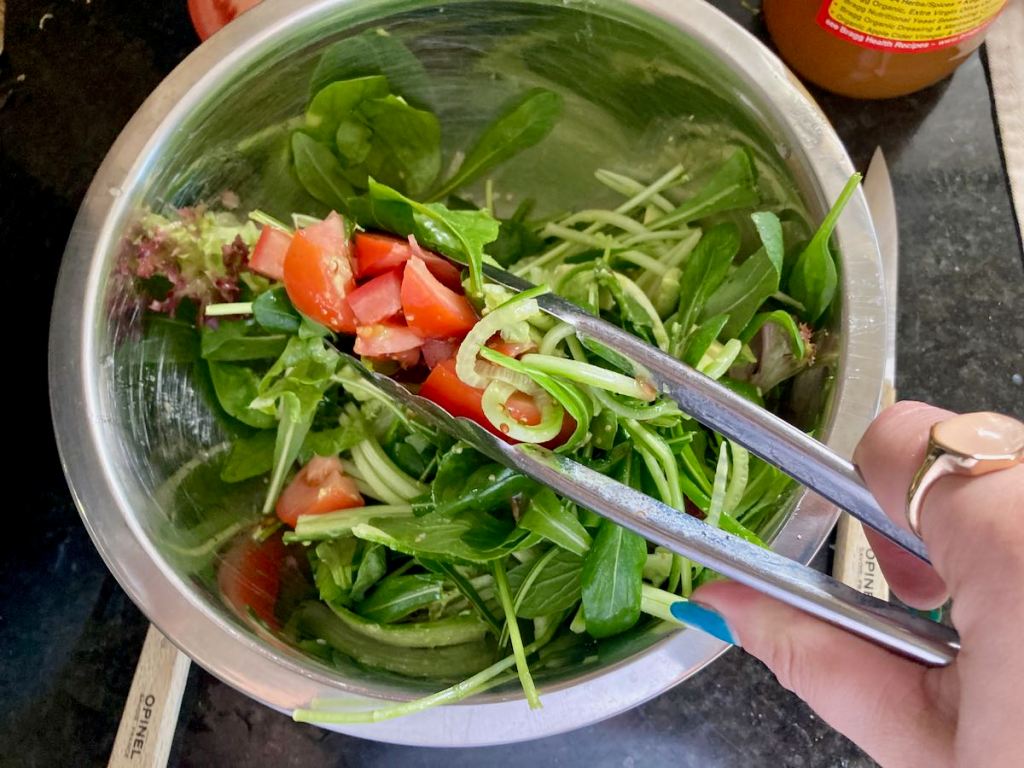
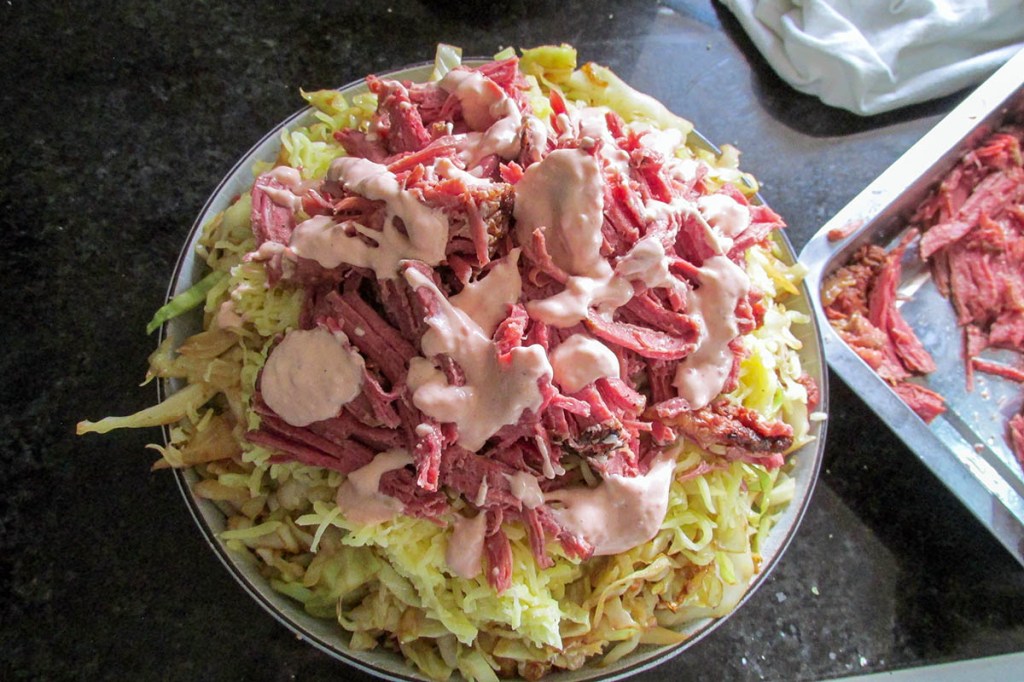
Place the sautéed cabbage in a large bowl and sprinkle over half of the cheese.
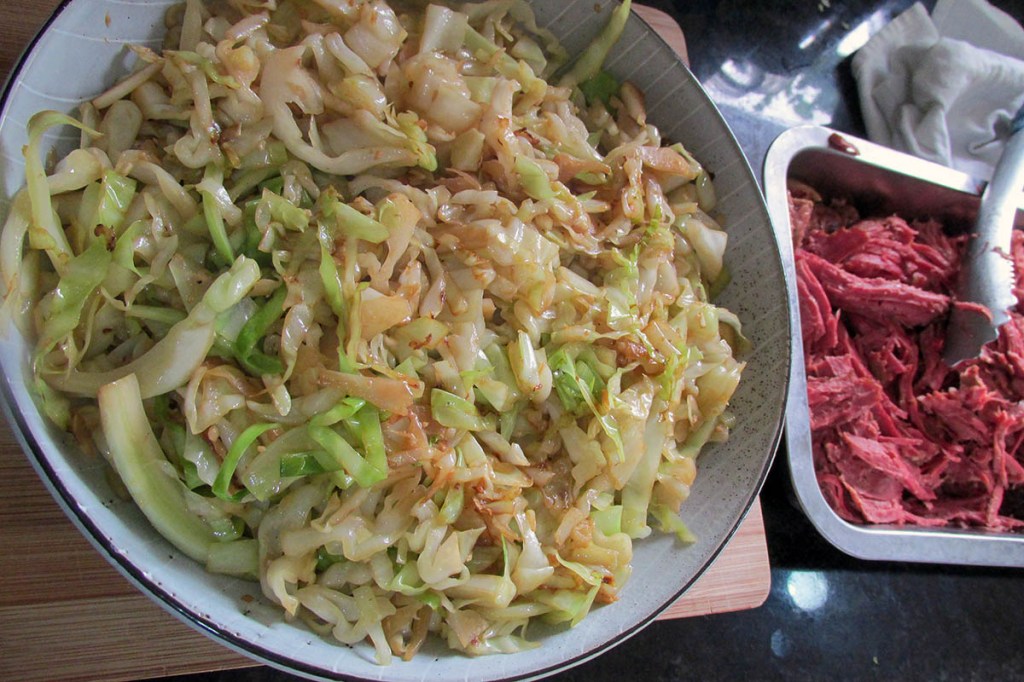

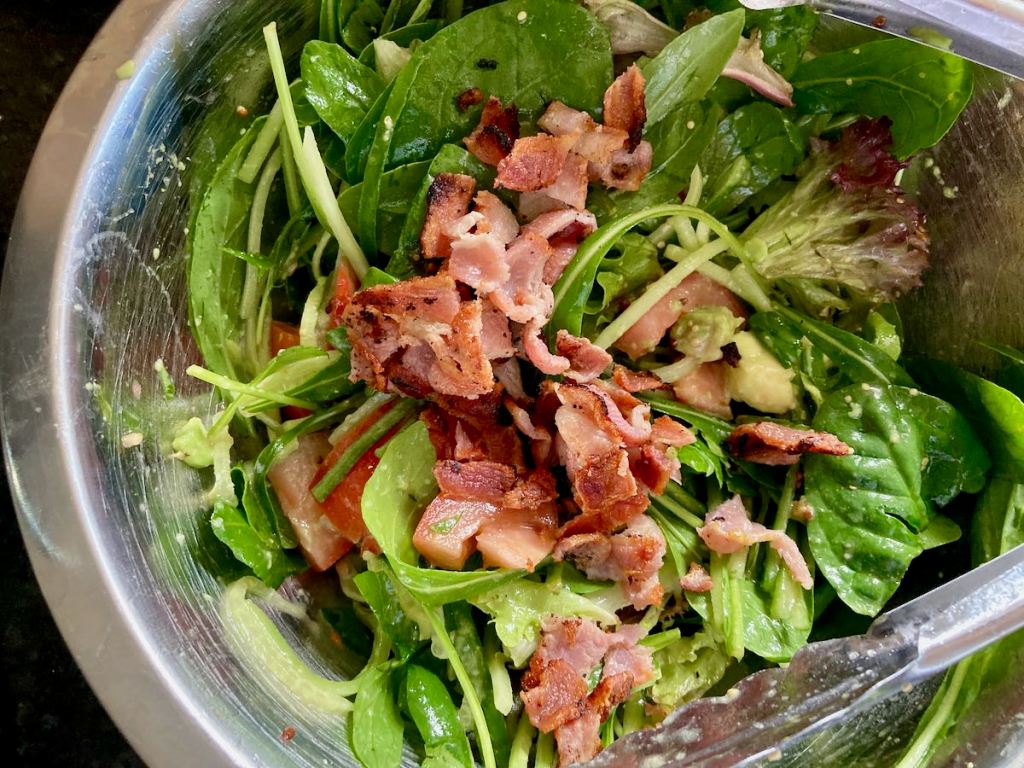
Spread the corned beef on top of the cabbage and top with the remaining cheese.

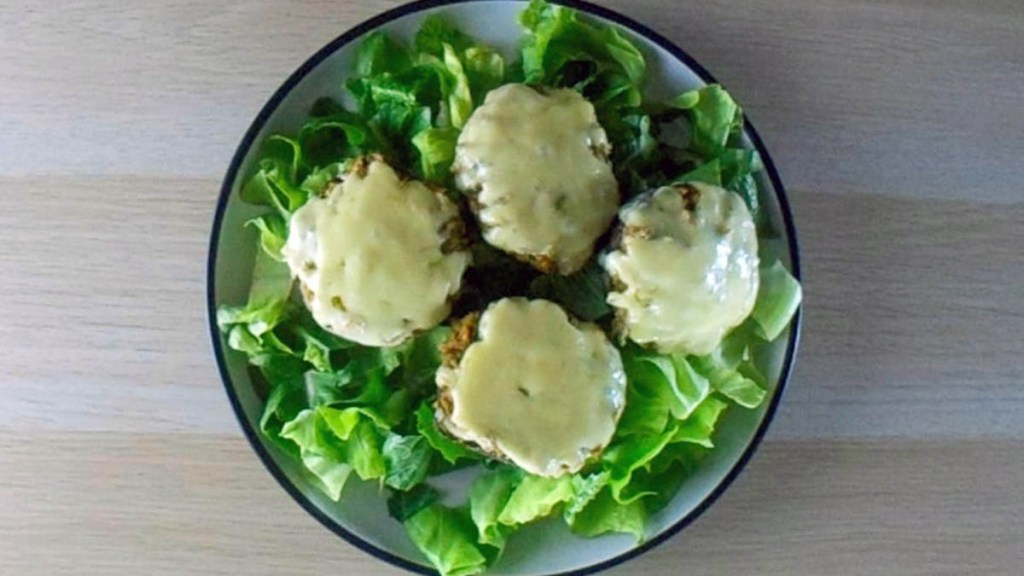
Drizzle with dressing, then serve.
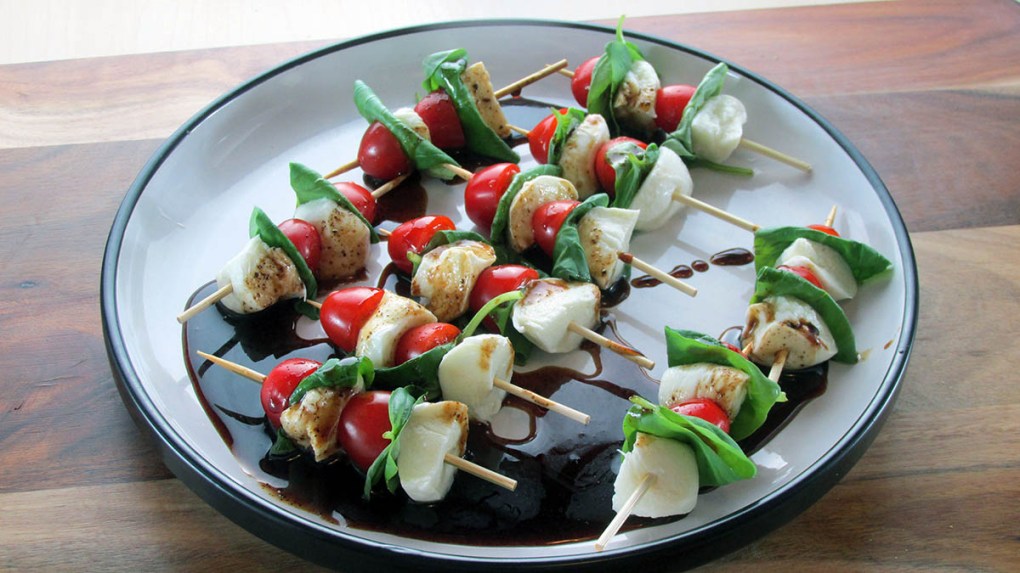
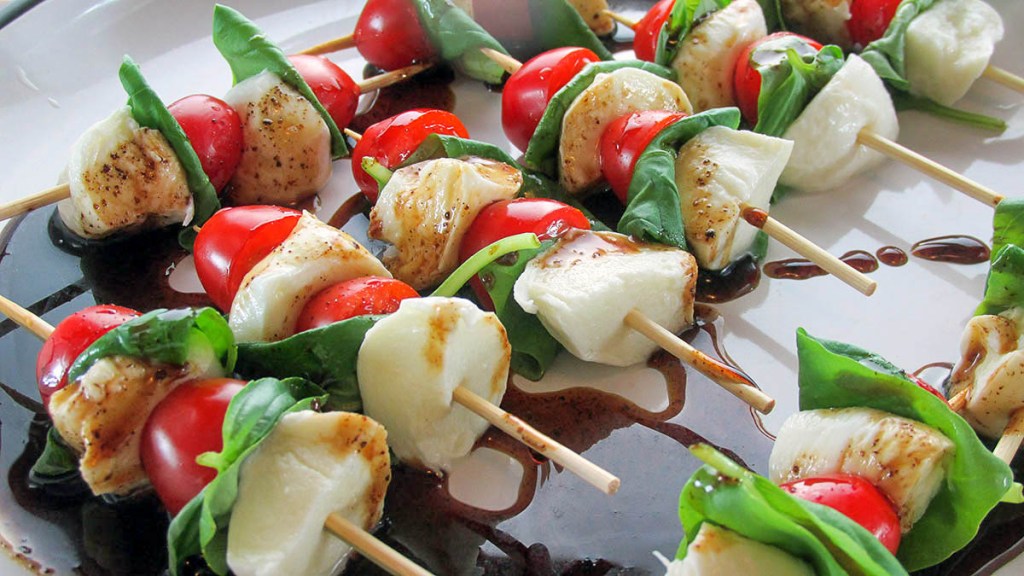
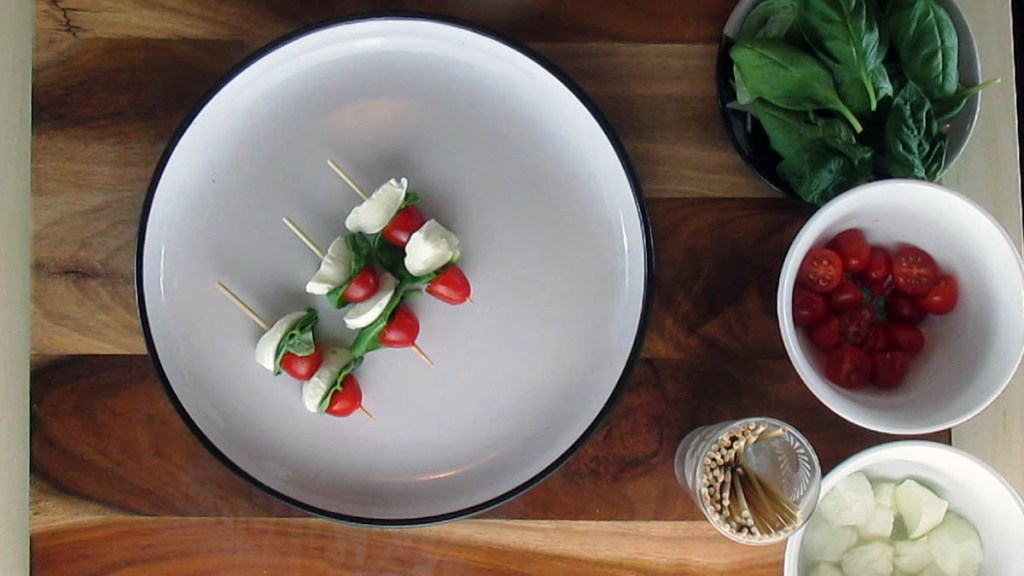
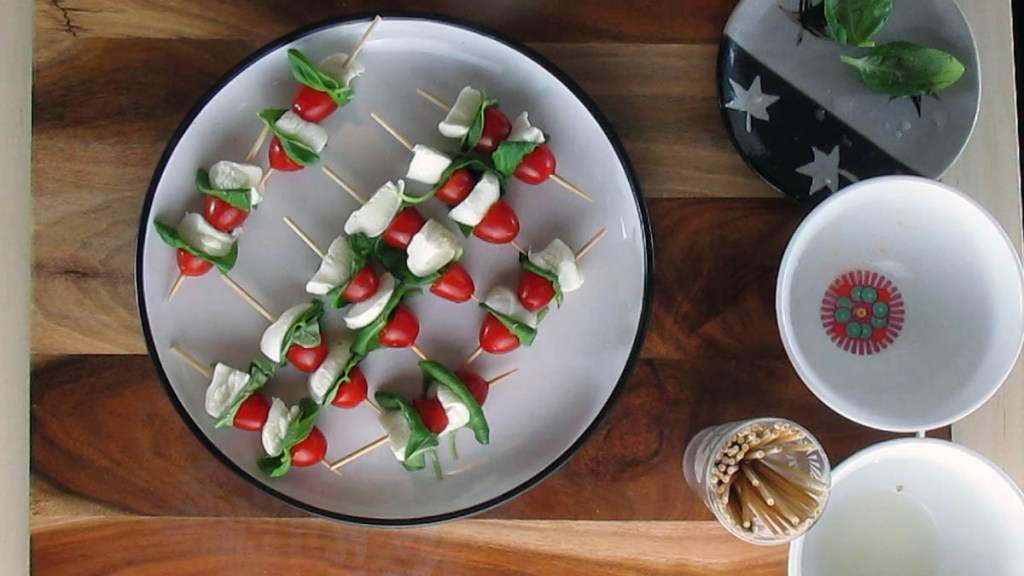
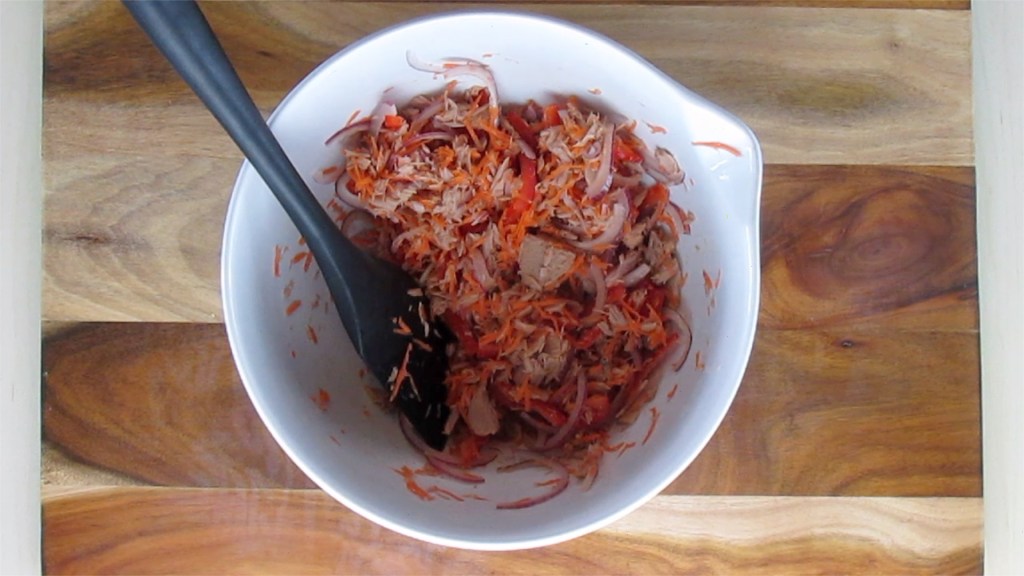
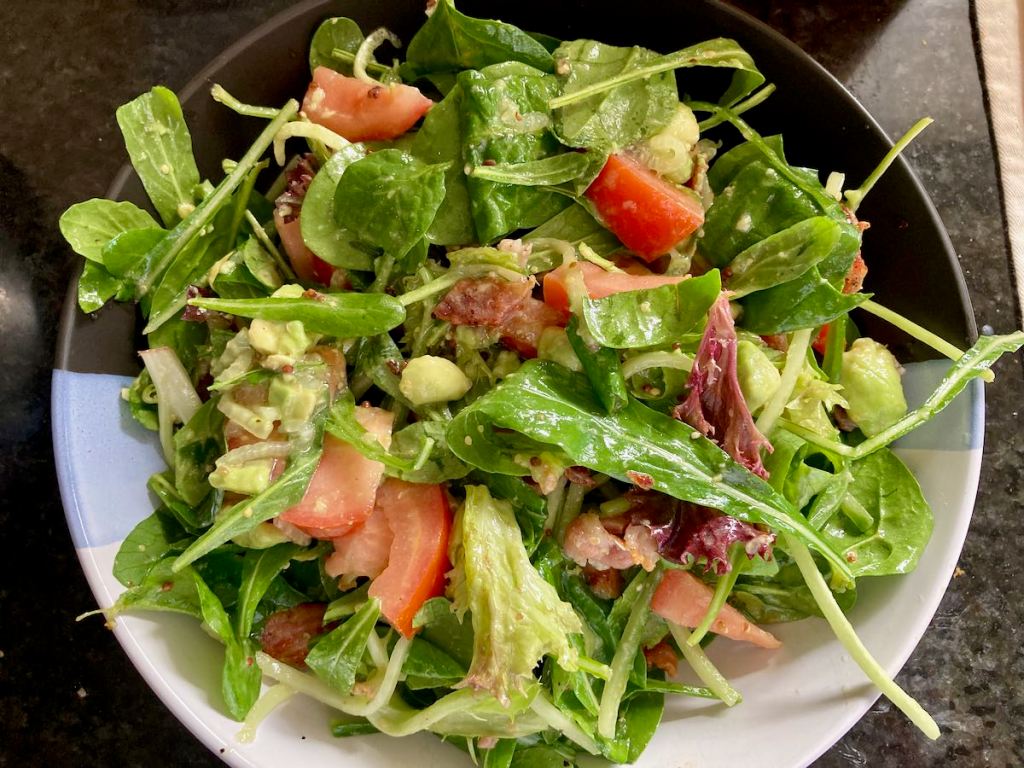
“Reuben
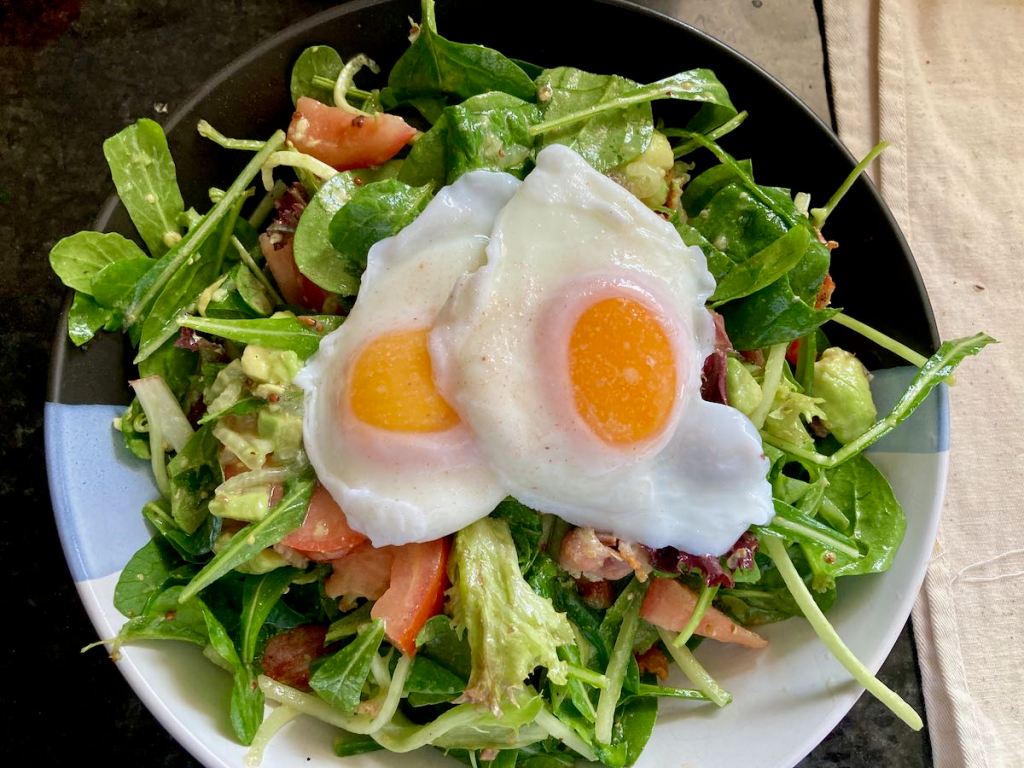
“Another
Credit: Cath @ easycleaneats
Ingredients
- 1kg corned beef, cooked
- 1 head cabbage, cut into strips
- 3 tbsp. Sesame oil
- salt and pepper
- 2 garlic cloves, minced
- 250g mozzarella cheese
- 3/4 cup thousand Island dressing
Directions
- Take a large pot and place it over a medium heat.
- Heat a little of the sesame oil and sauté the cabbage in batches with some of the garlic.
- Take care not to burn the garlic while the cabbage is cooking.
- Season the cabbage as it is cooking.
- Place the sautéed cabbage in a large bowl and sprinkle over half of the cheese.
- Spread the corned beef on top of the cabbage and top with the remaining cheese.
- Drizzle with dressing, then serve.
Nutrition
Per Serving: 424 calories; 19g fat; 20g carbohydrates; 26g proteinEquipment
- Knife
- Chopping board
- Measuring cups
- Measuring spoons
- Kitchen scale
- Large pan
- Tongs
Nutritional disclaimer
Nutrition information is provided as an estimate based on the ingredients used and available in my area (New Zealand). The nutritional information is here to help you understand the recipe; I use MyFitnessPal to generate my estimates. For more accurate nutritional information, please use a nutritional calculator with the ingredients in your area.