Revisiting family favourites
I’ve been revisiting recipes that have been some of my old school recipes and family favourites that were our staples when we got started as clean eaters. I first posted this recipe in 2018; at that time, the kids were still fussy, vegetables had to be hidden and disguised, and there was no potential for intense flavours or spice.
Times (thankfully) have changed, the kids have grown (like man-sized grown), and they now enjoy a wide range of foods. Things like vegetables are enjoyed, spice and chilli are consumed without complaint, and new ingredients are tried without tantrums.
As the kids have grown, my recipes have changes organically to meet their palates and preferences. I’ve updated this recipe because of that, but fear not, the original suitable be kids, and less developed palates is at the bottom of the post.
More spice in my life
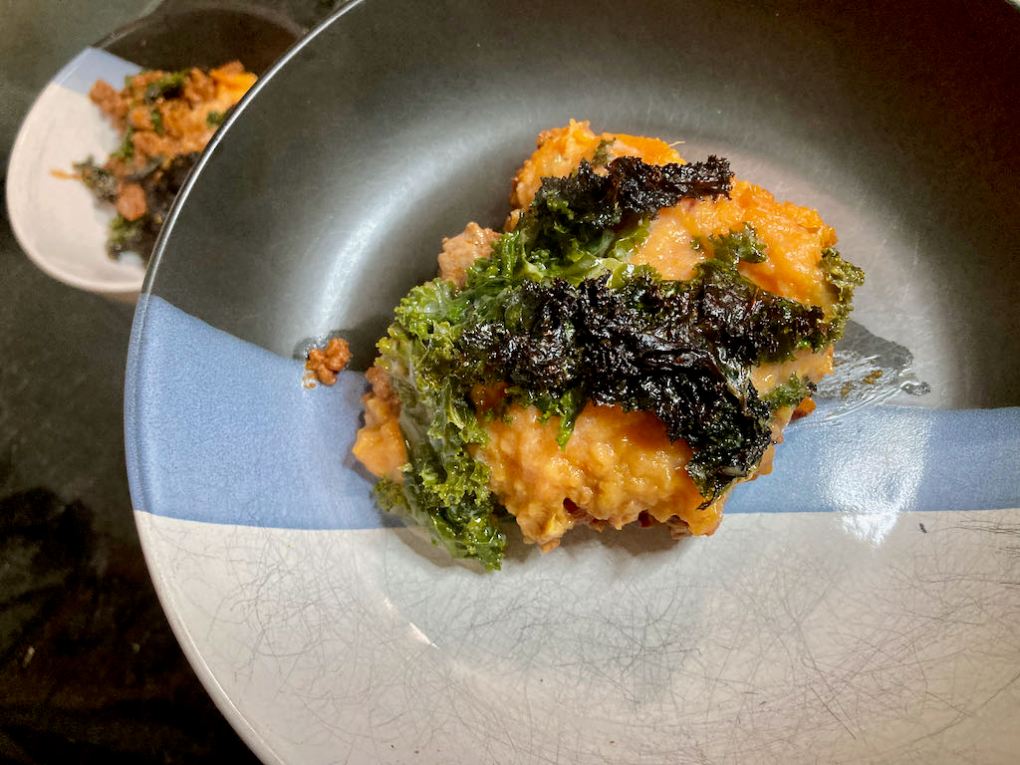
It is no secret I love Mexican food. I like to have and make Mexican inspired meals whenever I get the chance. This recipe is a Mexican-inspired casserole; it brings together spicy beef, creamy sweet potato, and kale. There is nothing like a tasty spicy dinner when the winter weather is setting in at night.
Freezer meal
Hands up if you are busy. Who is way too tired to get in the kitchen to cook at the end of the day? Definitely not me.
My days are filled with meetings, to-do lists, emails and telling people what to do, #ProjectManagerLife. By the time I finish work, the last thing I want to do is get stuck into cooking a meal and then cleaning up afterwards. I want to work out and spend some time with Jaime. That is why freezer meals are my favourite solutions to the challenge of a busy life. A few hours on the weekend, and you find yourself with a stack of options for dinner that can be thawed and cooked for a healthy, delicious meal for the family. This is one of my favourite freezer meals.
Mexican casserole recipe

Ingredients
- 1kg minced beef
- 3 tbsp. Avocado oil
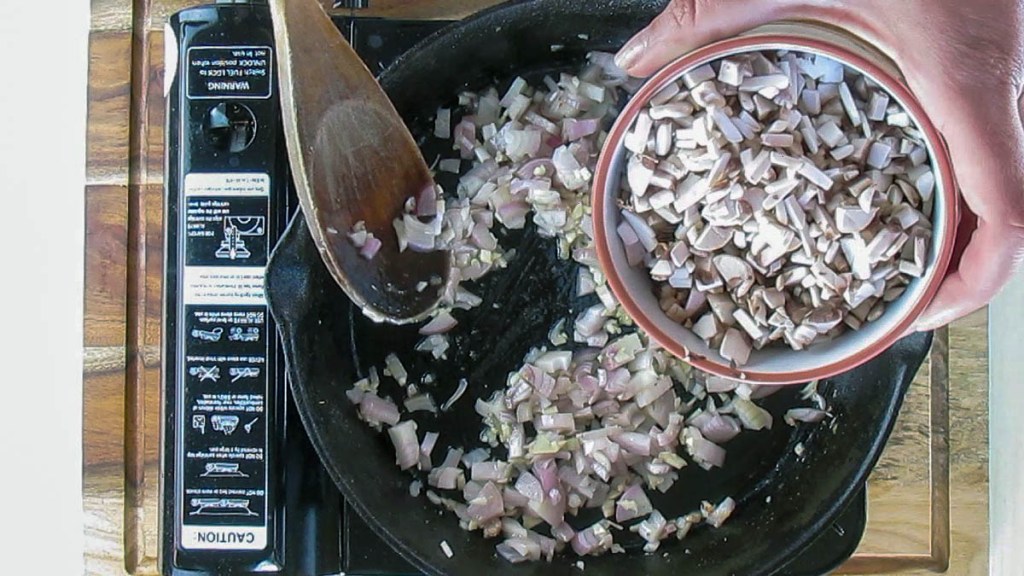
- 1 onion, finely chopped
- 3 garlic cloves, chopped
- 400g chopped tomatoes
- 3 tbsp. hot paprika
- 1 tsp. ground cumin
- 1 tsp. ground coriander
- 4 tsp. chilli flakes
- Salt and pepper
- 700g sweet potatoes, chopped
- 1 cup coconut milk
- 900g kale, chopped

Preheat the oven to 180 degrees C/ 350 degrees F.
Grease a baking dish with one tablespoon of avocado oil and put the dish to one side.
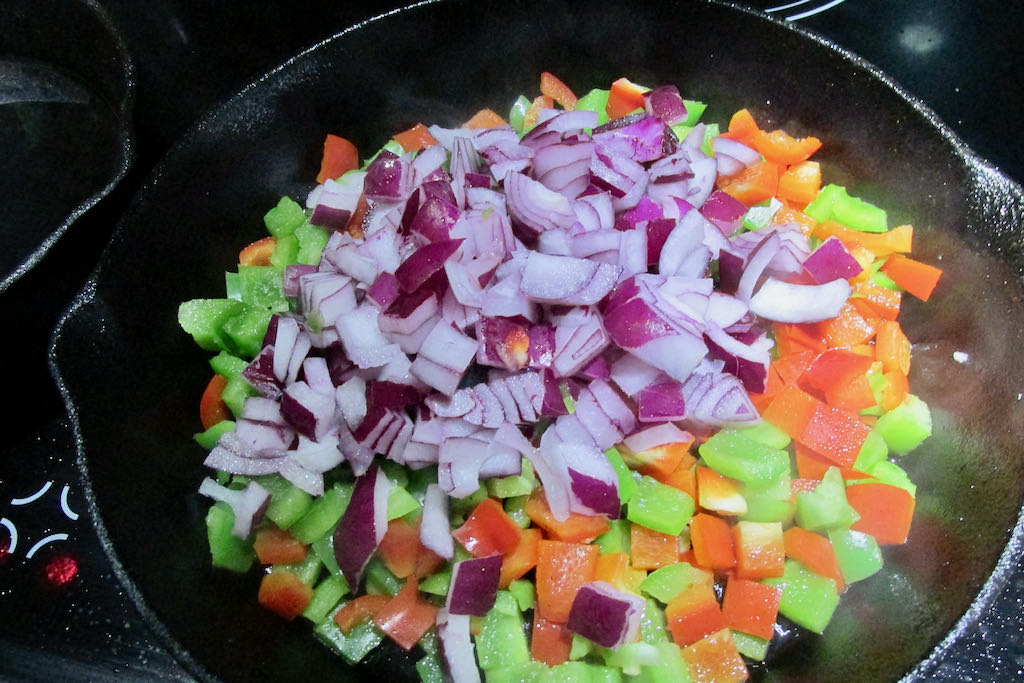
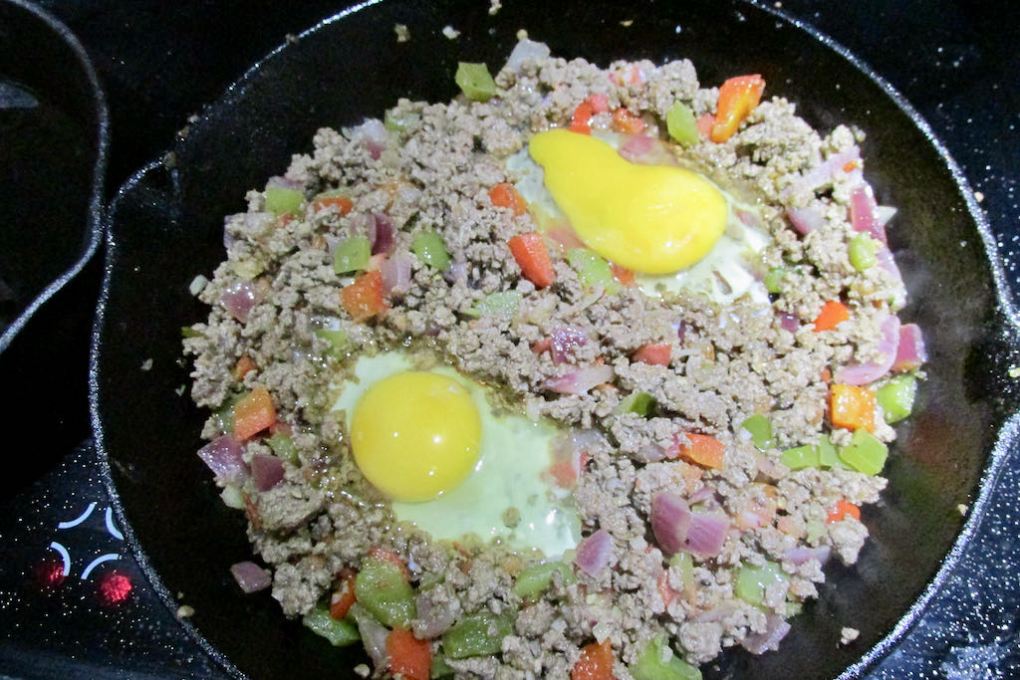
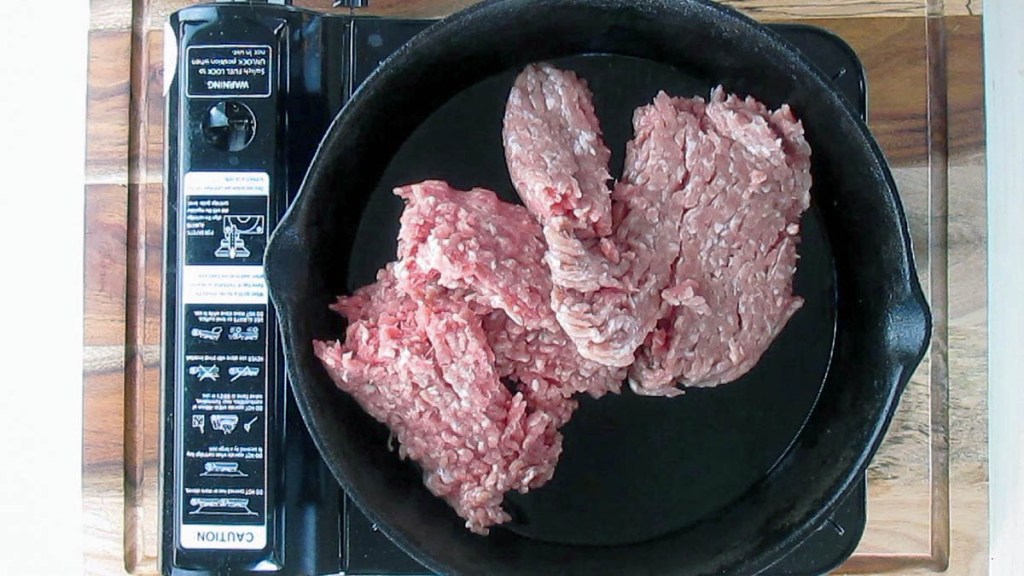
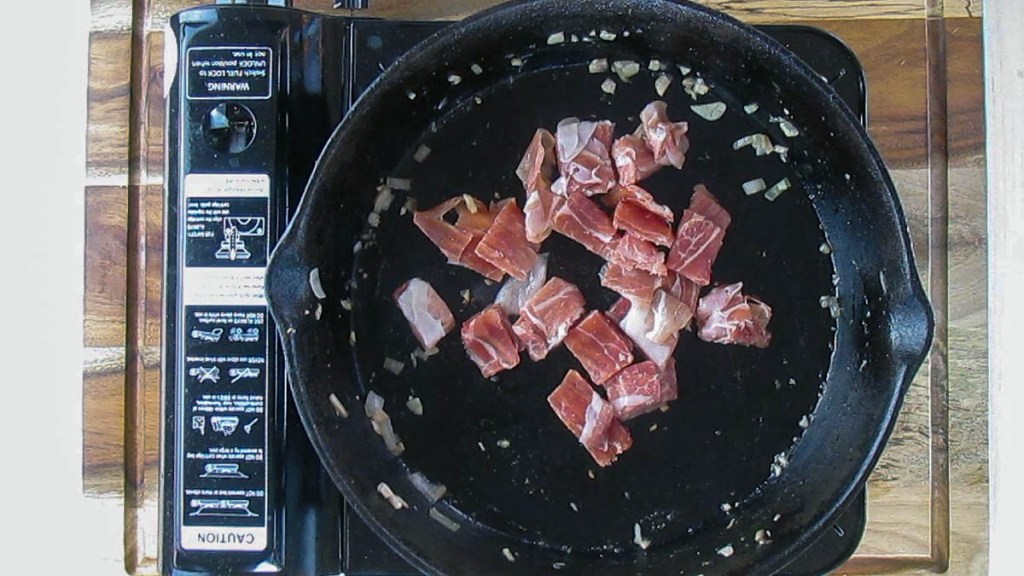
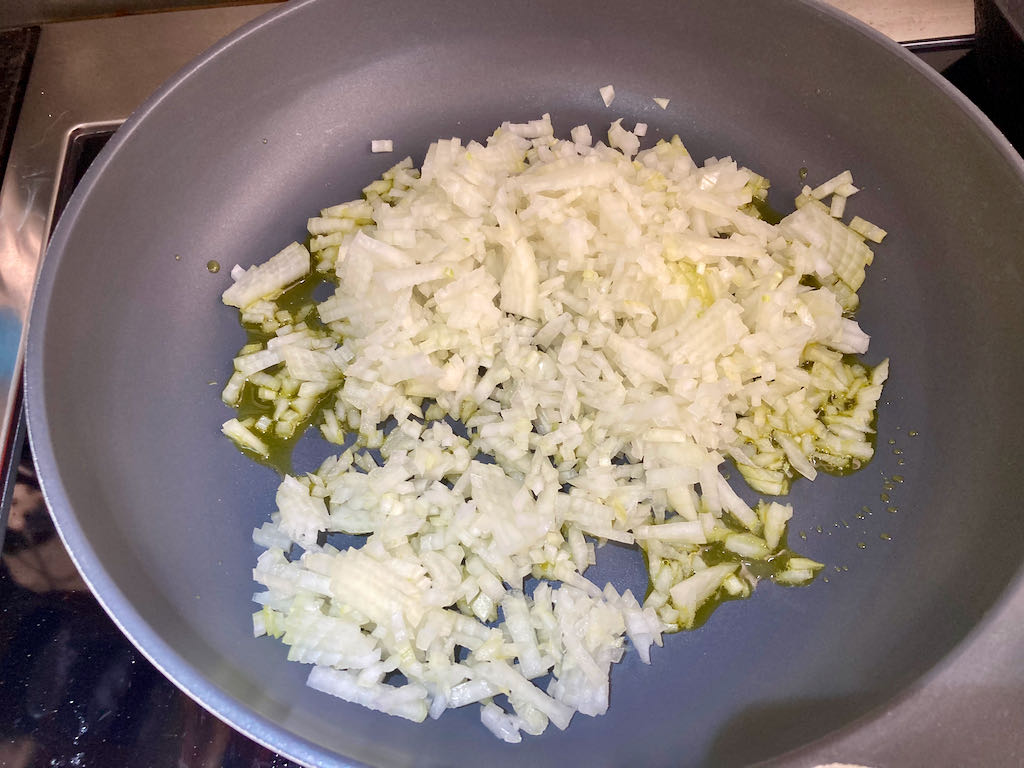
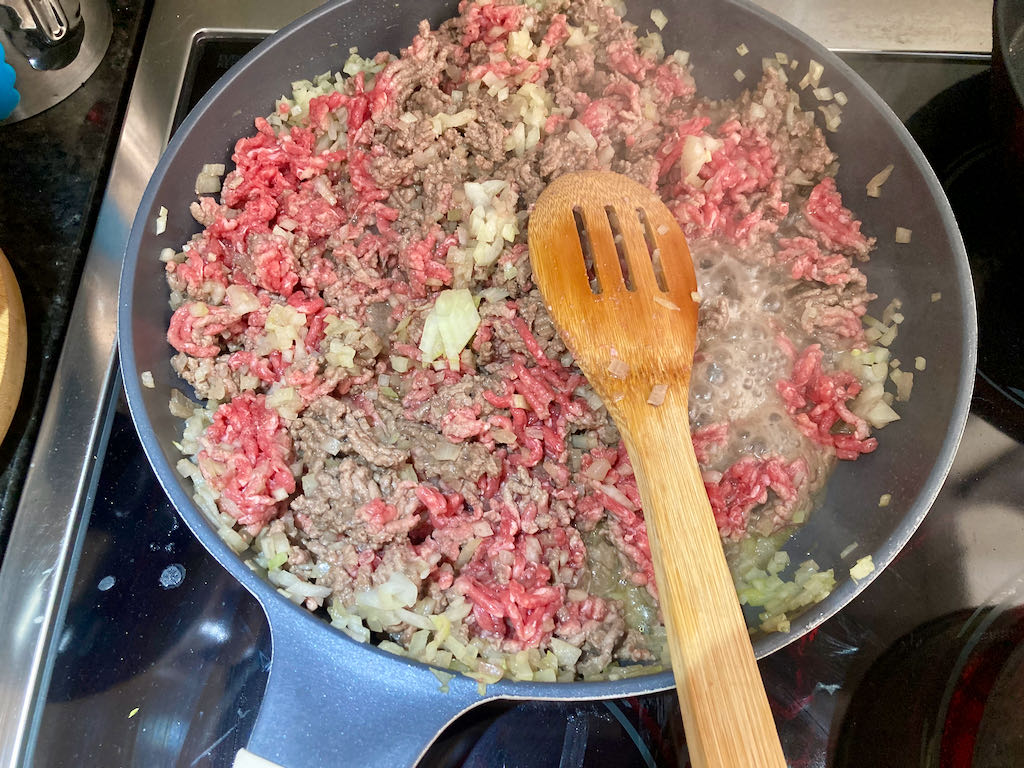
Take a large frying pan over a medium heat and add the remaining avocado oil to the pan.
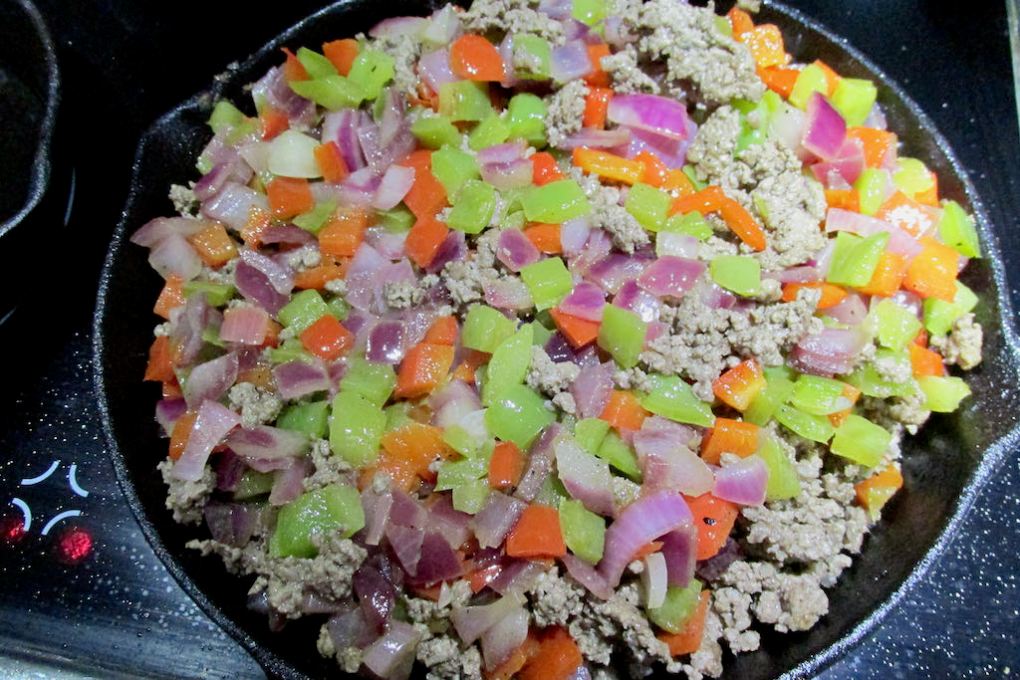
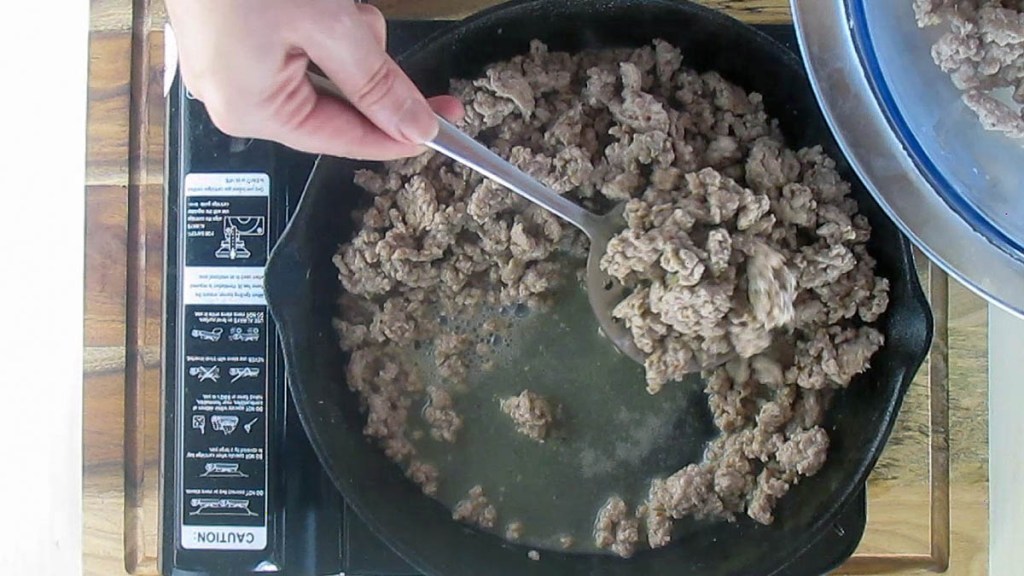
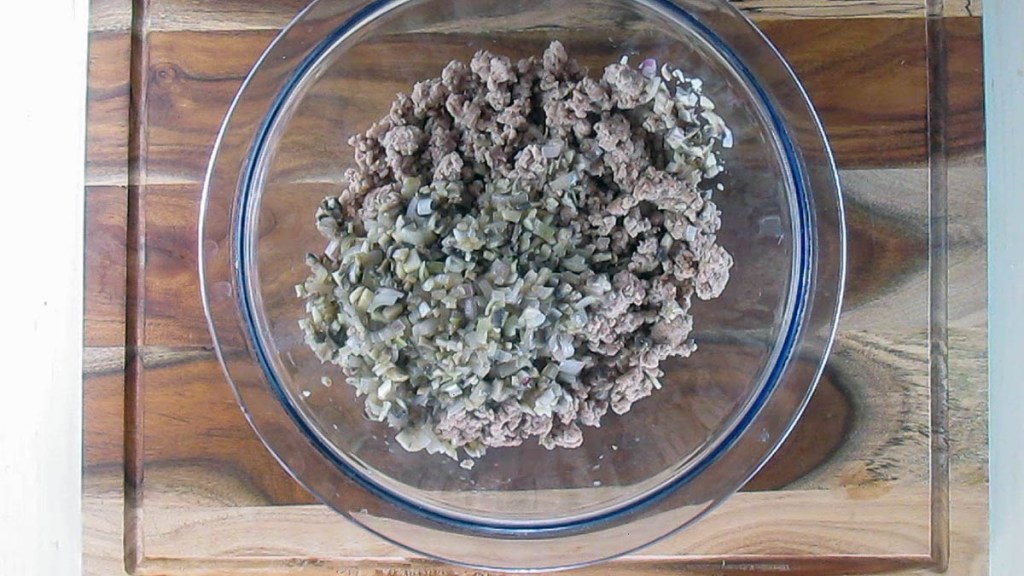
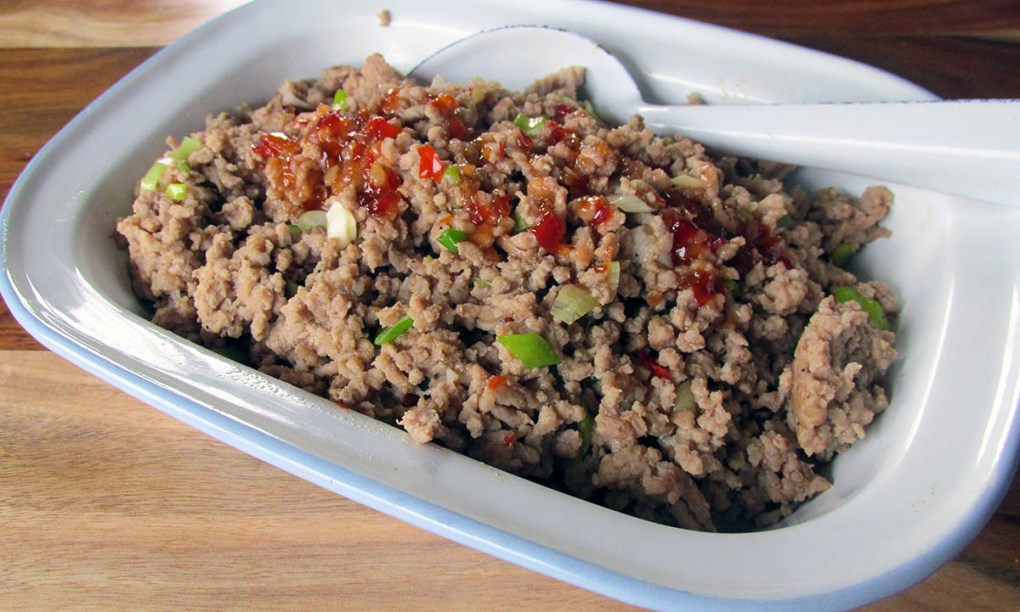
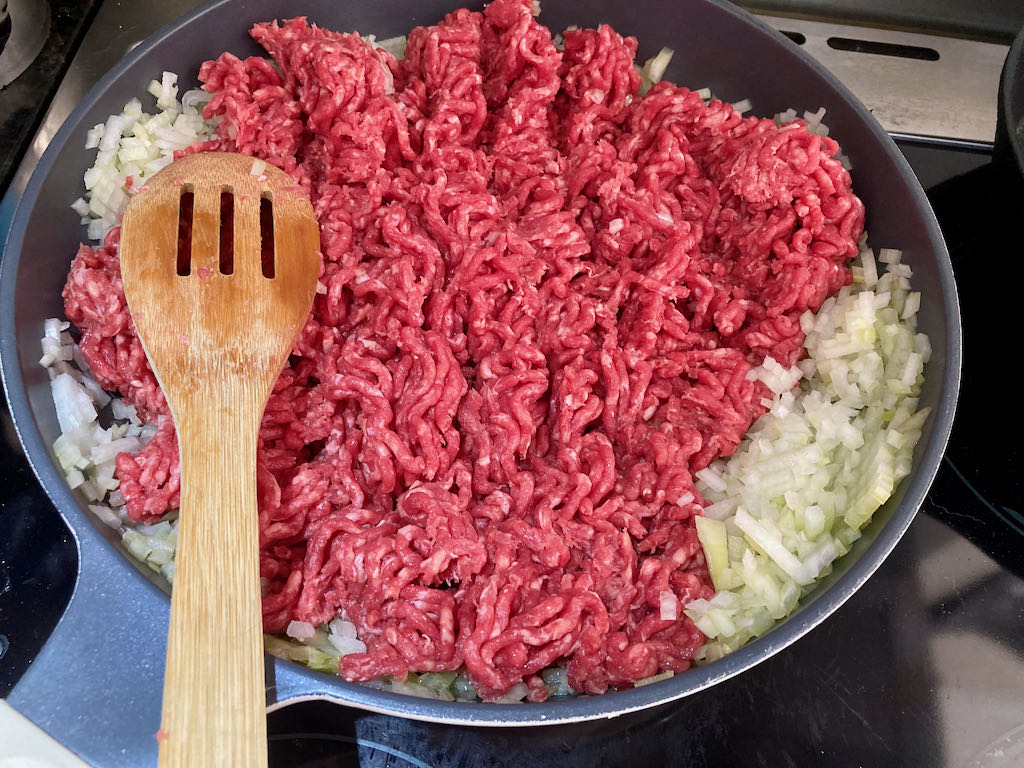
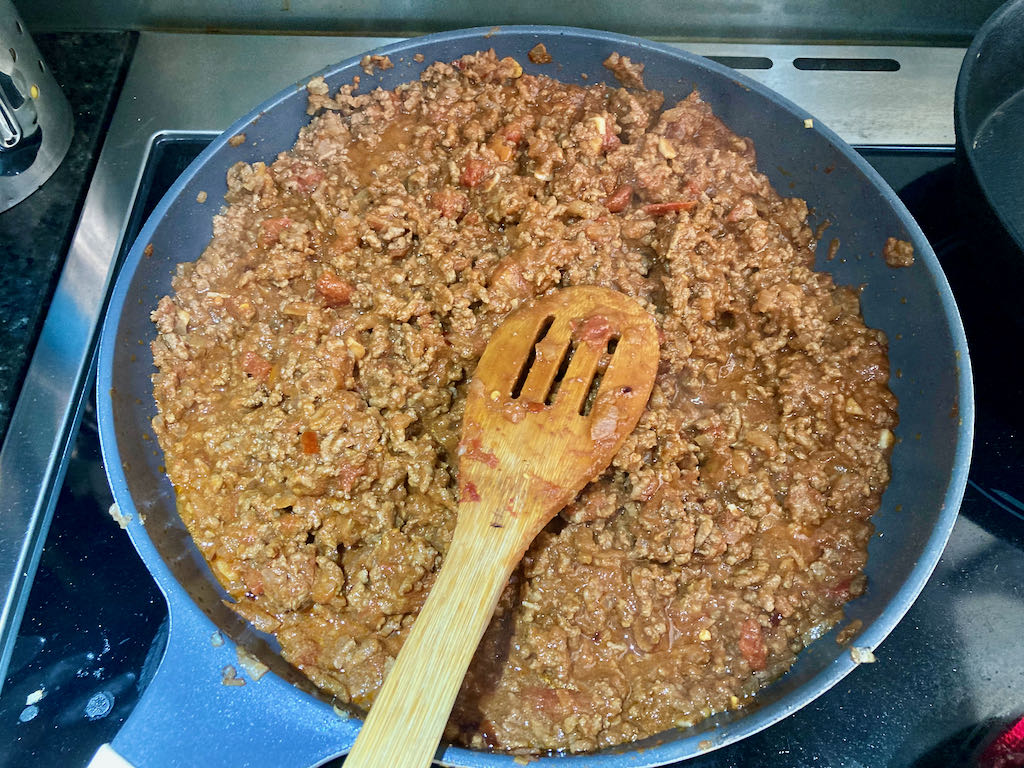
Add the onions and minced beef to the pan and cook until the meat has browned.

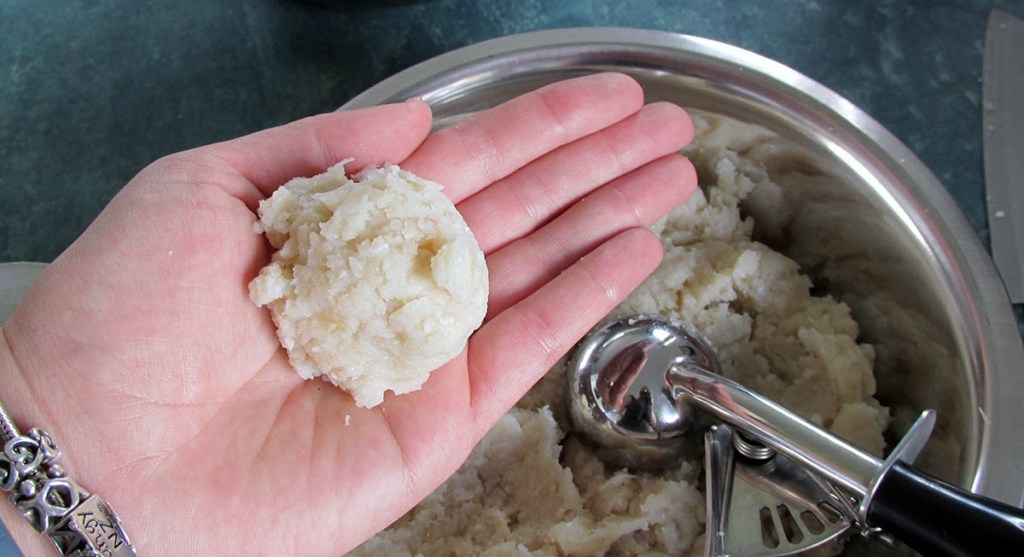
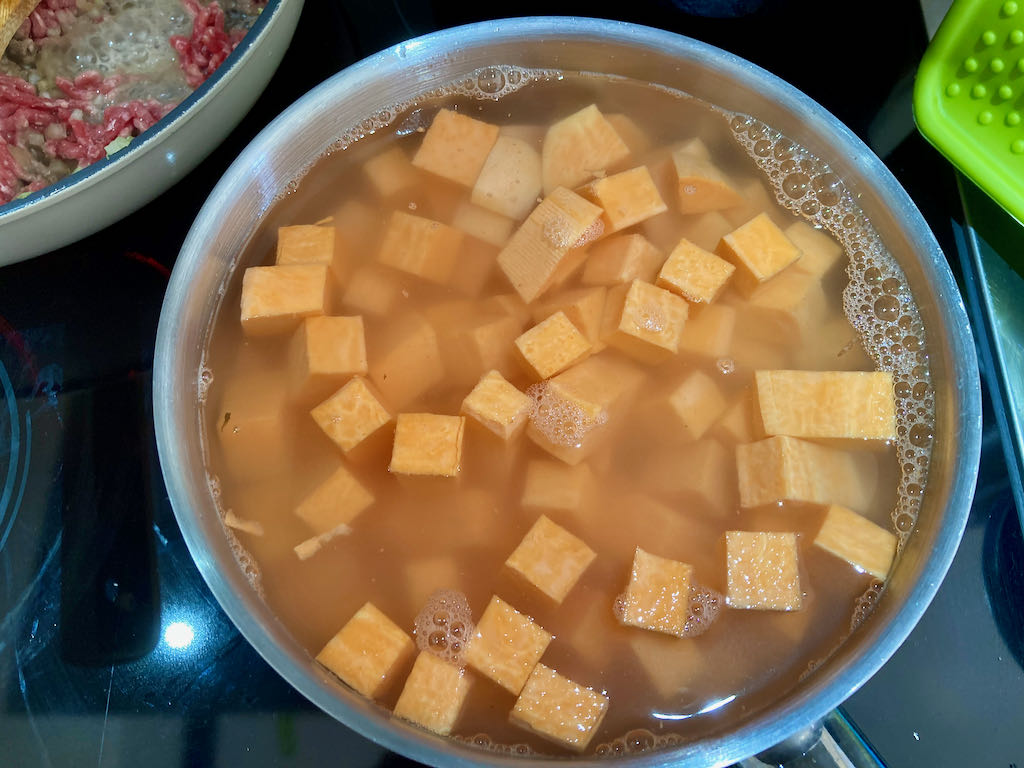
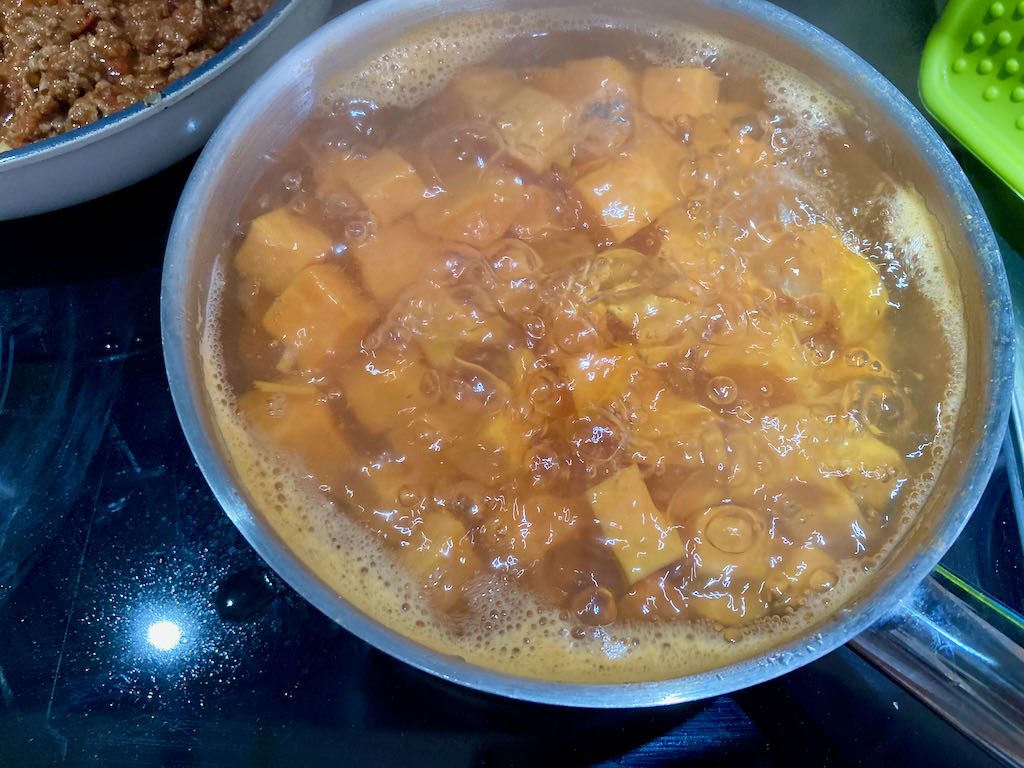
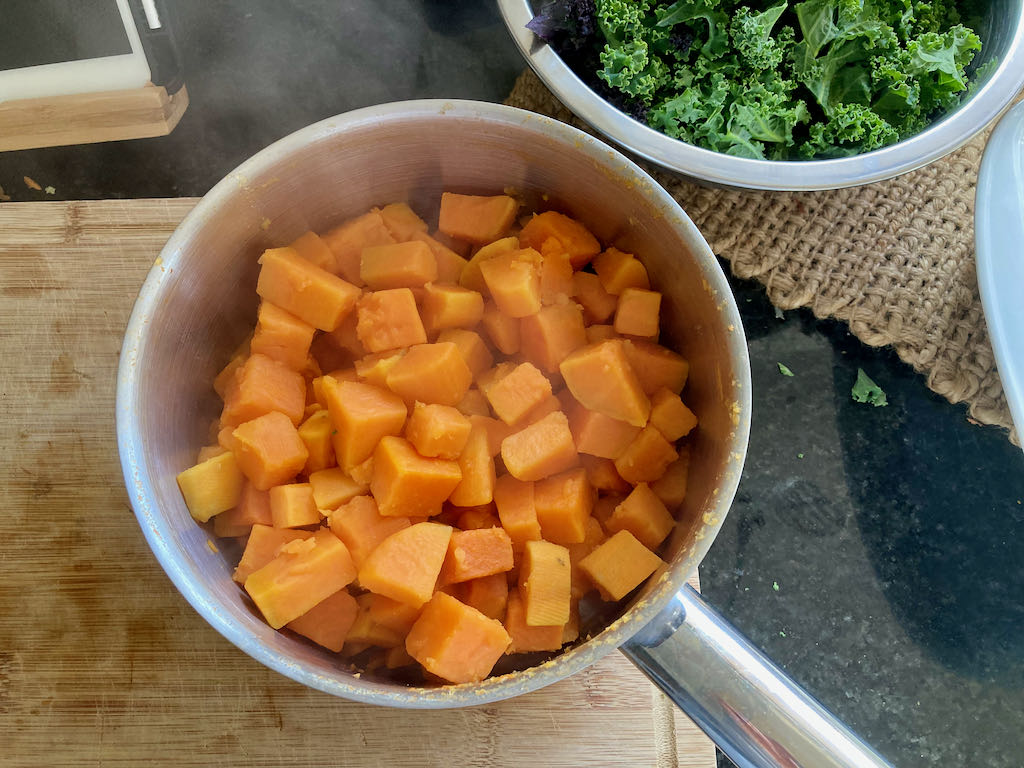
While the beef is cooking put the sweet potatoes into a saucepan with enough hot water to cover them.

Boil the sweet potatoes for 10 minutes.

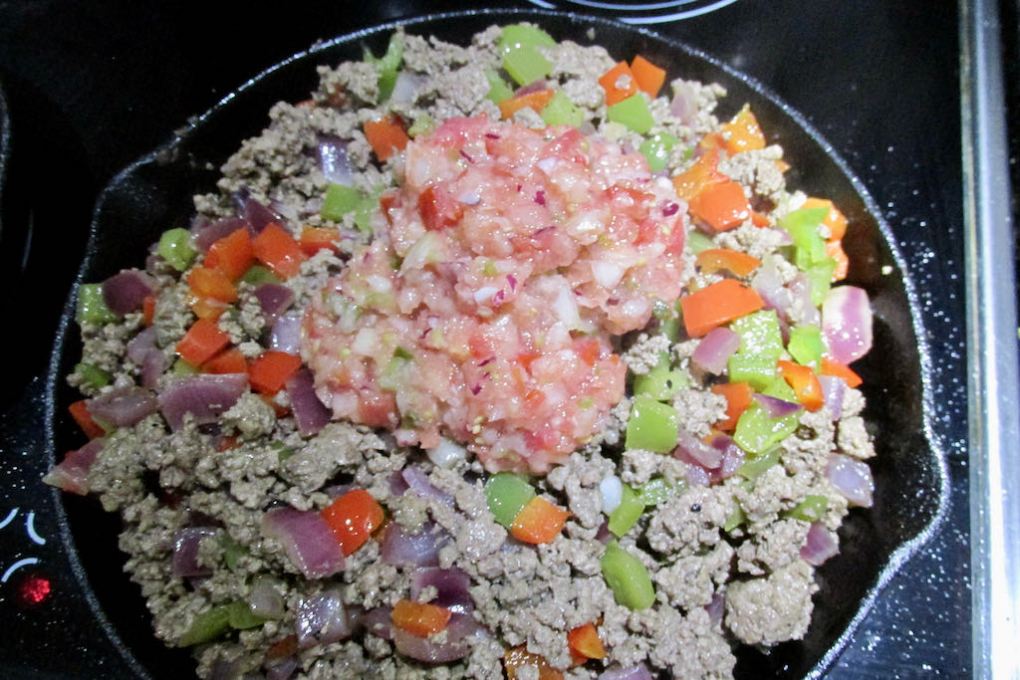
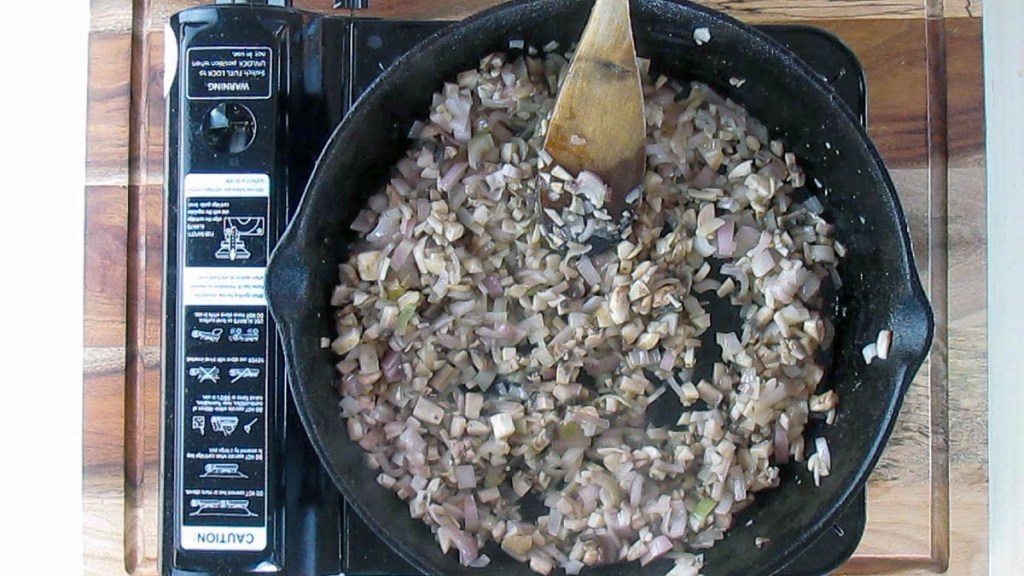
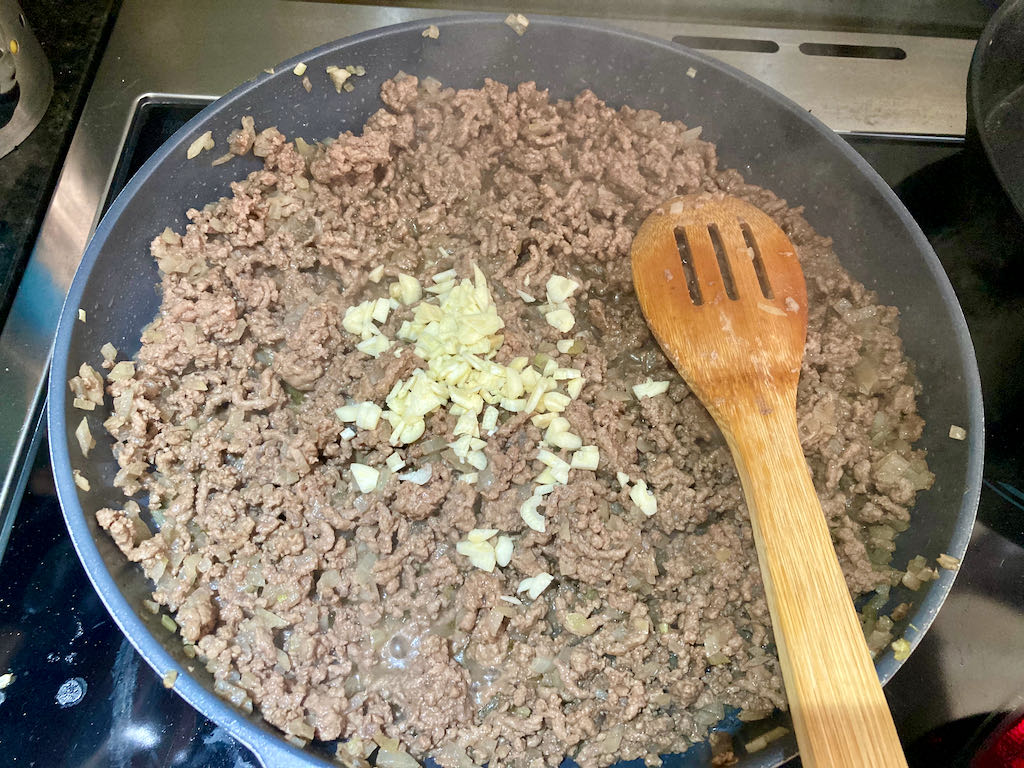
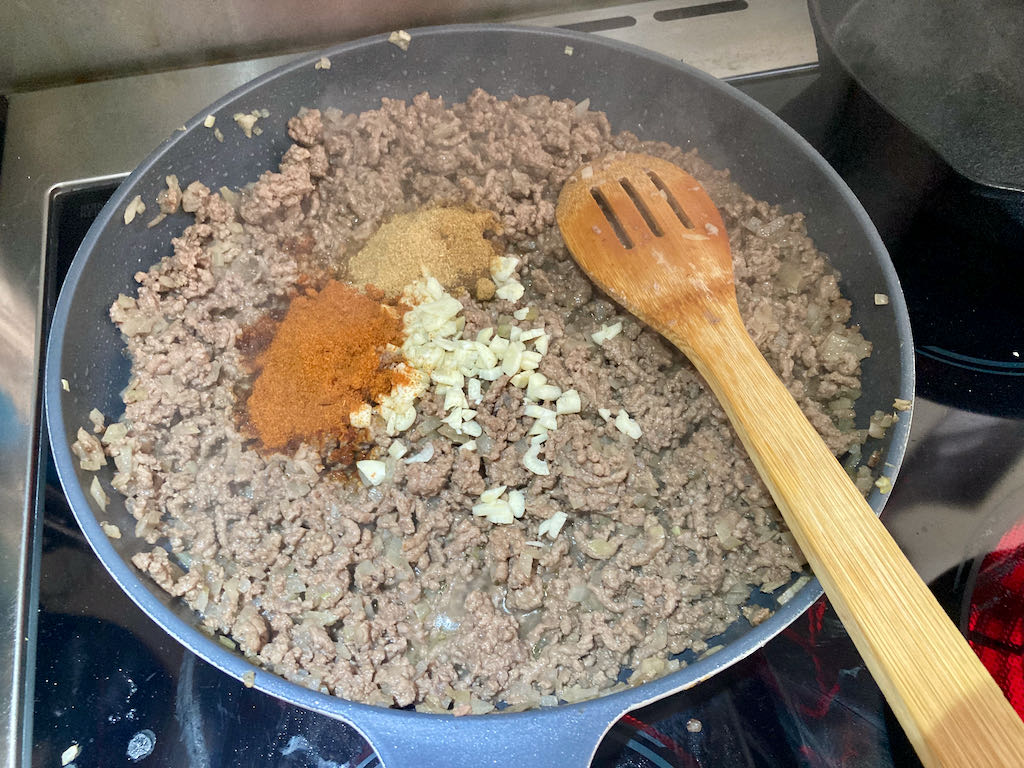
Add the garlic, paprika, ground cumin, coriander, chilli flakes and chopped tomatoes to the pan.
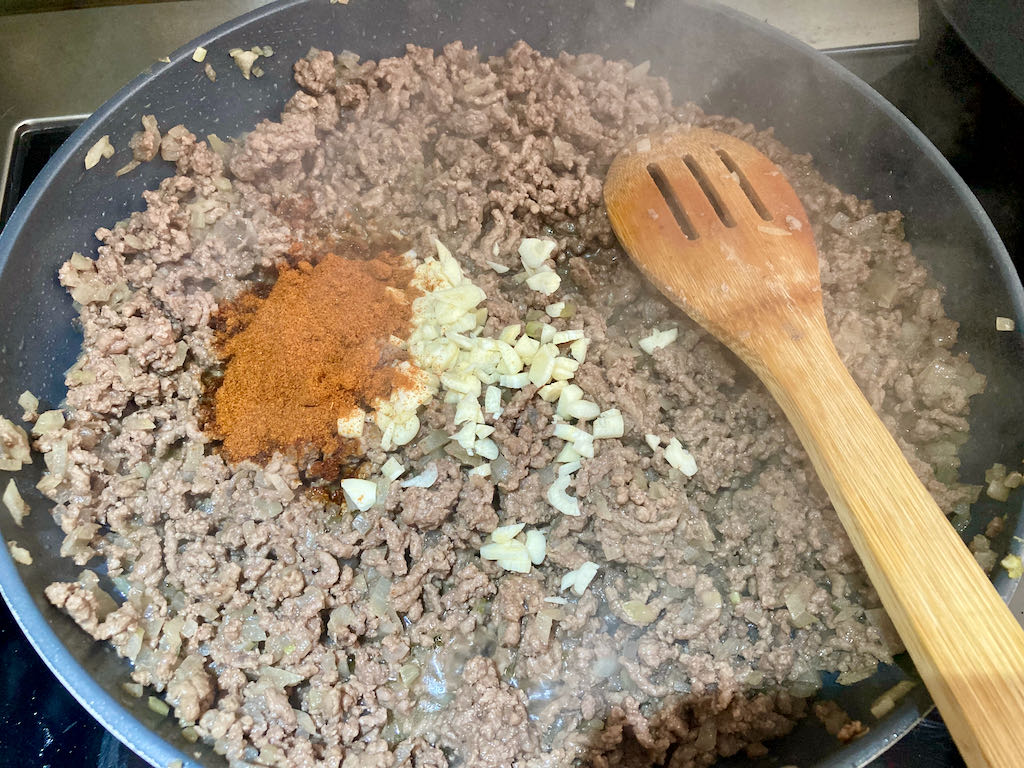


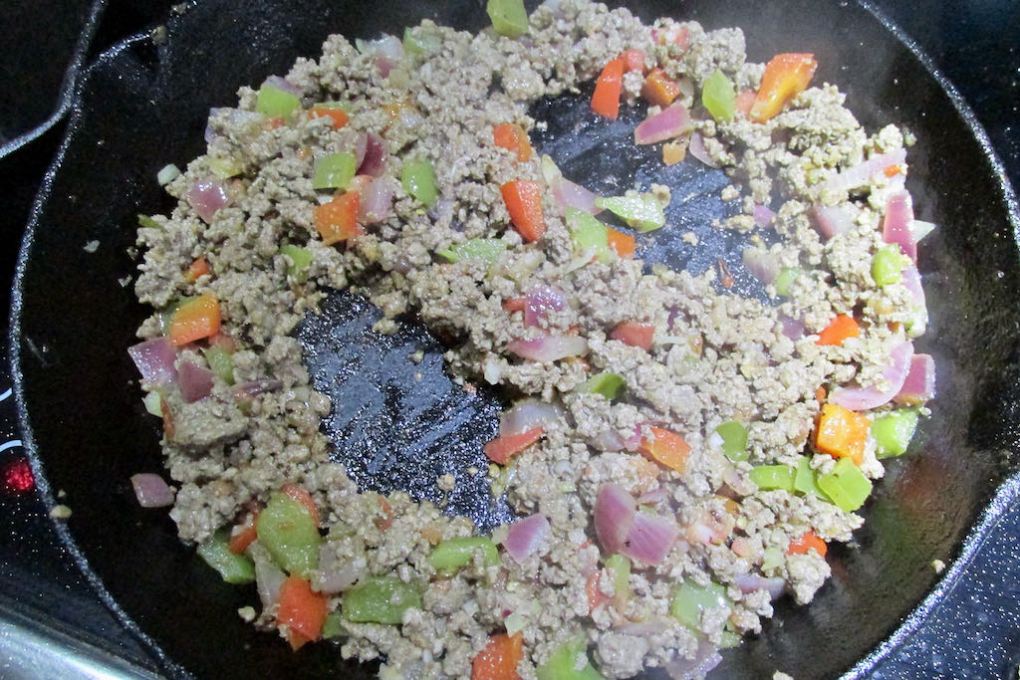
Cook everything until the liquid has reduced by half.
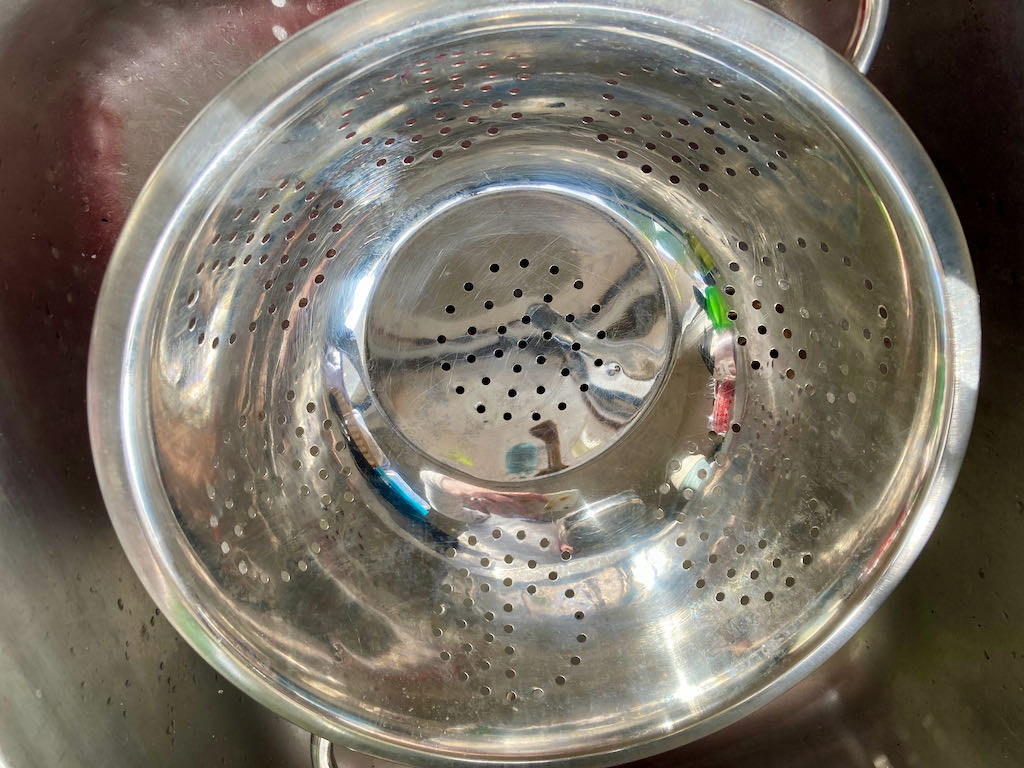
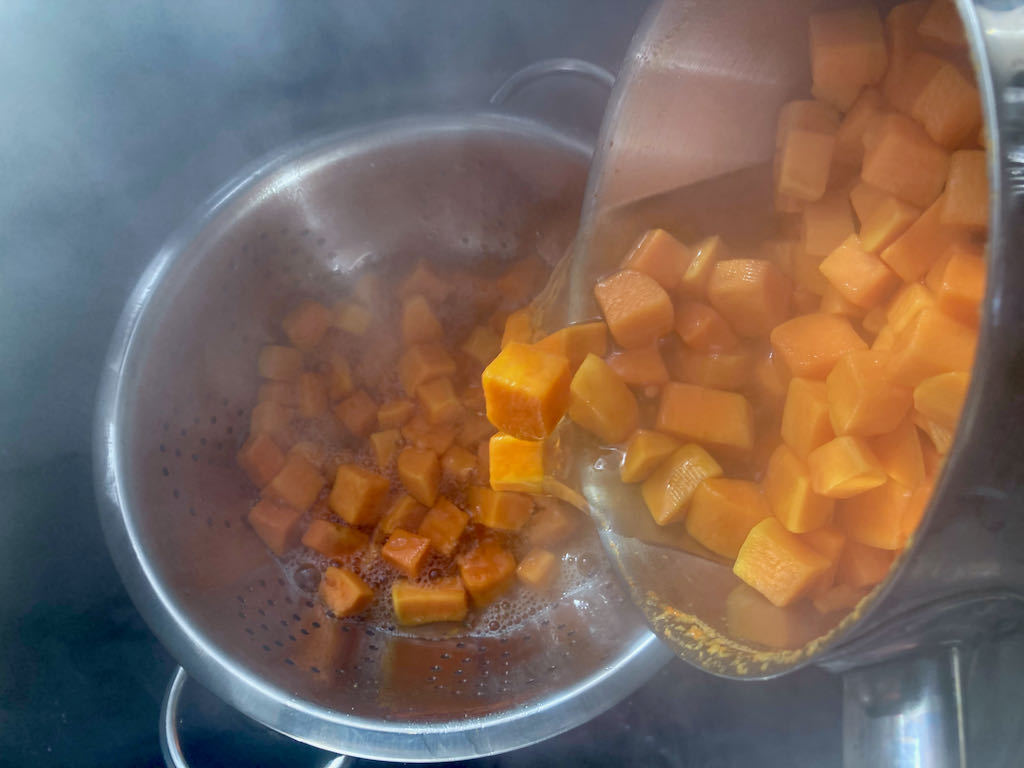
When the sweet potatoes are soft, drain them.
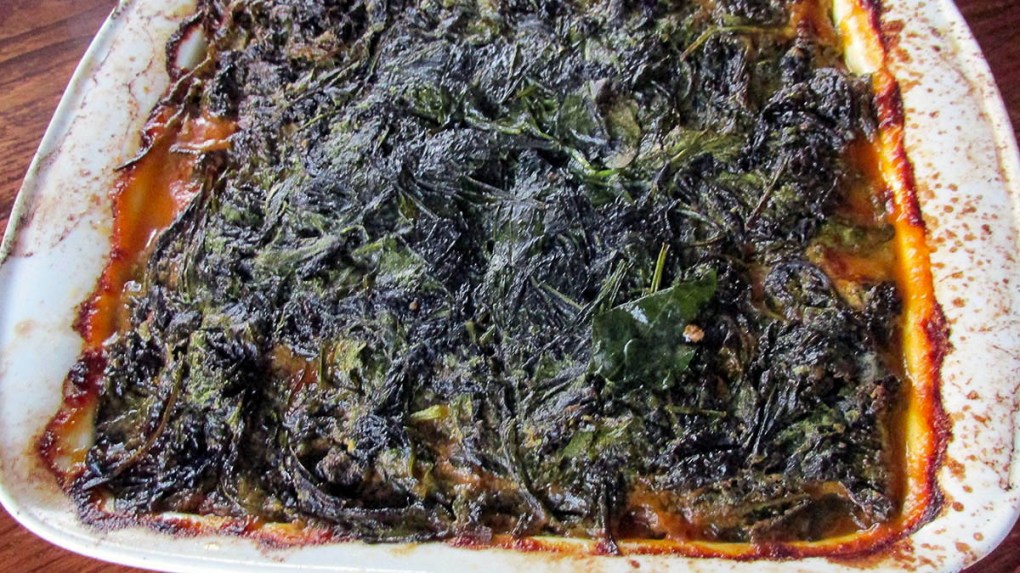
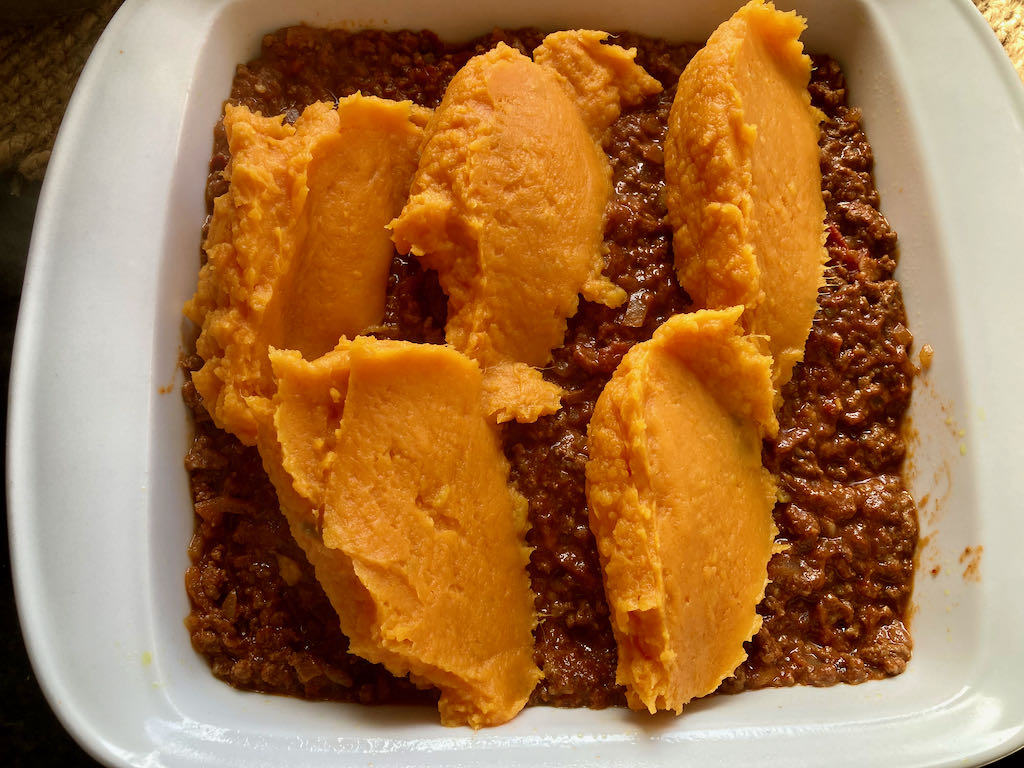
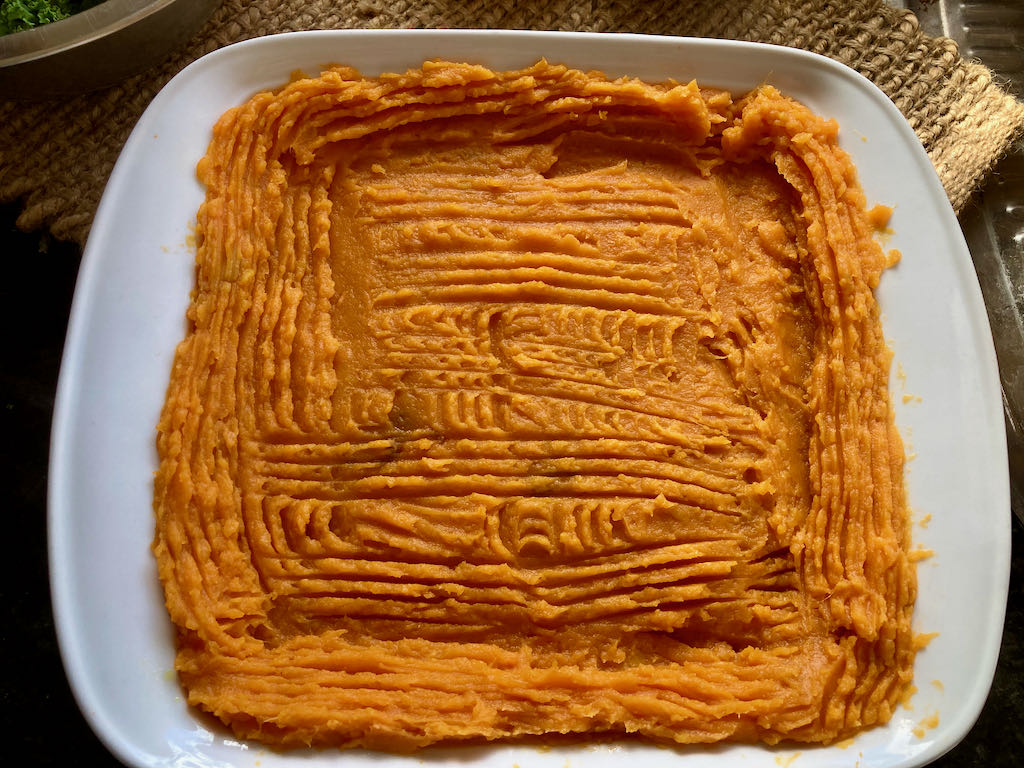
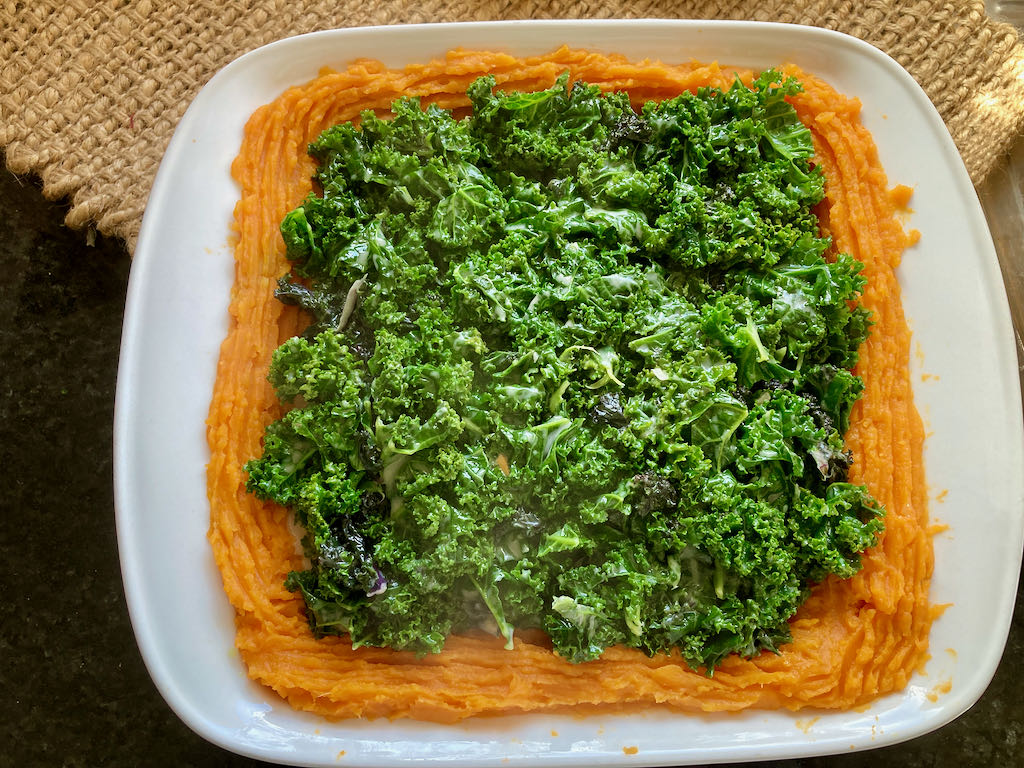
Take the baking dish and layer up the casserole, starting with beef, then the mashed sweet potato and top with the kale.


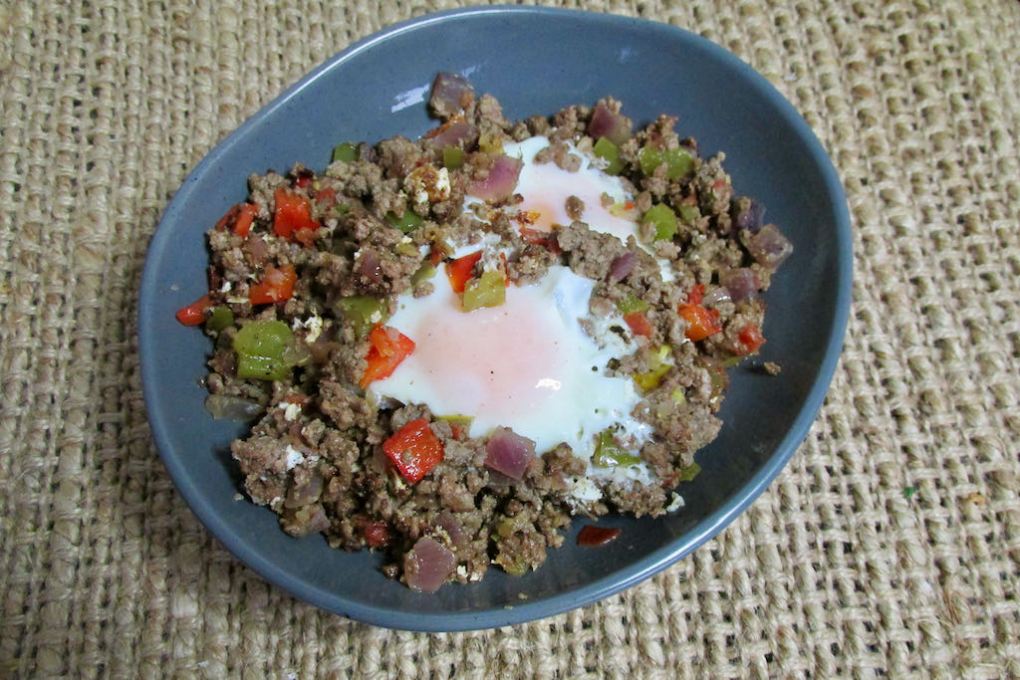
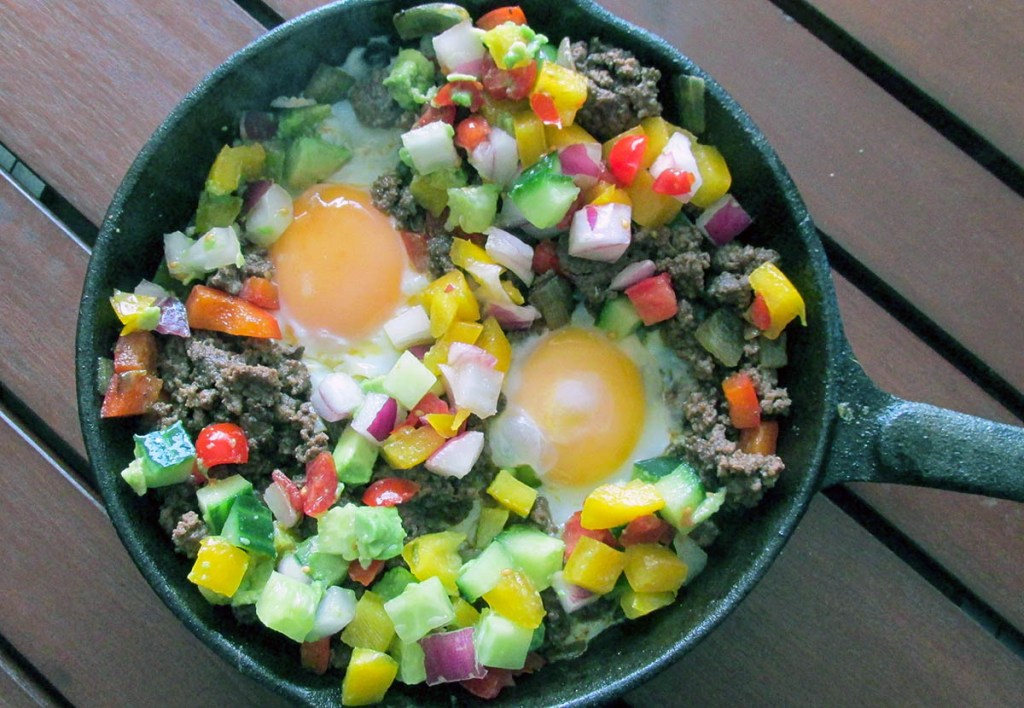
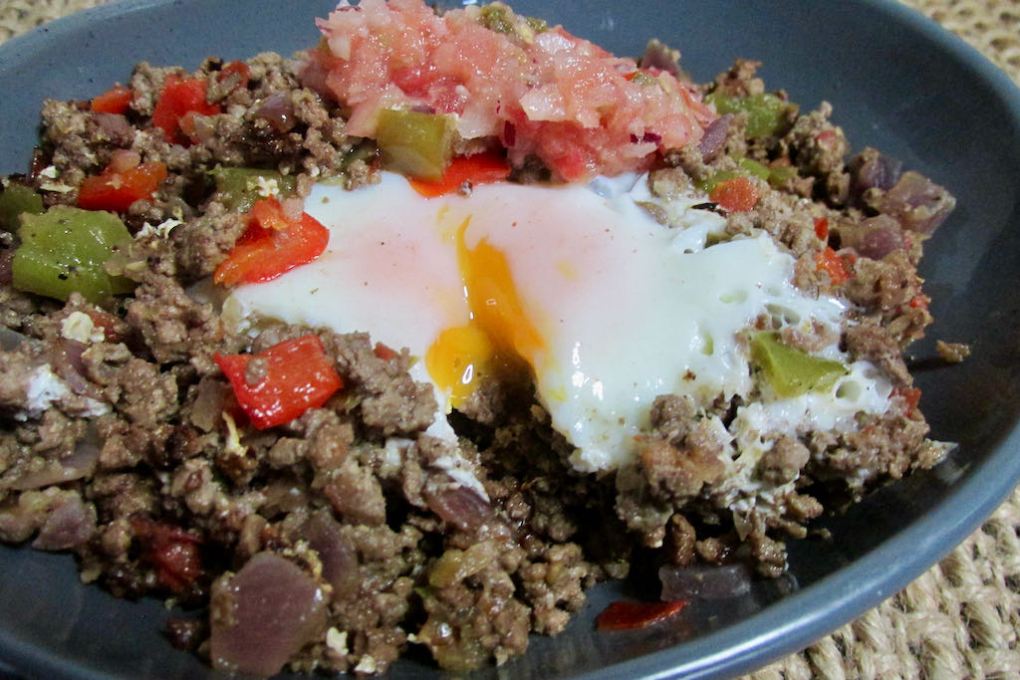
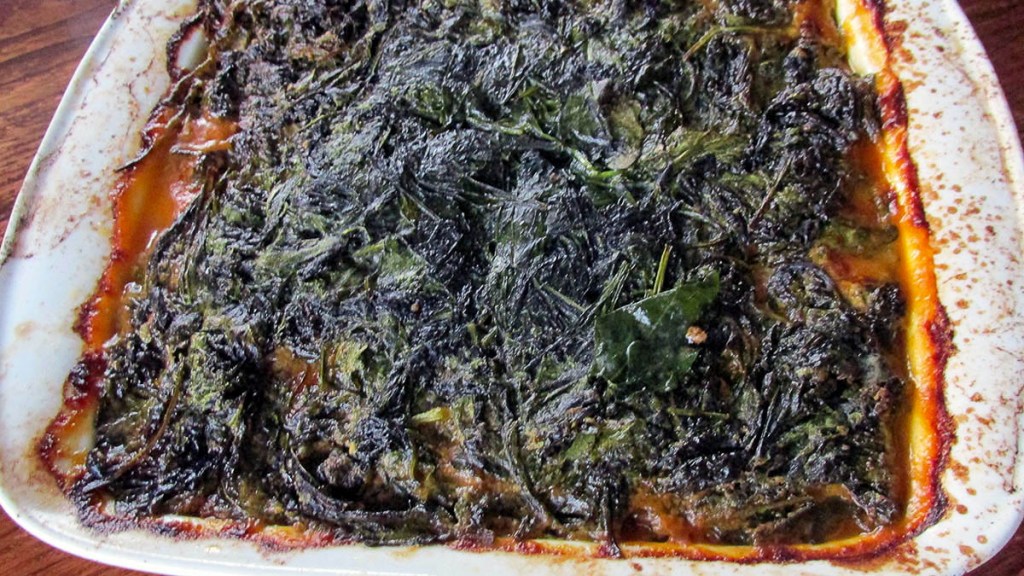
Mexican casserole
This casserole is spicy, creamy and so tasty, perfect for a different flavour for your winter warmer.
Credit: Cath @ easycleaneats
Ingredients
- 1kg minced beef
- 3 tbsp. Avocado oil
- 1 onion, finely chopped
- 3 garlic cloves, chopped
- 400g chopped tomatoes
- 3 tbsp. Paprika
- 1 tsp. Ground cumin
- 1 tsp. Ground coriander
- 4 tsp. chilli flakes
- Salt and pepper
- 700g sweet potatoes, chopped
- 1 cup coconut cream + 2 tbsp
- 900g kale, chopped
Directions
- Preheat the oven to 180 degrees C/ 350 degrees F.
- Grease a baking dish with one tablespoon of avocado oil and put the dish to one side.
- Take a large frying pan over a medium heat and add the remaining avocado oil to the pan.
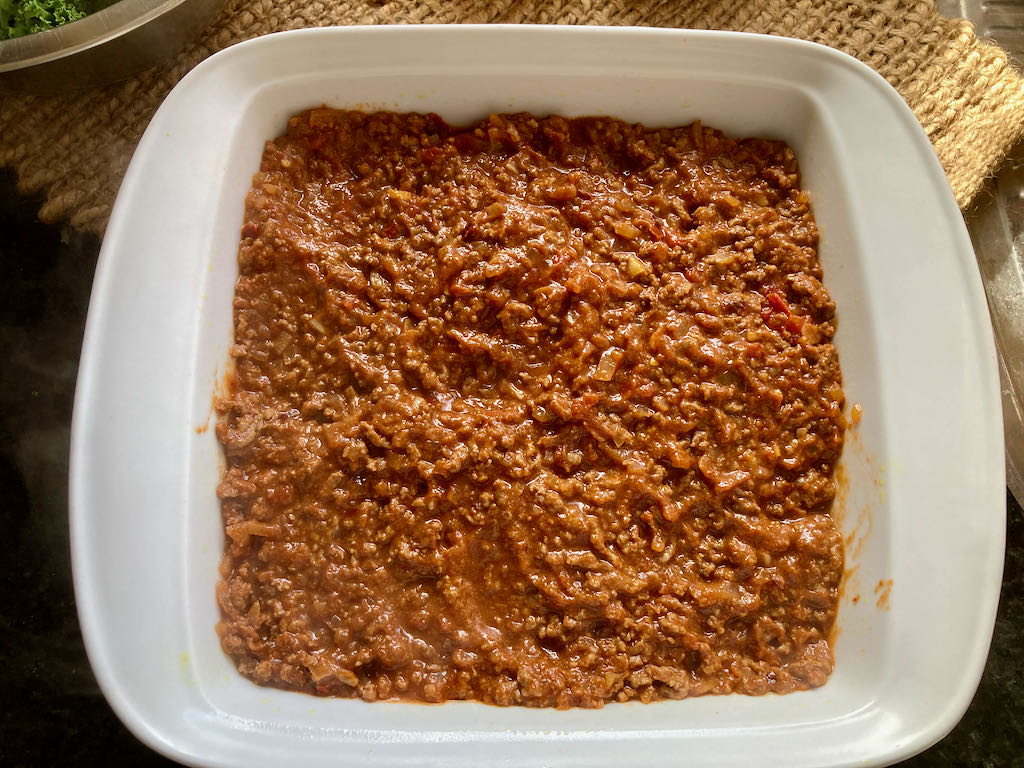
- Add the onions and minced beef to the pan and cook until the meat has browned.
- Add the garlic, paprika, ground cumin, coriander, chilli flakes and chopped tomatoes to the pan.
- Cook everything until the liquid has reduced by half.
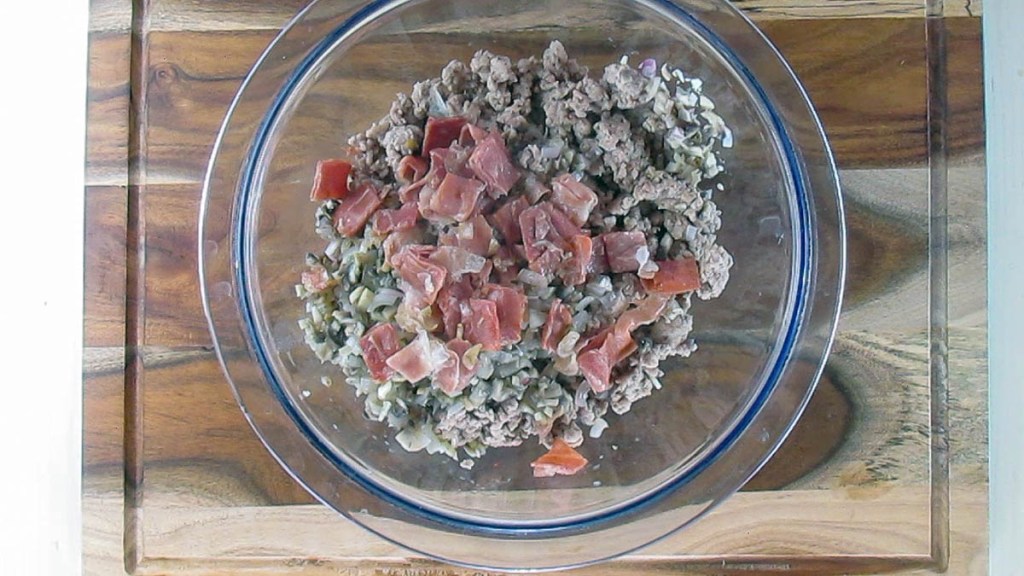
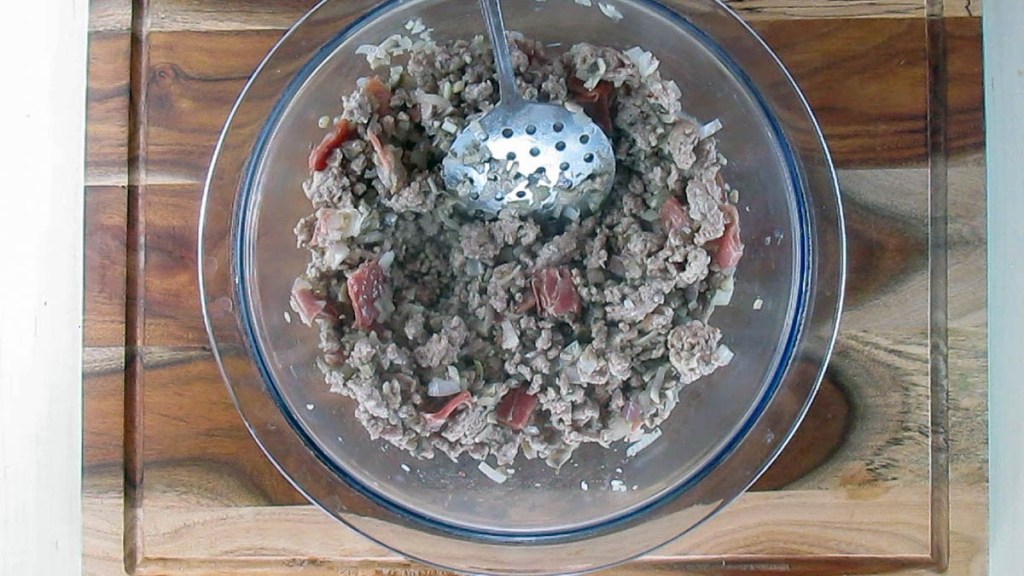
- When the meat is cooked, transfer it to a bowl.
- While the beef is cooking put the sweet potatoes into a saucepan with enough hot water to cover them.
- Boil the sweet potatoes for 10 minutes.
- When the sweet potatoes are soft, drain them.
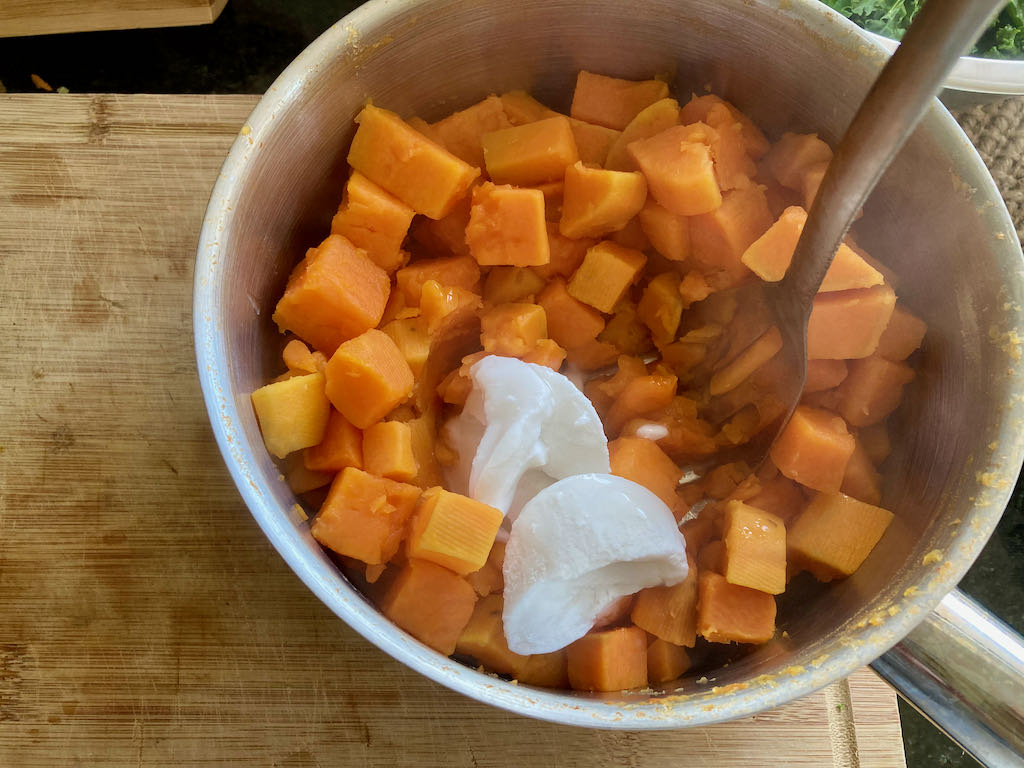
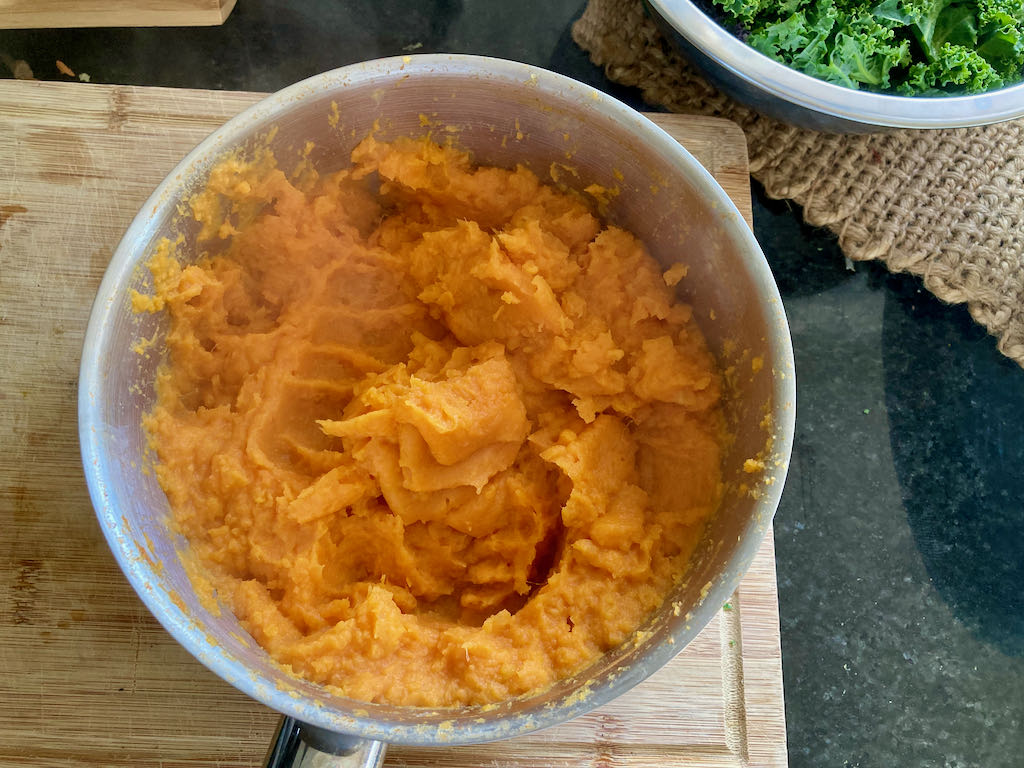
- Add two tablespoons of coconut cream to the sweet potatoes. 12.Mash them while they are still hot and then put them to one side.
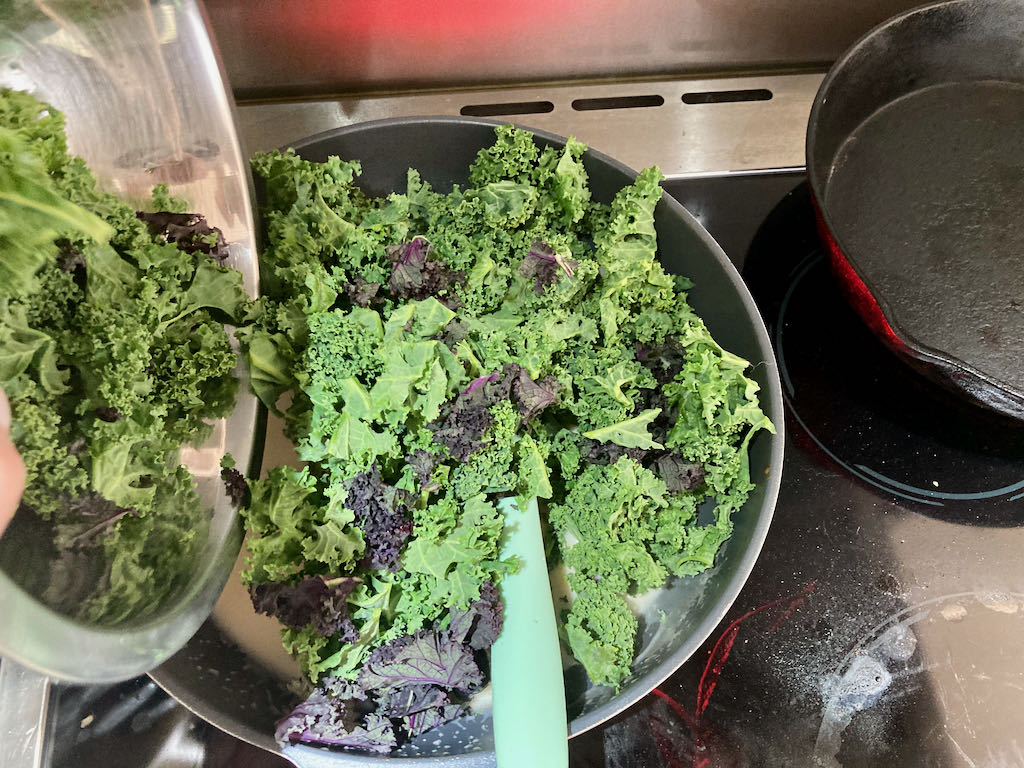
- In the pan, the beef was cooked to add coconut milk and bring it to a boil.
- Add the kale to the coconut milk and cook for two minutes.
- Take the baking dish and layer up the casserole, starting with beef, then the mashed sweet potato and top with the kale.
- Bake for 30 minutes.
- Serve while it is hot.
Nutrition
Per Serving: 350 calories; 12.3 g fat; 32.5 g carbohydrates; 31.2 g proteinEquipment
- Measuring cups
- Measuring spoons
- Scales
- Knife
- Chopping board
- Baking dish
- Frying pan
- Mixing bowl
- Saucepan
- Potato masher or fork
Nutritional disclaimer
Nutrition information is provided as an estimate based on the ingredients used and available in my area (New Zealand). The nutritional information is here to help you understand the recipe; I use MyFitnessPal to generate my estimates. For more accurate nutritional information, please use a nutritional calculator with the ingredients in your area.