This is an issue I have strong feelings about so I thought it was time to say something about it.
Food allergy
I sit in camp one; I have an allergy to nuts. This wonderful allergy means that I was have always been very good at reading the back on packets. Always looking to see if what I wanted to buy contained nuts or had traces of nuts. It sucks, really it does, I have to go so far as to read what my shampoo, soap and deodorant contains. Believe me that almond oil in shampoo isn’t good. I will be honest allergies can be problematic at times. I know there are far worse things to have allergies to so I won’t complain … well, I will but not too much.
Not the only one
We got a great surprise in 2015 when we discovered the little man in our family (my stepson) appears to have developed a sensitivity to nuts. As I have no input to his genetic make-up I can’t be blamed on this one. I have to admit I was intrigued that he developed sensitivity all of a sudden; he had never been interested in or liked nuts but never had any issue with them. As far as we know there are no other family members with nut allergies, so the fact he had eaten them then had a reaction was odd. I decided to find out what can trigger a reaction, so I did some reading.
The basics
I know and understand the basic science around sensitivities and allergies. The body attacks the item of food the same way it does a foreign bacteria or a virus. The bodies reaction is what is dangerous; the best case scenario is hives and generalised swelling. The worst-case scenario is an anaphylactic reaction that will land you in hospital or dead. In my experience, there is not a lot of understanding of how serious a food allergy is. A big issue I find is that people think your allergy is a lifestyle choice, like people who say they can’t eat gluten but are not diagnosed Celiac. Knowing what a food allergy means is important.
Understanding the difference
So what is the difference between food sensitivity, intolerances, and allergies? Here is a simple breakdown.
Food allergy
We can start with an allergy, this is an immune reaction to a food, this is similar to how the body fights infection it’s just that the body uses its defences to attack food. An allergic reaction could be something mild like itching or hives; on the other hand, it could be something as severe as anaphylaxis which causes swelling of the throat and tongue, trouble breathing and dizziness. The more you are exposed to an allergen the more severe a reaction can become. Most people start with the itching and hive, but you can have an anaphylactic reaction the first time to eat something.
Food intolerance
Food intolerance is when your body is missing a vital enzyme needed to process a specific food. There are symptoms associated with food intolerance. Usually, some form of gastric distress or inflammation, prolonged exposure to foods you cannot process can lead to intestinal damage, but it cannot trigger anaphylaxis.
Food sensitivities
So that leaves food sensitivities, these are a little more board, you can have an unpleasant reaction to food like reflux brought on my spicy foods, headaches or bloating. Sensitivities are not fun, but they are not life-threatening. Sensitivities can be the start of the journey to a food allergy, but most of the time they are not a big issue.
Here in New Zealand
Recently here in New Zealand, there have been some incidents of hospitalisation due to food allergies and even the tragic death of a teenager. It has been good to see that food safety is being taken seriously, but prevention is preferable to apologies.
In some cases, I think New Zealand is pretty good when it comes to food allergies. A school-based survey in 2013 that found over 8% of school kids reported they had an allergy to one or more food. I know that schools here in New Zealand are taking steps to minimise the risks to their students by banning some foods from lunchboxes because so many children have allergies and sensitivities. While this is a step in the right direction, it isn’t enough. Understanding is the key.
What are people allergic to?
While trooping around the interweb, I found a heap of people talking about their reactions to food and the reactions their children were having to things like;
- Lactose
- Wheat
- Gluten
- Rice
- Egg
- Sugar
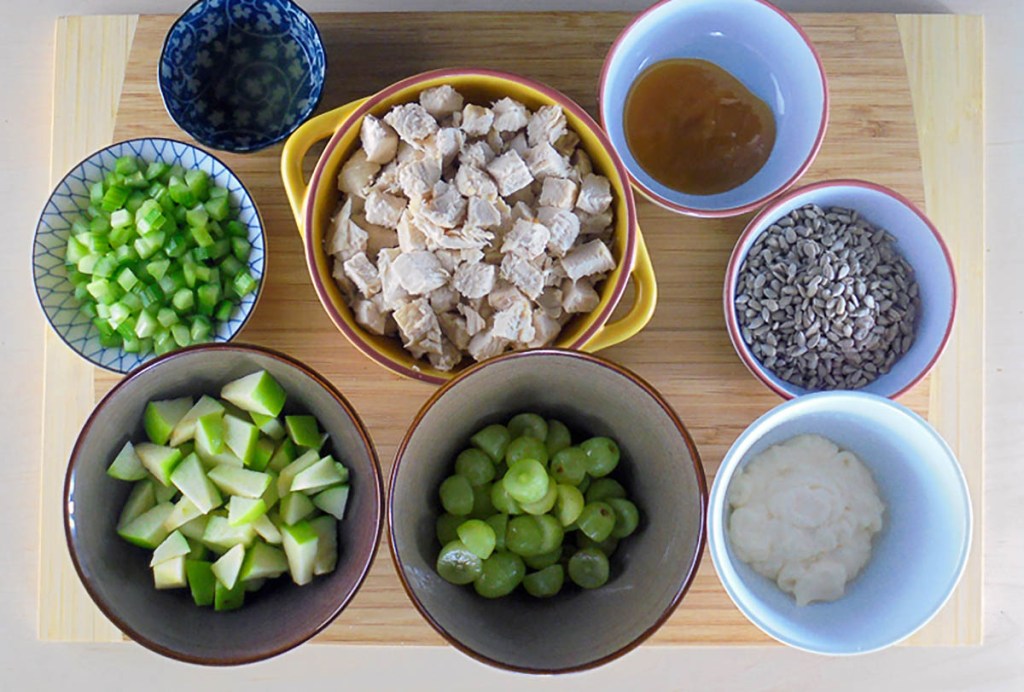
- Nuts
- Yeast
- Soy
These are just the most commonly mentioned foods; the full list is much longer.
Seems to be more allergies
I have to admit I was shocked at how many people are developing food allergies and intolerances. Now I know that in some cases people are self-diagnosed, so the exact numbers may never be known, but there seems to be an increase of instances. From everything I’ve read, no one knows why we are seeing this increase in food allergies and sensitivities. There are plenty of theories about potential causes but nothing that would suggest a way to reduce the number of people developing allergies or prevent us from developing them in the first place. I don’t have any answers, but I do hope that one day someone can help those of us who have allergies and sensitivities.
Prevention
So if we aren’t able to prevent people from developing sensitivities, intolerances, and allergies what can we do? I think a key difference we can make is educating people. Those of us who live with these things every day understand the consequences of eating the wrong things, so we avoid them at all costs. Not everyone understands how serious the consequences can be.
Proper education
One of the major concerns I have is the lack of understanding of those who do not suffer from food allergies. I am especially concerned with those who are responsible for serving food. I believe that there should be more information about how dangerous allergies are and how their actions can put those of us who have allergies in harm’s way. While little signs keep popping up on counters in cafes and restaurants about advising servers about allergies they don’t mean much. Last time I did disclose an allergy I was promptly told that you recommended I didn’t order any food. Hardly what you want to hear at brunch.
Standards might not be right
It is all well putting up signs that warn customers that there are allergens in food, but it doesn’t resolve the real issue – poor food service and handling practices. Don’t get me wrong I am not bashing individuals; I am bashing the system. A few years ago I completed the Basic Food Handling course that food service/manufacturing staff in New Zealand are supposed to attend. I was surprised there was very little information included about food allergies, what they are, what you should do and how to prevent cross-contact of foods.
Cross-contact
I’m talking about cross-contact, not to be confused with cross contamination. Cross-contamination when foods are mixed, like raw meat with cooked meat. For anyone who cooks knows the fundaments to prevent cross-contamination, if you mix raw with cooked someone will get sick. The Basic Food Handling course explains the reasons why cross contamination is bad and clear step on how to prevent it. Cross-contact, on the other hand, is not explained, and it is not highlighted how dangerous it can be.
What is it?
Cross-contact happens when one food comes into contact with another food and their proteins mix. When that happens, each food then contains a small amount of the other food. What people don’t always understand is that even this tiny amount of food that is transferred can cause reactions in people with food allergies. Unlike cross-contamination, cooking food does not remove allergens; the only way to prevent a reaction is to avoid any food that has come into contact with an allergen source.
Most cross contact is accidental, using the same thongs to pick up a piece of cake that was used to pick up a nut and seed slice or using the same spatula to flip a cheeseburger as you use for a hamburger. I want to think that this kind of cross contact is rare, sadly it isn’t. I can also say that from experience when you flag that something like that had occurred the response is never good.
What would I do?
With the rise of food allergies, we need to make some changes. I think that information about cross-contact should be included as part of the food safety training. It is just as important as knowing about cross-contamination and can have serious consequences. Teach people about safe food handling and preparation in a broader context. It isn’t hard to keep people safe and prevent cross contact with allergens. Some simple things can be done to avoid cross-contact and to make it safer for those with allergies to eat out.
- Using utensils, cutting boards and pans that have been thoroughly washed with soap and water when working with allergens.
- Have separate utensils such as thongs for each of the foods being served
- Using separate utensils and dishes for making and serving safe foods. Some families choose a different colour like red for preparation of foods with allergens.
- If you are making several foods, cook the allergy-safe foods first.
- Keep the safe foods covered and away from other foods that may splatter.
- If food has come into contact with an allergen, make it clear that the food may cause a reaction.
- Clearly label foods and state any allergens on the menu
- Wash your hands with soap and water before touching anything else if you have handled a food allergen. Soap and water or commercial wipes will remove a food allergen.
- Scrub down counters and tables with soap and water after making meals.
Until the foodservice and manufacturing industries make some changes, those of us with food allergies will have to remain vigilant when it comes to buying foods and eating out. It doesn’t make life fun, but it could be worse.
Remember – The world is full of things that can kill you, but no one wants to be killed by their dinner.